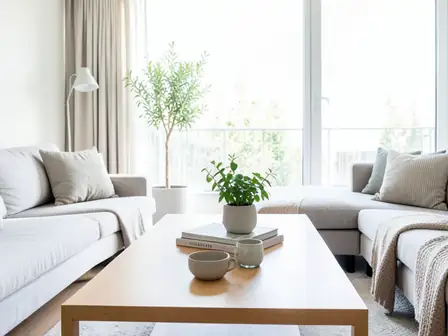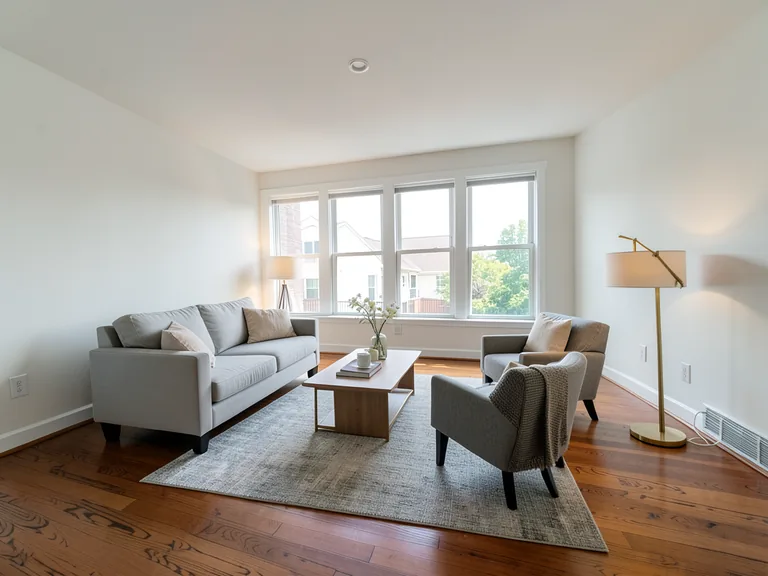
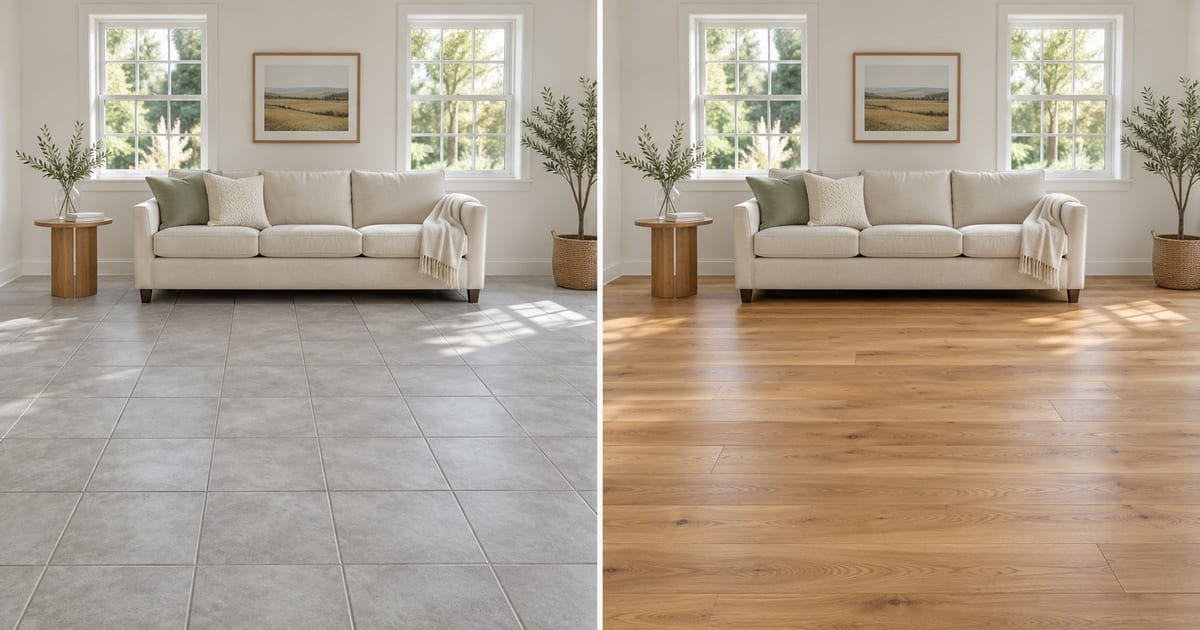
Flooring Visualizer workflow
床材シミュレーション
生成結果にはばらつきがあります。公開前に全体を確認してください。
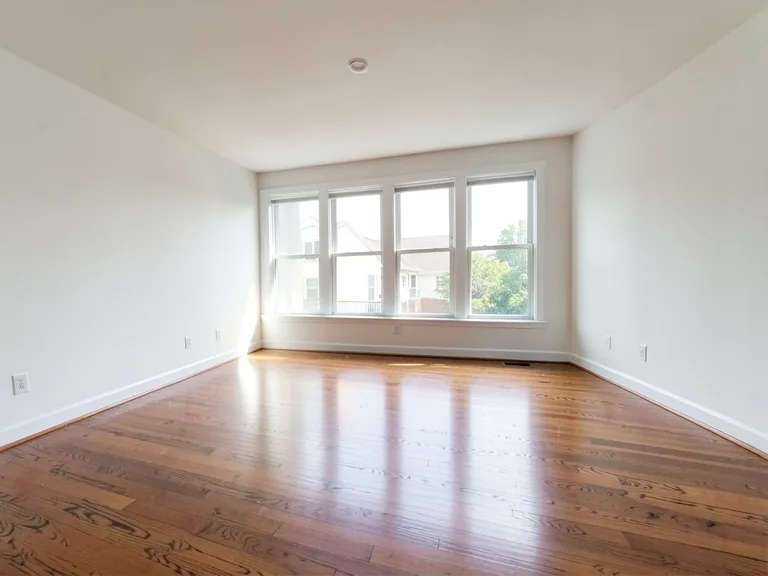
Flooring is expensive to get wrong and awkward to undo, yet most people choose it from a small sample under shop lighting. This visualizer lays a new floor across a photo of your own room while keeping the walls, furniture and fixtures in place, so you can see how oak, laminate, vinyl plank, marble, tile or carpet sits with your light and your sofa. Try several materials on the same photo, add a rug or skirting boards with one tap, and bring the one you prefer to the shop.
- Prepared Flooring Visualizer direction
- 編集できるプロンプト
- 生成結果全体の確認が必要
Choose a source image for Flooring Visualizer
JPG、PNG、WebP、HEICなどの対応形式を利用できます。このツールのアップロード上限はFreeで20 MB、Premium以上で50 MBです。
バーチャルステージングと物件デザインプリセットが自動的にロードされる
床材シミュレーション のセットアップ
用意された設定
- 出発点
- 元画像を1枚アップロード
- このページは適切な編集ワークフローを選んだ状態で開きます。必要な準備はアップロードだけです。
- 準備されたワークフロー
- Prepared Flooring Visualizer workflow
- Flooring Visualizer opens with the Flooring Visualizer direction preselected, so there is no need to find the operation manually.
- 出力形式
- アップロードした画像と同じ
- 生成画像の縦横比は、アップロードした画像と同じになります。
- レビュールール
- 使用前に生成結果全体を確認
- 生成画像にはばらつきがあります。ダウンロード前に最終結果を利用者自身で承認してください。
最適な用途
- Compare hardwood, vinyl and tile in the same living room
- Choose a floor that works with existing furniture and walls
- Show a flooring installer the finish you have in mind
よくある質問
- Does the preview show the real board width and grout lines?
- It shows a plausible plank or tile pattern, not the exact product. Board width, grout color and the real shade vary by manufacturer, so use the picture to choose a material and tone and confirm the exact product from a physical sample in your own light.
- Will my furniture and walls stay the same?
- The instruction asks for only the floor to change. Check where furniture legs meet the floor and the line along the skirting, and run the preview again with a short note about any spot that looks off.
- Can I add a rug or skirting boards to see the whole look?
- Yes. Under "Add to your result" you can tap an area rug, matching skirting boards, a doorway threshold, a herringbone layout or a contrasting border, and they are combined with your chosen material and any custom instruction.
- Which photo works best for a floor?
- A wide shot with plenty of visible floor, taken from a standing position in good daylight. Clear loose items off the floor and avoid a strong glare, because a shiny existing floor can confuse the AI about where the surface starts.
AI不動産写真編集 でできること
始める前に、主な機能を確認してください。
- 開示済みのイメージ案として部屋全体を自動演出
- 選択したテレビ、壁の色、景観を正確に追加します
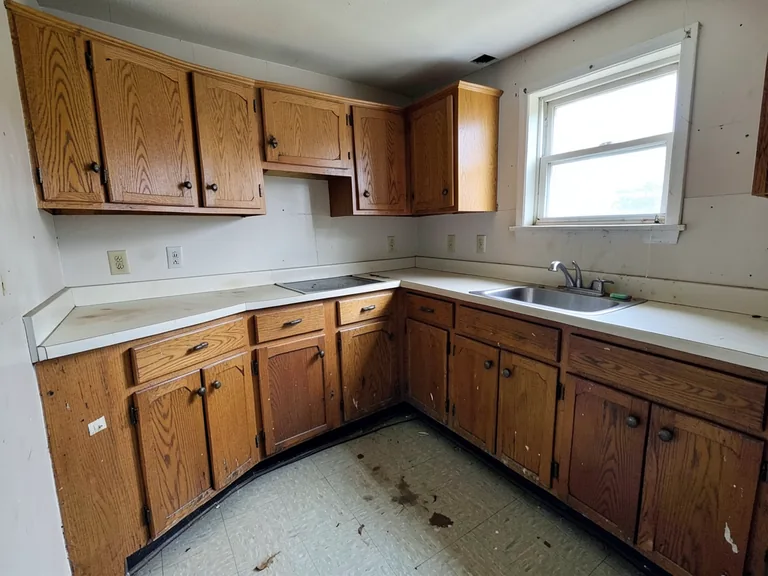
- 記載されているケーブル、ゴミ箱、標識、邪魔な物を取り除く
- 空を置き換えて、リアルな夕暮れの外観を作成します
- 必要に応じて自動編集領域を手動で調整する
設定リファレンス
5 設定
AI不動産写真編集 で使用可能なコントロール。
タスク
- 編集タイプドロップダウン
- 実行する編集を選びます。プロンプト、選択ツール、出力設定は、選んだ編集の種類に応じて変わります。オプション: テキストベース編集ジェネレーティブフィルマジック消しゴム空の置き換えルームステージング
- ワンタッププリセットプリセット
- ワンタップで既製の方向を選択します。生成では、選択したプリセットが自動的に使用されます。オプション: 家具を追加する追加 TVPaint walls 暖かい whiteTwilight 空置換空不要物を削除造園を整える
- カスタム指示(任意)テキスト入力
- 要求された変更、関連するマテリアル、照明、視点、および変更しない必要がある詳細について説明します。
選択範囲
- 選択ブラシのサイズスライダーレンジ: 4–160px · デフォルト: 32px
- 生成前に、追加、塗りつぶし、置き換えを行う正確な範囲を指定するブラシ幅を設定します。
出力
- AI に被験者の身元と製品の詳細を保存するよう依頼するオン/オフ
- リクエストによって変更されない限り、主要な件名、形状、ブランド、ラベル、および読み取り可能なテキストを保持するための明示的な指示を追加します。
無料で利用可能 · 登録不要 · 透かしなしアップロードは転送中に暗号化されます保持ポリシーに基づいて削除されました
床材シミュレーション の関連ツール
床材シミュレーション の後の一般的な次のステップのためのツール。

このツールのガイド
- How to Prepare Real Estate Listing Photos in Bulk for an AgencyOrganize bulk real estate photo editing with Pixoate. Keep properties, room sequences and concept images clear across an agency's listing workflow.
- How to Remove Temporary Clutter from Real Estate Photos with AIRemove temporary clutter from real estate photos with Pixoate. Review cables and stray objects while preserving the property's actual condition.
変換結果を一つずつ確認
すべての写真はスラッシュをそのまま通過し、反対側が完成して出てきます。