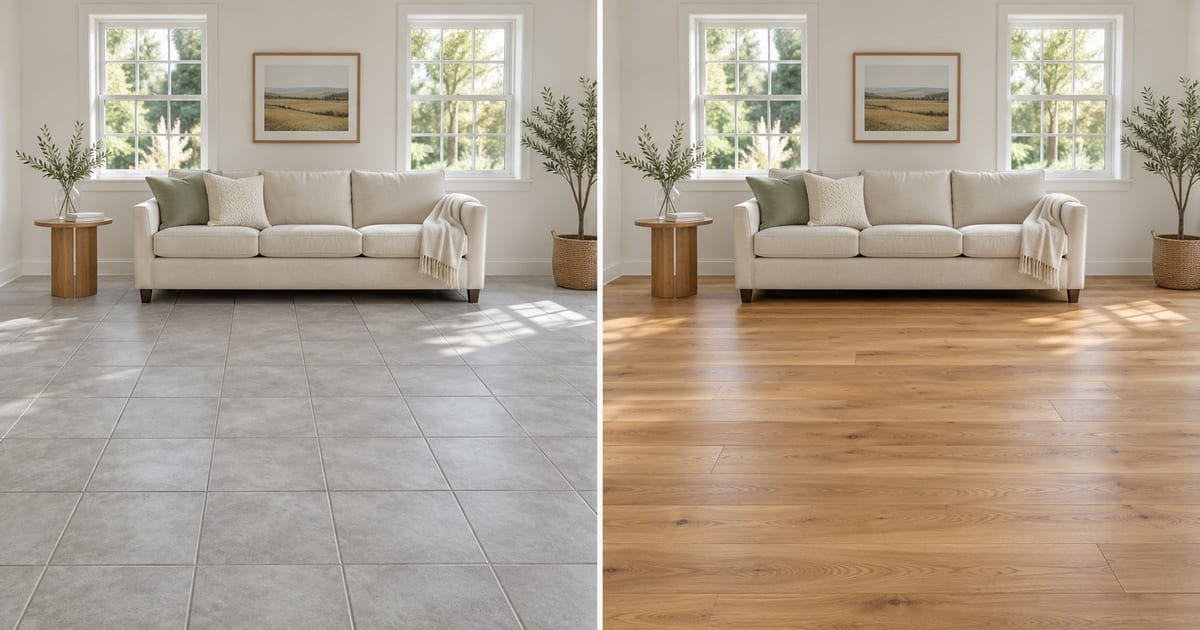
Vloeren in je kamer uitproberen
Gegenereerde uitvoer kan variëren; controleer het volledige resultaat vóór publicatie
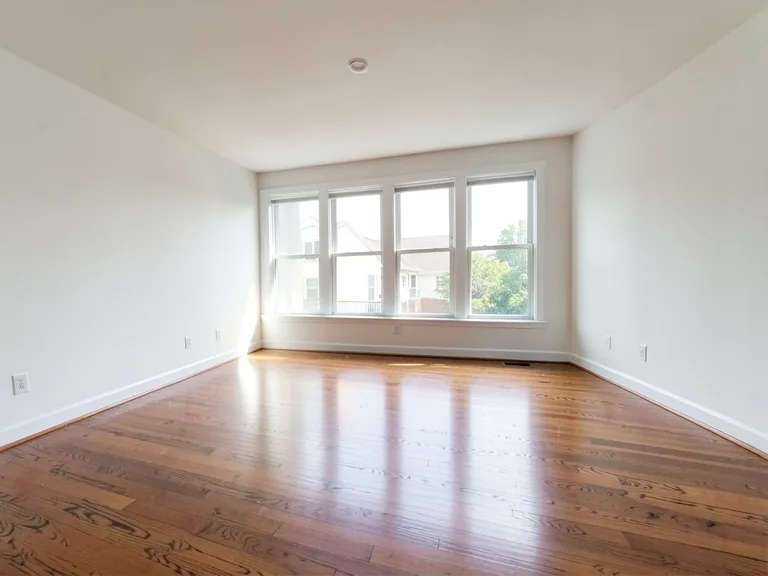
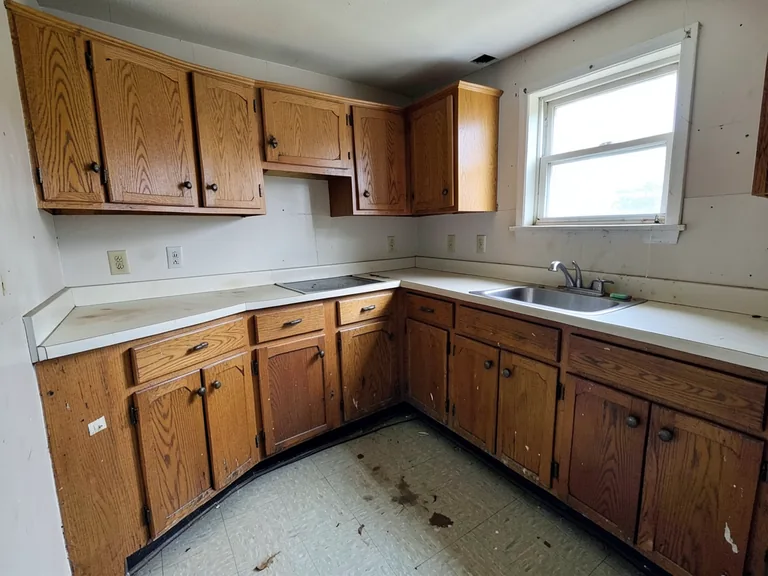
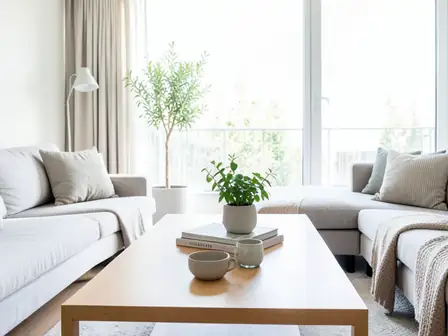
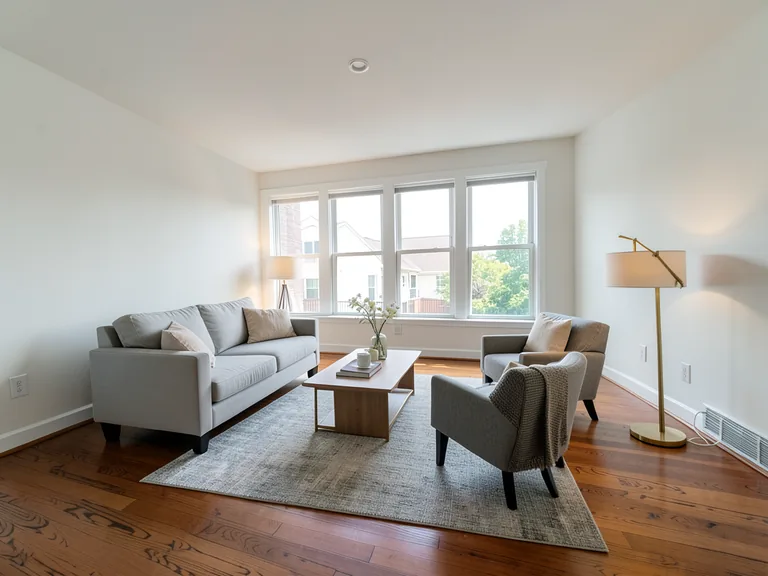
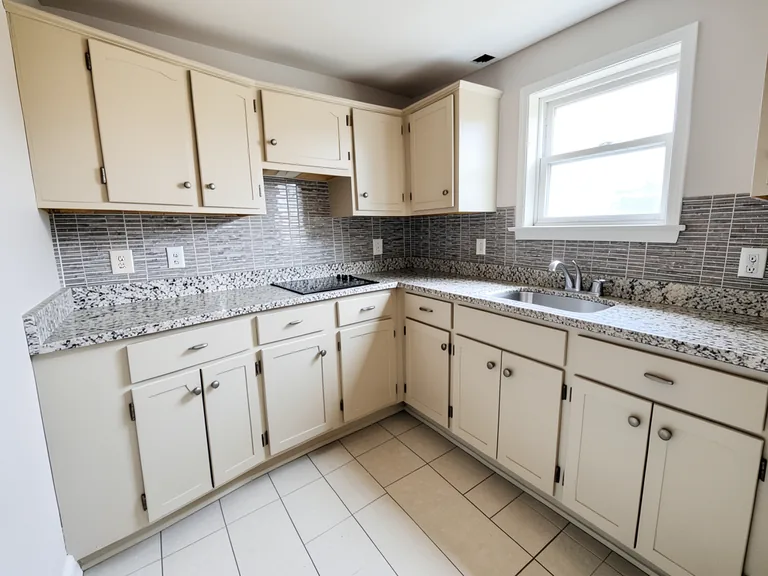
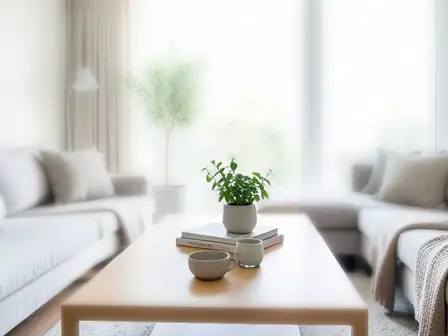
Flooring is expensive to get wrong and awkward to undo, yet most people choose it from a small sample under shop lighting. This visualizer lays a new floor across a photo of your own room while keeping the walls, furniture and fixtures in place, so you can see how oak, laminate, vinyl plank, marble, tile or carpet sits with your light and your sofa. Try several materials on the same photo, add a rug or skirting boards with one tap, and bring the one you prefer to the shop.
- Prepared Flooring Visualizer direction
- Aanpasbare prompt
- Controle van het volledige resultaat vereist
Choose a source image for Flooring Visualizer
JPG, PNG, WebP, HEIC en andere ondersteunde formaten. Voor deze tool geldt: Free tot 20 MB, Premium en hogere abonnementen tot 50 MB.
Instellen voor Vloeren in je kamer uitproberen
Voorbereide instellingen
- Uitgangspunt
- Upload één bronafbeelding
- De pagina opent meteen in de juiste bewerkingsmodus; je hoeft alleen nog te uploaden.
- Voorbereide werkstroom
- Prepared Flooring Visualizer workflow
- Flooring Visualizer opens with the Flooring Visualizer direction preselected, so there is no need to find the operation manually.
- Uitvoerformaat
- Hetzelfde als je upload
- Het resultaat behoudt de beeldverhouding van de afbeelding die je uploadt.
- Beoordelingsregel
- Controleer het volledige gegenereerde resultaat vóór gebruik
- Gegenereerde beelden kunnen variëren; de gebruiker keurt het eindresultaat goed vóór het downloaden.
Best passende toepassingen
- Compare hardwood, vinyl and tile in the same living room
- Choose a floor that works with existing furniture and walls
- Show a flooring installer the finish you have in mind
Veelgestelde vragen
- Does the preview show the real board width and grout lines?
- It shows a plausible plank or tile pattern, not the exact product. Board width, grout color and the real shade vary by manufacturer, so use the picture to choose a material and tone and confirm the exact product from a physical sample in your own light.
- Will my furniture and walls stay the same?
- The instruction asks for only the floor to change. Check where furniture legs meet the floor and the line along the skirting, and run the preview again with a short note about any spot that looks off.
- Can I add a rug or skirting boards to see the whole look?
- Yes. Under "Add to your result" you can tap an area rug, matching skirting boards, a doorway threshold, a herringbone layout or a contrasting border, and they are combined with your chosen material and any custom instruction.
- Which photo works best for a floor?
- A wide shot with plenty of visible floor, taken from a standing position in good daylight. Clear loose items off the floor and avoid a strong glare, because a shiny existing floor can confuse the AI about where the surface starts.
Wat u kunt doen met AI onroerend goed foto-editor
Bekijk de belangrijkste mogelijkheden voordat u begint.
- Zet complete ruimtes automatisch in scène voor bekendgemaakte concepten
- Voeg nauwkeurig geselecteerde tv's, muurkleuren of landschapsarchitectuur toe
- Verwijder de beschreven kabels, bakken, borden en storende rommel
- Vervang luchten en creëer realistische schemerbuitenkanten
- Verfijn automatische bewerkingsgebieden indien nodig handmatig
Referentie instellingen
5 instellingen
Beschikbare besturingselementen voor AI onroerend goed foto-editor.
Taken
- BewerkingstypeDropdownmenu
- Kies de bewerking die u wilt uitvoeren. Beschrijvingen, selectiegereedschap en uitvoerinstellingen passen zich aan het gekozen type aan.Opties: Tekst-based editGeneratief vullenMagische gumVervanging van de hemelEnscenering van de kamer
- Preset met één tikVoorinstellingen
- Kies met één tik een kant-en-klare richting; generatie gebruikt automatisch de geselecteerde preset.Opties: Meubels toevoegenVoeg televisie toeVerf de muren warm witSchemering skyVervang de hemelVerwijder rommelVernieuw het landschap
- Aangepaste instructies (optioneel)Tekstinvoer
- Beschrijf the requested change, relevant materials, lighting, perspective, and details that must remain unchanged.
Selectie
- Selectie penseelgrootteSchuifregelaarBereik: 4–160px · Standaard: 32px
- Stel de penseelbreedte in die wordt gebruikt om het exacte toevoeg-, opvul- of vervangingsgebied te markeren dat nodig is vóór het genereren.
Uitvoer
- Vraag AI om de identiteit van het onderwerp en productdetails te behoudenAan / Uit
- Voegt een expliciete instructie toe om het hoofdonderwerp, de vorm, de branding, de labels en de leesbare tekst te behouden, tenzij het verzoek deze wijzigt.
Gerelateerde tools voor Vloeren in je kamer uitproberen
Hulpmiddelen voor algemene volgende stappen na Vloeren in je kamer uitproberen.
Optie – Virtual Staging & Property
virtuele inrichting met AI
Richt lege kamers virtueel in met AI-meubels voor vastgoedadvertenties. Maak concepten voor woonkamers, slaapkamers, kantoren, eetruimtes en luxe interieurs.
Probeer het nu
Optie – Virtual Staging & Property
Staging van AI-kamers
Podium lege of gedateerde kamers met AI-meubilair en decor. Creëer woonkamers, slaapkamers, kantoren, eetkamers en interieurstijlconcepten.
Probeer het nu
Fotoverbetering
AI Fotoverbeteraar
Pas ruis, scherpte, kleur en schaal aan in één verbeteringsworkflow en vergelijk het resultaat vervolgens met het origineel.
Probeer het nuHandleidingen voor dit hulpmiddel
- How to Prepare Real Estate Listing Photos in Bulk for an AgencyOrganize bulk real estate photo editing with Pixoate. Keep properties, room sequences and concept images clear across an agency's listing workflow.
- How to Remove Temporary Clutter from Real Estate Photos with AIRemove temporary clutter from real estate photos with Pixoate. Review cables and stray objects while preserving the property's actual condition.
Bekijk each transformation land
Every foto crosses the slash untouched and comes out the other side finished.