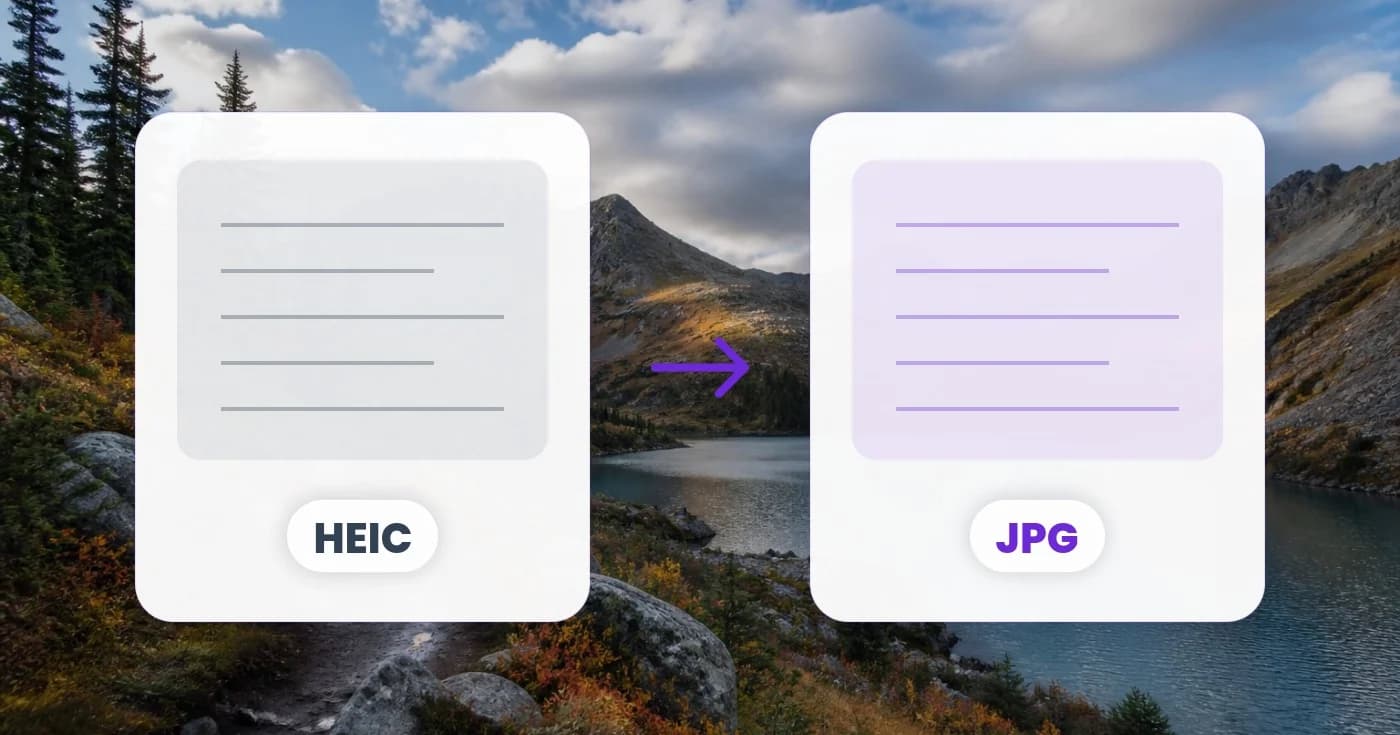
HEIC to JPG: the complete iPhone-to-everywhere guide
Your iPhone photos save as HEIC by default — and Windows, most websites, and your colleague's Android can't open them. Here's exactly how to convert HEIC to JPG (or PNG, or PDF) without losing quality.
You snap a photo on your iPhone, AirDrop it to a colleague's Windows laptop, and it won't open. You upload it to a job application form and it gets rejected as an invalid file. You email it to your mum and she says it's "not a real photo."
Welcome to HEIC: Apple's default photo format since iOS 11. It's objectively good — about half the file size of JPG at the same visual quality — but the rest of the world hasn't caught up. Here's how to convert HEIC to formats everyone can use.
What HEIC actually is
HEIC (High Efficiency Image Container) is Apple's implementation of the HEIF standard. It uses the HEVC video codec to compress still images, so a HEIC file is roughly 50% the size of an equivalent JPG. Newer Macs, iPhones, and recent Windows 11 installations can open them — but most web upload forms, older Android phones, email previews, and just about every web service still treat them as alien files.
HEIC to JPG — the universal answer
If you don't know where the file is going, convert to JPG. Every device, browser and upload form on Earth knows what to do with a JPG. HEIC to JPG does this in your browser: drop the HEIC, pick a quality (90% is the sweet spot — visually identical to the original at about half the size of lossless), download. EXIF data including the photo's orientation is preserved, so your portraits stay portrait.
When to use HEIC to PNG instead
If you're going to edit the photo — crop it, layer it, put text on top — go to PNG instead. HEIC to PNG gives you a lossless image where every re-save preserves every pixel. PNG files are bigger than JPG, but for editing it's the right tradeoff.
HEIC to PDF — for paperwork
Got a photo of a receipt, contract, or whiteboard? Most office workflows expect PDFs, not photos. HEIC to PDF wraps one or many HEIC photos into a multi-page PDF — drag to reorder pages, pick paper size, download. No JPG step in the middle.
For multi-page documents — say you're photographing a stack of forms — combine this with scan to PDF for automatic edge detection and contrast boost.
The quality slider, in plain English
Every HEIC converter exposes a quality slider somewhere between 0 and 100. Here's what those numbers actually mean for photos:
- 95–100 — visually indistinguishable from the original. File size only ~20% smaller than lossless.
- 85–94 — what most pros use. No visible artefacts even on close inspection.
- 75–84 — fine for web upload and email. Slight softening in detailed areas.
- 60–74 — visible blocking starts in skies and gradients. Use only when bandwidth really matters.
- Below 60 — don't.
What about HEIC to WebP?
If the photo's destination is a modern website you control, WebP is the best choice — smaller than JPG, broader support than HEIC. Convert HEIC → JPG first, then run it through JPG to WebP for a roughly 30% additional size reduction.
Bulk conversion (when you have hundreds)
Just imported a year of iPhone photos and need them all converted? Drop the whole folder onto HEIC to JPG at once — it batches automatically and gives you a ZIP. EXIF orientation is auto-applied per file, so you don't end up with sideways portraits.
One last trick: stop the problem at the source
On your iPhone, go to Settings → Camera → Formats and switch from "High Efficiency" to "Most Compatible." New photos will save as JPG (and videos as H.264). You give up some storage, but you stop having to convert every time you send a photo anywhere.