Remove image backgrounds in 2026: AI tools that actually work
Background removal used to mean 20 minutes in Photoshop with the pen tool. AI changed that — but not every tool is equal. Here's what to look for, plus how to turn the result into stickers, product shots, or composites.
Removing a background used to mean twenty minutes in Photoshop with the pen tool, a feathered edge, and a stiff drink. In 2026, it's a click. But not every "AI background remover" produces the same result, and the gap between the best and the merely OK shows up in three places: hair, semi-transparent objects, and the edge where the subject meets a similar-colored background.
What modern background removal actually does
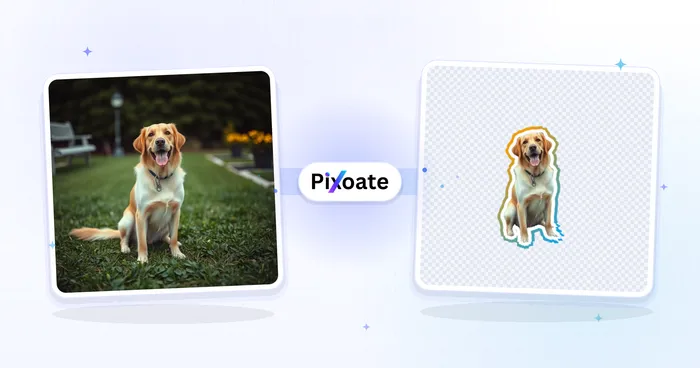
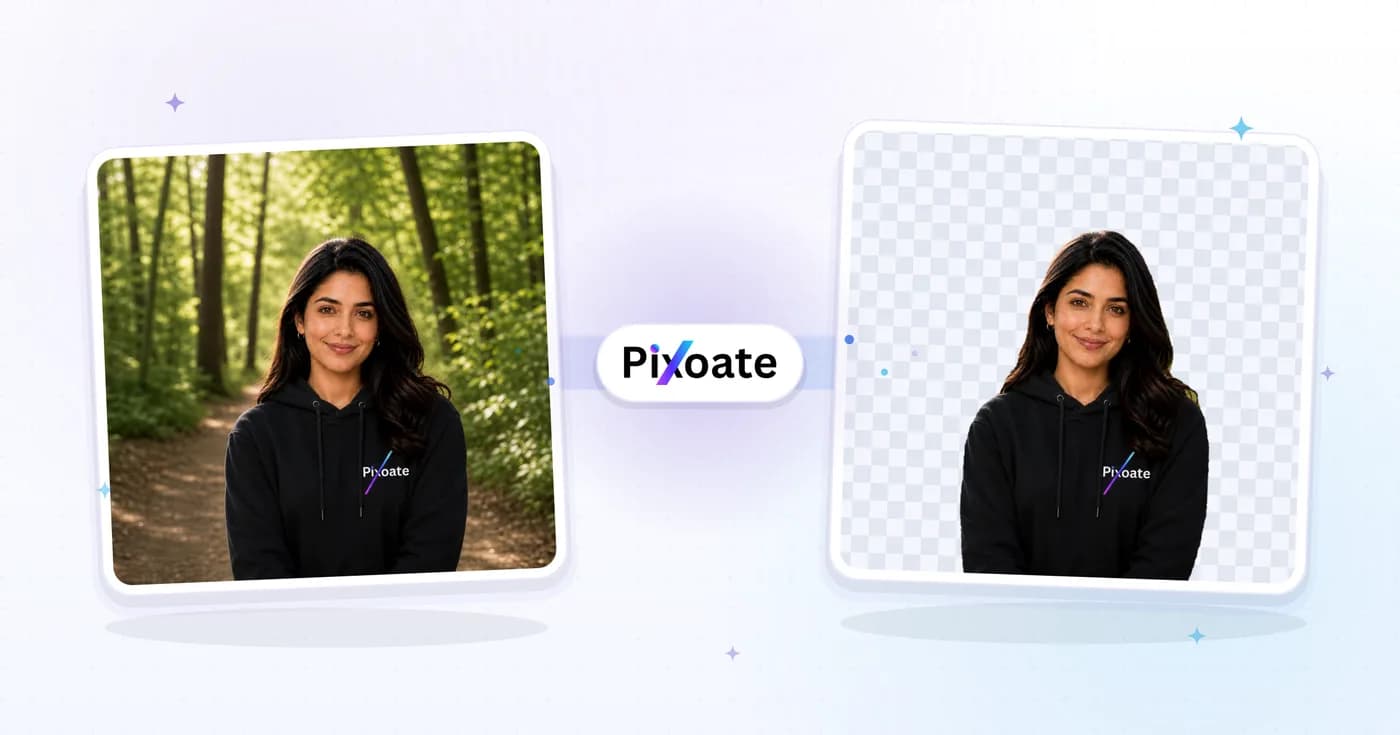
Today's background-removal models combine three techniques: semantic segmentation (knowing what's a person, what's a chair, what's sky), matting models that produce per-pixel transparency (not just on/off), and trimap refinement that cleans up hair and fur edges. The output is a PNG with proper alpha — drop it on any background and it looks composed, not pasted.
What to look for in a good result
- Hair strands should look like hair, not like a halo or a hard outline. Wisps and stray strands matter.
- Translucent things — sunglasses, glassware, sheer fabric — should keep their transparency, not flatten.
- Edges that match in color with the background (white shirt on white wall) should still get separated.
- Shadows from the subject onto the original background should be removed, not preserved as a smudge.
Pixoate's background remover uses a trimap-refinement pipeline so the hair and semi-transparent cases come out clean. Drop a photo, get back a transparent PNG — usually in under three seconds.
What you can do with the result
1. Stickers
Once the background is gone, you have a cut-out. Wrap it in a thick white outline and you have a sticker for WhatsApp, Telegram, or iMessage. Image to sticker does background removal + outline in one step, with the dimensions each messenger actually wants.
2. Product shots
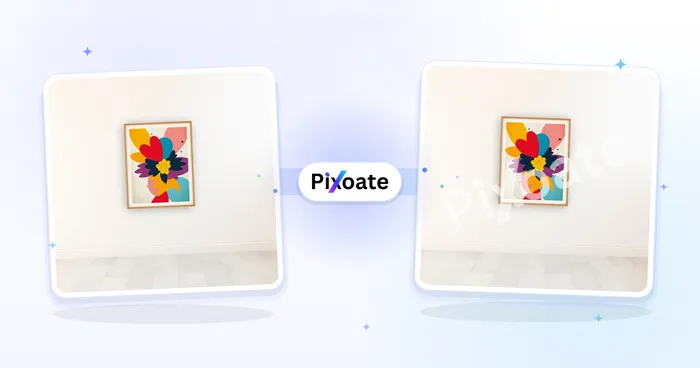
Place the cut-out on a clean white or branded background. Image overlay lets you composite the foreground onto any backdrop, with control over position and shadow. Add a watermark to protect your work before posting.
3. Profile pictures with a punch
Remove the busy office background from a portrait, then put it on a solid color gradient. Circle-crop the result if you want a clean LinkedIn or Slack avatar.
4. Memes and collages
Cut your subject out, paste it next to other cut-outs. Use the collage maker for a clean grid or strip layout.
Common failure modes (and how to fix them)
If the result looks wrong, the fix usually isn't a different tool — it's a different input. Three rules:
- Contrast helps. A dark subject on a light background gets a better cut than a busy subject on a similarly busy background. If you can pick the photo, pick the one with the cleanest separation.
- Focus matters. Motion blur and out-of-focus edges confuse the model. Sharp subject in, sharp edges out.
- Resolution matters less than you'd think. Above ~1500px on the long edge, more pixels just mean more processing time, not better edges.
One workflow tip
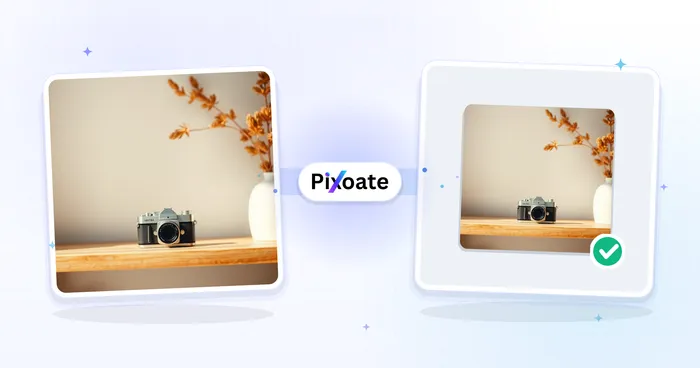
After background removal, the PNG often has more transparent area than you need. Run it through crop or resize to trim to the subject, then through compress — PNGs with large transparent regions compress beautifully, often to under 50KB.
Background removal is the easiest one-click transformation an AI image model can do. It's also the foundation for half of everything else you might want to do with a photo. Get the cut-out right, and the rest is just composition.