How to Increase Image Resolution: What Is Actually Possible
Pixels, DPI and print size explained: what increasing image resolution can and cannot do, how big you can print, and how to check the result.
Written by the Pixoate team. We check how each tool behaves before we describe it, and we date any prices or portal rules we quote.
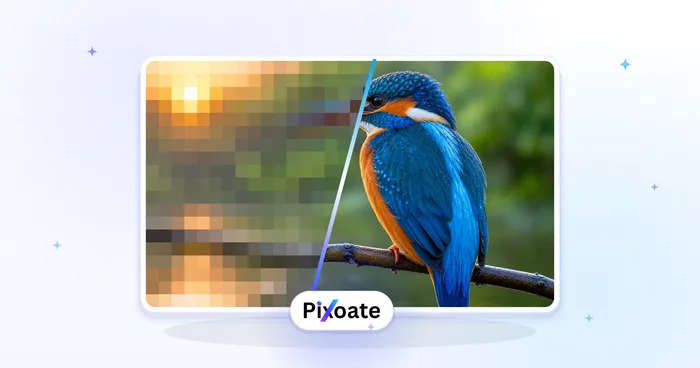
"Increase the resolution" is one of the most common image requests and one of the most misunderstood. Depending on who says it, it can mean more pixels, a sharper look or simply a bigger number in a file's properties. Only the first two change the picture, and neither one brings back detail the camera never recorded.
Start with a check that takes ten seconds. Look up the width and height of your image in pixels, then divide each by the pixels per inch your print needs. The result is the largest size you can print from the pixels you already have. If that is big enough, you may not need to enlarge anything. If it is not, the sections below show which step helps and what to expect from it. The upscaler and the resizer both list your width and height in their image information panel after you upload a file, and so do the file's properties on a computer.
Resolution is a pixel count, not a DPI label
The information in an image is its pixel dimensions: width times height. DPI or PPI is a number stored with the file that tells software how large to print those pixels. Changing it from 72 to 300 relabels the same pixels, and nothing becomes sharper.
That is why a file marked "300 DPI" can still be a small, soft picture. Pixoate's image resizer has no DPI field for the same reason. It works in pixels, by exact width and height or by a percentage.
How big can you print?
Print size in inches is the pixel count divided by the pixels per inch.
| Pixels | At 300 pixels per inch | At 150 pixels per inch |
|---|---|---|
| 1200 x 800 | 4.0 x 2.7 in | 8.0 x 5.3 in |
| 3000 x 2000 (6 megapixels) | 10.0 x 6.7 in | 20.0 x 13.3 in |
| 4000 x 3000 (12 megapixels) | 13.3 x 10.0 in | 26.7 x 20.0 in |
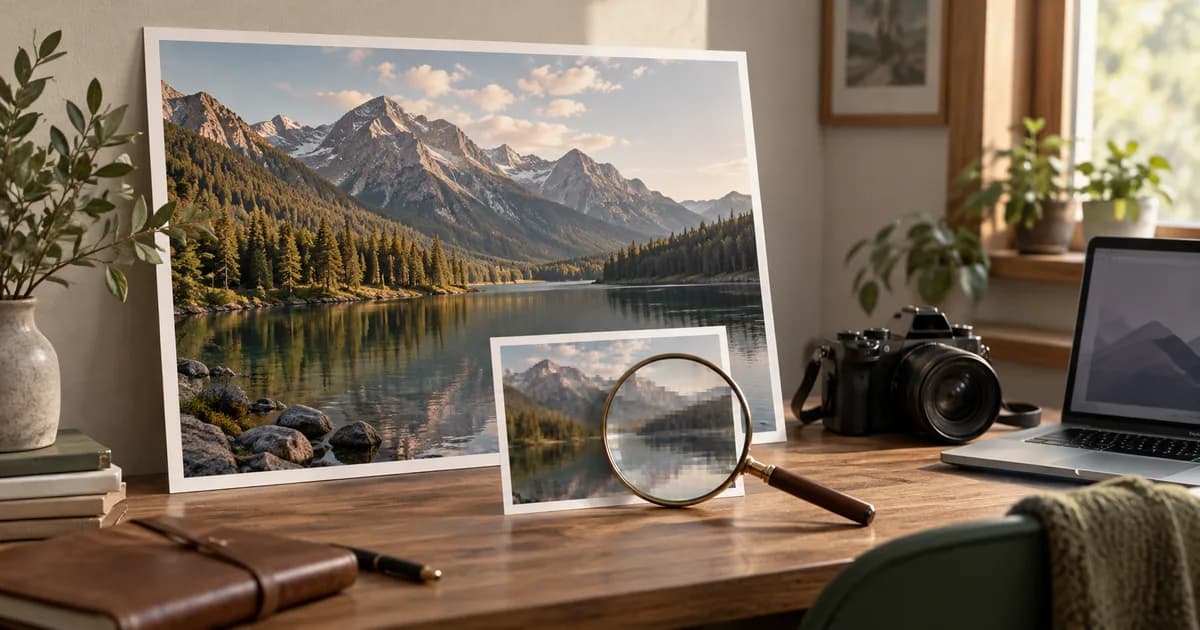
Close viewing, such as a photo in a hand or on a desk, asks for more pixels per inch than a poster seen from across a room. Ask your print service for its minimum rather than assuming one number fits every job.
Three things people mean by "increase resolution"
- More pixels. The picture becomes larger in width and height. This is enlarging or upscaling.
- A better look at the same size. Noise is reduced and edges look crisper. This is enhancing or sharpening, and the pixel count is not the point.
- A bigger DPI number. The file is relabeled and the picture does not change.
Which one you need depends on the problem. A picture that is too small for its frame needs the first. A picture that is large enough but soft or grainy needs the second. The third rarely solves anything.
Plain resize, AI upscale and enhance
A plain enlargement spreads the existing pixels over a bigger area, so edges turn soft or blocky. The resizer's 2x (200%) Enlarge button does this, and it is the right choice when you need an exact pixel size and no added detail.
The image upscaler redraws edges and texture as it enlarges, so the larger picture looks cleaner than a stretched one. The extra detail is estimated, not recovered. Scale Factor offers 2x, 3x and 4x, and each step multiplies width and height, so 2x gives four times the pixels and 4x gives sixteen times. A 1000 pixel photo becomes 2000, 3000 or 4000 pixels wide.
The photo enhancer is for condition. It reduces noise, sharpens edges and balances brightness, contrast and color, with an Enhancement strength slider from Subtle to Strong. It has no Scale Factor, so use the upscaler when you need to choose a larger size.
Choose the smallest step that works
- Pixels already cover the print size, but the photo is soft or grainy: enhance it and leave the size alone.
- You need up to twice the width you have: use 2x, then use the resizer to bring the result down to the exact size you need.
- You are far short: 4x can reach the size, but most of the added detail is estimated. Consider printing smaller or viewing from further away.
- A form wants exact pixel dimensions: resize. No AI detail is needed.
Use the smallest factor that reaches your size. Higher factors take longer and estimate more.
What the upscaler gives back
The result is a JPG, so a transparent PNG loses its transparency. Scale Factor 2x is available without Premium, and 3x and 4x need Premium. Without Premium the tool works from a web-size copy, so the result can be smaller than your original. The result screen shows the width and height in pixels, so read it before you rely on the file.
Check the result before you print or publish
- Compare the new width and height with the target from the table above.
- View the picture at actual size (100 percent zoom) and look at eyes, hair, fabric, lettering and repeating patterns.
- Compare any text, numbers or logos with the original. Generated detail can differ from what was really there.
- For a large print, print a small crop at final size first.
- Keep the original file next to the enlarged copy.
Here is an invented example
A friend sends a small image of a pet, 800 pixels wide, and wants a 20 cm wide print. At 150 pixels per inch, 20 cm is about 7.9 inches, which needs roughly 1,180 pixels across. That is about one and a half times what the file has, so 2x covers it with room to spare, and you can bring the result down with the resizer to the exact size. At 300 pixels per inch the same print needs around 2,360 pixels, which is three times the width. That is where 3x or 4x enters, and where most of the added detail is estimated. Printing a small crop first shows you whether fur and eyes hold up before you spend on the full sheet.
When it goes wrong
- The enlarged photo looks smooth like a painting. The tool had little to build on. Try a lower factor, or print smaller.
- Text or a logo changed shape. Generated detail can differ from the original, so redraw the logo from a vector file where you can.
- The result is smaller than expected. Read the width and height on the result screen, since a web-size copy may have been used.
- The file got heavier but not sharper. More pixels cost file size, and size alone is not a sign of quality.
Related guides
When softness is the main problem, see how to fix a blurry photo. To shrink the file once you have the size, use the steps in compressing a JPEG or PNG without visible loss.
Frequently asked questions
Does changing 72 DPI to 300 DPI make a photo sharper?
No. DPI is a label that tells software how large to print the existing pixels. Changing it leaves the pixel dimensions and the detail exactly as they were. More detail needs more pixels from a larger original or an upscale.
How many pixels do I need for an 8 x 10 inch print?
At 300 pixels per inch you need 2400 x 3000 pixels, about 7.2 megapixels. At 150 pixels per inch, 1200 x 1500 is enough, about 1.8 megapixels. What suffices depends on viewing distance, so check your print service's minimum.
Does a bigger file size mean higher resolution?
Not necessarily. File size measures how much data a file holds, which depends on pixel dimensions, format and compression. A 5 MB JPG and a 500 KB JPG can have the same width and height. Check the pixel dimensions instead.
Is it better to upscale or to print smaller?
Printing smaller keeps every pixel real and raises the pixels per inch. Upscaling adds estimated detail so a larger print looks cleaner. If the size is fixed, upscale. If it is flexible, try the smaller print first.
Check your pixel dimensions against the table, then increase the image resolution with the upscaler if you are short.