How to Fix a Blurry Photo (and What AI Can and Cannot Recover)
Find out whether your photo has motion blur, missed focus, low resolution or pixelation, which fix to try for each, and how to check the result.
Written by the Pixoate team. We check how each tool behaves before we describe it, and we date any prices or portal rules we quote.
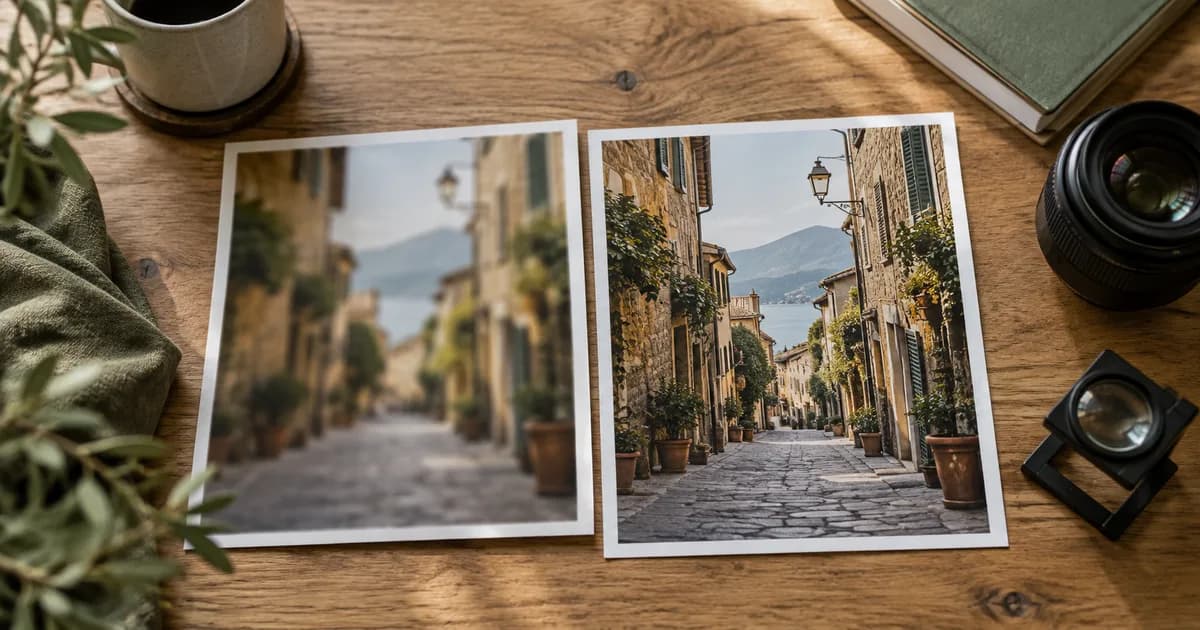
You open a photo you cannot retake and the faces are soft, the label is smeared or the whole frame looks smudged. The honest answer to "can I fix it?" is that some blur improves a lot, some improves a little and some does not improve at all, because "blurry" covers several different problems.
This guide shows how to fix a blurry photo by telling the problems apart and picking the right fix, and it says plainly when the answer is to reshoot.
Start here: three steps
- Zoom to actual size on the part that matters, such as a face, a label or a line of text, and name the blur using the table below.
- Match it to a route: slight softness or noise goes to the photo enhancer, too few pixels goes to the upscaler, and an old print goes to photo restoration.
- Run the fix once, compare it with the original at full size, and keep the original file next to it.
Work out which kind of blur you have
| What you see | Likely cause | What to expect |
|---|---|---|
| Streaks or doubled edges running one way | Motion blur from camera shake or a moving subject | Mild cases improve a little, heavy ones do not |
| Everything soft with no direction, or the background sharper than the subject | Missed focus | A near miss improves, a clear miss does not |
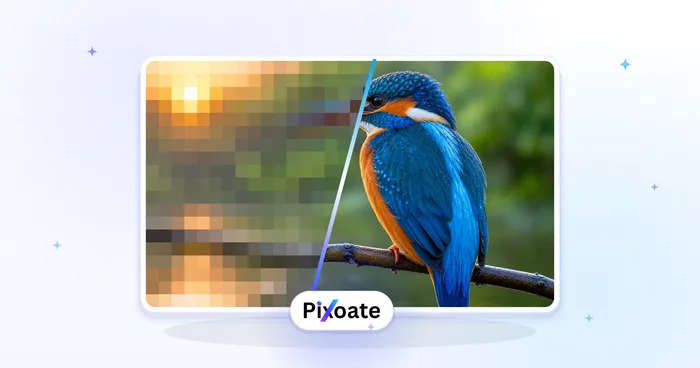
| Sharp when small, soft or blocky when enlarged | Too few pixels | A larger, smoother version is possible |
| Square blocks or smeared patches of color | Heavy compression, or a copy of a copy | Smoother, but lost detail stays lost |
Most real photos mix two of these. A phone photo taken in a dim room is often shaken and noisy at once.
Fix a blurry photo: pick the route by the diagnosis
| Diagnosis | Try | What to set | What to expect |
|---|---|---|---|
| Slightly soft or noisy | Photo enhancer | Default Enhancement strength; Subtle for portraits, Strong for grainy low-light shots | A clearer version of the same photo |
| Small and blocky when enlarged | Image upscaler | 2x without Premium; 3x and 4x need Premium | A larger, smoother picture, with estimated detail |
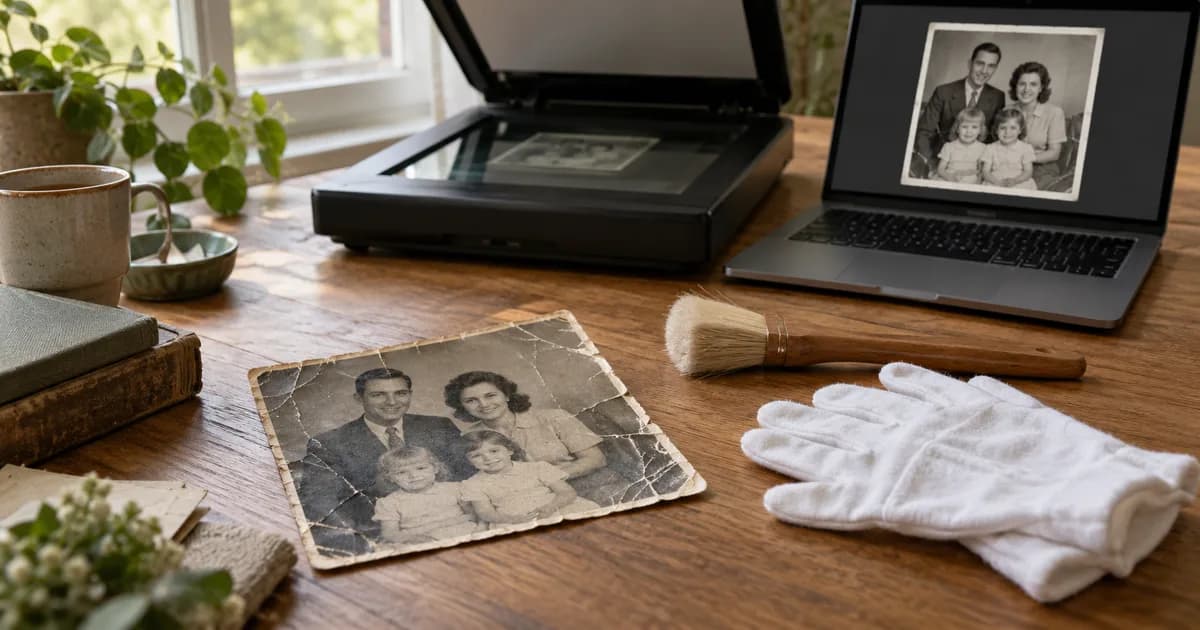
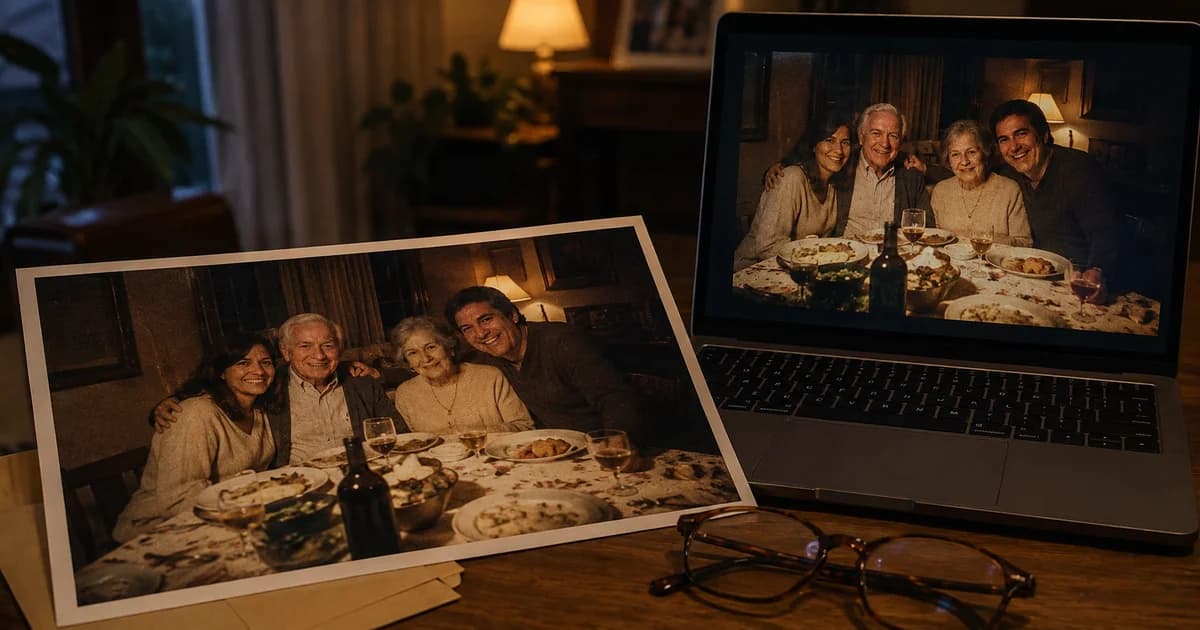
| An old, faded or soft print | Old photo restoration | Improve clarity, with Restoration strength from Gentle to Full | Cleaner and sharper, not new |
| A mosaic filter applied on purpose | Nothing | None | The detail is gone from the file |
| Heavy motion blur or a clear focus miss | Reshoot or accept | None | No tool rebuilds detail that was never recorded |
Sharpening cannot add information that was not recorded. It raises contrast along edges so the detail that is there looks crisper, which is why a slightly soft photo can improve a lot while one smeared by real movement cannot.
Three worked examples
A dim restaurant photo with slight shake. Run the enhancer at its default strength and compare the preview with the original at full size. If skin looks waxy or edges look outlined, move the slider toward Subtle and enhance again. Each change clears the preview, so nothing stale is saved.
A small web image needed at a larger width. A 400-pixel-wide picture reaches 1,600 pixels at 4x, which needs Premium, while 2x reaches 800 without it. Without Premium the tool works from a web-size copy, so read the width and height on the result screen before you rely on the file. A larger picture is not a sharper source, so check faces and lettering afterward.
A phone photo of a menu board with smeared words. Letters that merged together or are too small to resolve do not come back, and nothing can reveal text that was blurred on purpose. Retake the shot closer, with the phone held with both hands, if you still can.
Fix condition before size
If a photo is both noisy and small, clean it first and enlarge it second, because enlarging a noisy picture enlarges the noise too. For an old print, restore it first and enlarge the result afterward, since a faded or scratched scan gives the upscaler less to work with. A better scan is often the bigger gain, so rescan the print flat, in even light and at a higher resolution setting, before you ask software for more.
Check the result before you use it
A result that looks impressive on a small screen can fall apart at full size. Before you keep or share it:
- View it at actual size and at the size it will be used, looking for bright outlines along edges, skin that has gone waxy and textures that repeat.
- Compare faces with the original. Sharper is not the same as accurate, so if a face looks like a different person, lower the strength or keep the original.
- Check names, numbers and dates. If they were not legible before, do not treat the enhanced version as proof of what they say.
- Keep the original file next to the enhanced copy.
When to reshoot, rescan or accept it
If you can take the photo again, that beats any software. Hold the phone with both hands, wait for focus to lock and add light, so the camera does not need a slow shutter that turns small hand movements into blur. For a print, rescan it.
If the moment cannot be repeated, a modest improvement or the untouched original may be the right outcome. Stop when the picture looks like the memory, not when it looks as sharp as a new photo.
Here is an invented example
A parent has a school-play photo taken from the back of a hall. The child on stage is a small, soft figure in a large frame. Zooming to actual size shows two problems at once: mild noise from the dim light and a face that is only a few dozen pixels across. The sensible order is to run the enhancer at a gentle strength, crop to the stage, and then judge the face. If the face reads as a person you recognize, the photo is worth keeping and printing small. If it looks like a smooth mask with painted-on features, that is the tool guessing, and the original crop is the more honest picture. Neither outcome means you did something wrong; the pixels simply were not there.
When it goes wrong
- Skin looks plastic or eyes look drawn on. The strength is too high, or there was too little detail to start with.
- Text looks sharper but says something different. Do not trust it, and go back to the original.
- A halo of bright outlines appears around people. Lower the strength and try again.
- Nothing visible changed. The photo may be sharp but small, in which case it needs the upscaler, or the blur may be heavy motion that no setting can undo.
Related guides
If the real issue is size, what is possible when you increase image resolution explains pixels and print size. For a faded print, restoring an old photo gives a repair order.
Frequently asked questions
Why does my enhanced photo look over-sharpened?
The setting is too strong for that photo. Strong sharpening adds bright outlines and smooths skin. Move Enhancement strength toward Subtle, enhance again and compare with the original at full size.
Should I enhance or enlarge first?
Fix condition before size. Clean up noise and softness first, then enlarge the result if you also need more pixels. For an old print, restore it first and enlarge afterward.
Will fixing the blur make the photo big enough to print?
Not by itself. Printing needs enough pixels for the size you want, and sharpening does not add them. Enlarge the photo, then read the width and height on the result screen against what the print needs.
Upload the sharpest copy you have, fix the blurry photo with the AI photo enhancer and check it at full size before you use it.