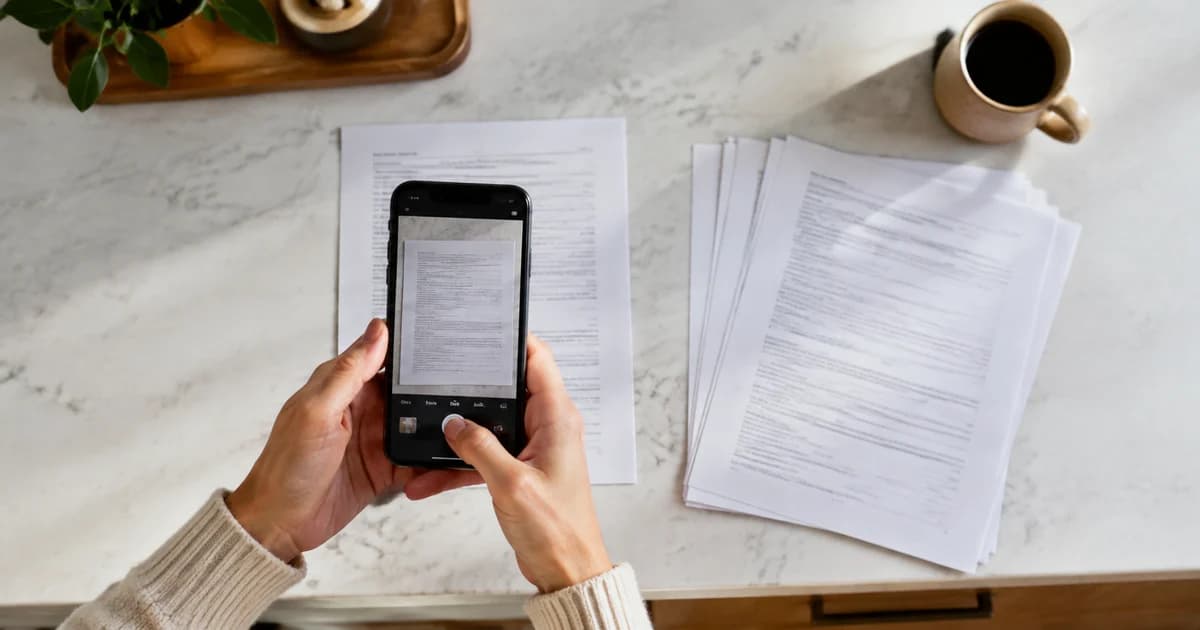
How to Turn Photos into A4 or US Letter PDFs for Printing
Turn phone photos into A4 or US Letter PDFs with Pixoate. Choose page layout, review margins and check the output before printing or sharing.
A photo fills your phone screen but prints as a tiny rectangle, runs into a page edge or lands on the wrong paper size. The image and the sheet of paper have different proportions, and the PDF needs to account for both.
Pixoate's image-to-PDF page settings let you assemble photos on a chosen page size. Use A4, US Letter or another available option according to the recipient's needs, then review how the image sits on the page.
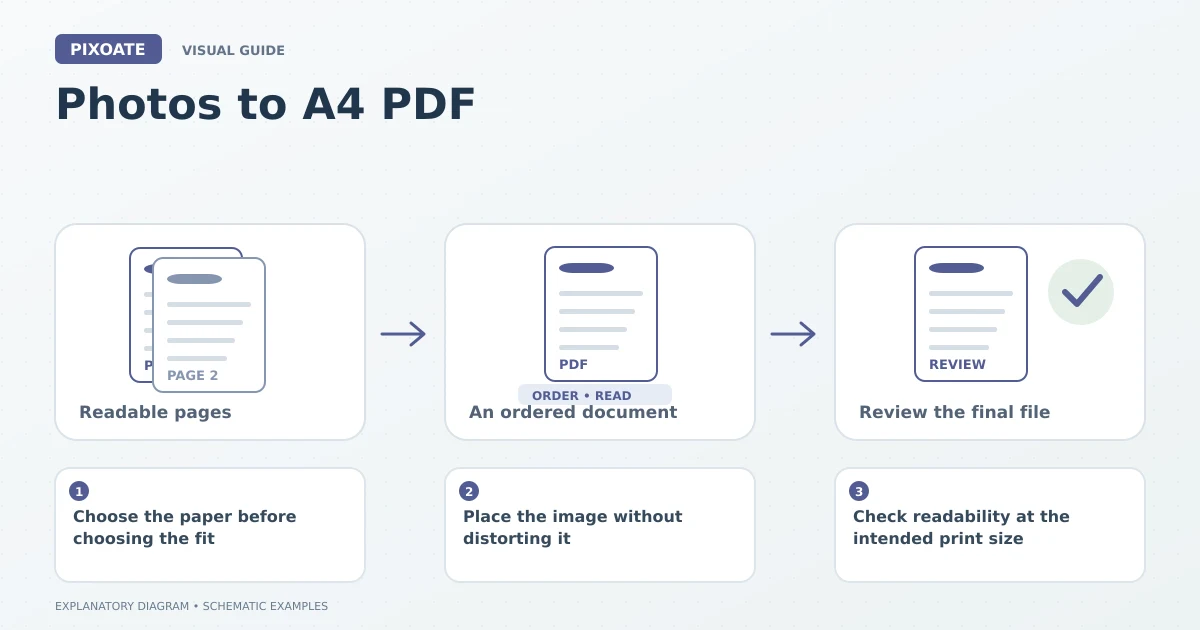
Original explanatory graphic. The scenes and sample records are schematic illustrations, not screenshots or measured tool results.
Choose the paper before choosing the fit
A4 measures 210 by 297 millimetres. US Letter measures 8.5 by 11 inches. They are close enough to be confused and different enough to change margins or scaling when printed.
Ask which size the recipient actually uses. Do not choose solely from their country if the document includes a stated requirement. A business in the UK may request Letter for a particular packet, and a US office may work with A4 material.
Place the image without distorting it
Upload the photo to Image to PDF and select the intended page size. Choose portrait or landscape orientation according to the image and its purpose. Review margins and keep the original proportions.
A wide landscape photo placed on a portrait page usually leaves space above and below. Stretching it to fill the sheet distorts the content. Cropping may be acceptable for a decorative print, but it can remove essential details from a photographed document.
For paperwork that needs cleaner boundaries and lighting, use Scan to PDF with A4 or Letter output. For iPhone images that need a PDF destination, HEIC to PDF provides a focused conversion route.
Check readability at the intended print size
The sharpest-looking phone preview can conceal very small text once several images share a standard page. Open the finished PDF at a realistic reading size and inspect fine print, labels and signatures.
If the source is too distant, retake it. Enlarging a poor image on a bigger PDF page does not establish missing detail. For a long receipt, consider whether one page or several readable sections will serve the recipient better.
Review the print settings separately
The PDF page size and the printer's settings are two stages. Confirm the loaded paper and inspect the printer preview. Scaling options may change the printed result even when the PDF itself is correctly sized.
| Before export | Before printing |
|---|---|
| Correct PDF page dimensions | Correct paper selected in the print dialogue |
| Readable content and intact edges | No unexpected cropping or extra scaling |
| Appropriate orientation | Printer orientation matches the intended layout |
Can I make a borderless print?
The image layout is only part of that result. Borderless printing depends on the printer, paper and print settings. Check those requirements rather than promising edge-to-edge output from a PDF conversion alone.
Start with Pixoate Image to PDF, select the destination paper and inspect the final file. The useful outcome is a page that prints predictably and remains easy to read.