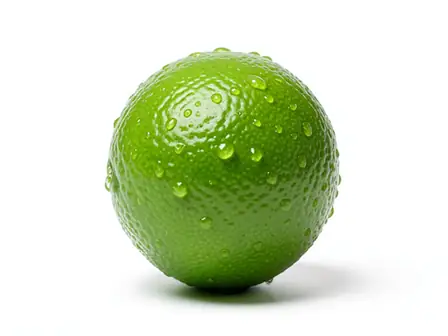
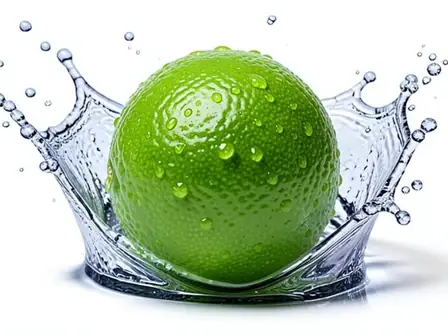
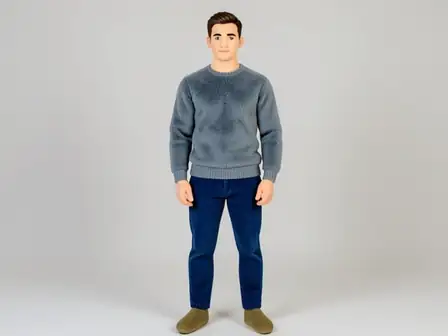
The same source image before and after applying Backlight Rescue · for Macro · Cinematic Finish.
Backlight Rescue · for Macro · Cinematic Finish applied to the same source image
Original source image before Backlight Rescue · for Macro · Cinematic Finish

Backlight Rescue + Macro + Cinematic Lighting Effect

Start with Backlight Rescue, shape it with Macro, and close with Cinematic in one adjustable lighting and detail recipe.

Upload a photo for the Backlight Rescue · for Macro · Cinematic Finish effect

What you can do with the Backlight Rescue · for Macro · Cinematic Finish effect

Review the available effect capabilities before you begin.

  • Apply the Backlight Rescue · for Macro · Cinematic Finish effect to any photo
  • Fine-tune the effect strength to taste
  • Preview your photo live as you edit
  • Download your edited photo in high quality
  • Apply Backlight Rescue · for Macro · Cinematic Finish to many photos at once

How it works

The renderer first applies Backlight Rescue, then introduces for Macro, and finally uses Cinematic Finish. Each stage has a distinct role in the lighting and detail recipe, while the intensity control blends the completed recipe against the source.


Processing

Backlight Rescue · for Macro · Cinematic Finish uses an AI action. Any separate allowance is shown before this effect starts processing.

Best for

The exact Backlight Rescue, for Macro, and Cinematic Finish recipe works best for interiors with bright windows, night scenes that need readable detail, and product photos that need controlled highlight definition.

Less suited to: Backlight Rescue, for Macro, and Cinematic Finish needs extra care with heavily clipped highlights, crushed source files, or flat illustrations that contain little recoverable tonal information.

Ways to use Backlight Rescue · for Macro · Cinematic Finish

  • Use the Backlight Rescue foundation with Macro and Cinematic for interiors with bright windows.
  • Apply the Backlight Rescue, for Macro, and Cinematic Finish combination to night scenes that need readable detail.
  • Choose Cinematic when preparing product photos that need controlled highlight definition through the Backlight Rescue and Macro recipe.

Backlight Rescue · for Macro · Cinematic Finish questions

How does the Backlight Rescue · for Macro · Cinematic Finish recipe work?
Backlight Rescue provides the starting structure, for Macro supplies the middle treatment, and Cinematic Finish determines the final rendering character. Intensity blends all three stages together against the source photo.
When should I use Backlight Rescue with for Macro and Cinematic Finish?
Use the Backlight Rescue, for Macro, and Cinematic Finish combination for interiors with bright windows, night scenes that need readable detail, or product photos that need controlled highlight definition. Reduce its intensity when the source contains heavily clipped highlights, crushed source files, or flat illustrations that contain little recoverable tonal information.

More Light & HDR effects

See the featured effects in motion

The strongest effect picks lead this belt before the rest of the catalog.