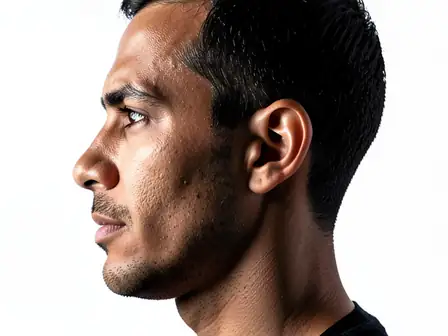
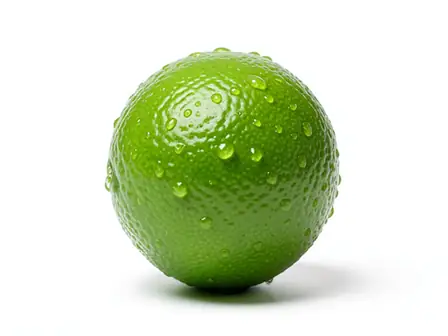
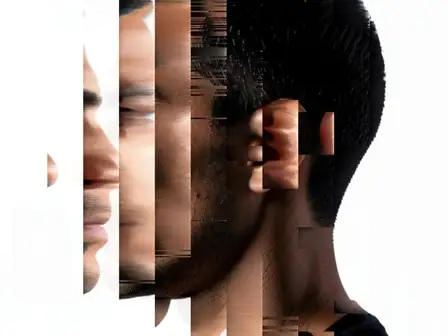
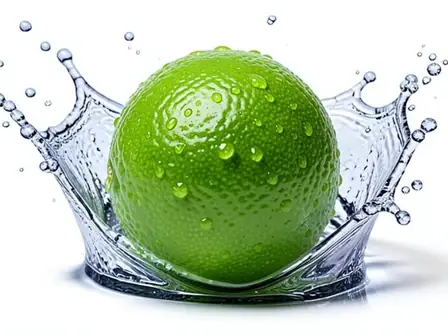
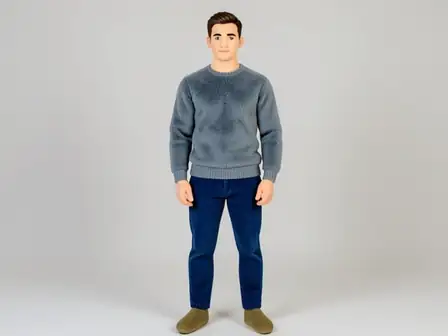
The same source image before and after applying Clarity Recovery · for Macro · Print-Ready Finish.
Clarity Recovery · for Macro · Print-Ready Finish applied to the same source image
Original source image before Clarity Recovery · for Macro · Print-Ready Finish

Clarity Recovery + Macro + Print-Ready Lighting Effect

Start with Clarity Recovery, shape it with Macro, and close with Print-Ready in one adjustable lighting and detail recipe.

Upload a photo for the Clarity Recovery · for Macro · Print-Ready Finish effect

What you can do with the Clarity Recovery · for Macro · Print-Ready Finish effect

Review the available effect capabilities before you begin.

  • Apply the Clarity Recovery · for Macro · Print-Ready Finish effect to any photo
  • Fine-tune the effect strength to taste
  • Preview your photo live as you edit
  • Download your edited photo in high quality
  • Apply Clarity Recovery · for Macro · Print-Ready Finish to many photos at once

How it works

The renderer first applies Clarity Recovery, then introduces for Macro, and finally uses Print-Ready Finish. Each stage has a distinct role in the lighting and detail recipe, while the intensity control blends the completed recipe against the source.


Processing

Clarity Recovery · for Macro · Print-Ready Finish uses an AI action. Any separate allowance is shown before this effect starts processing.

Best for

The exact Clarity Recovery, for Macro, and Print-Ready Finish recipe works best for architecture with deep directional shadows, backlit portraits, and landscapes with a wide exposure range.

Less suited to: Clarity Recovery, for Macro, and Print-Ready Finish needs extra care with heavily clipped highlights, crushed source files, or flat illustrations that contain little recoverable tonal information.

Ways to use Clarity Recovery · for Macro · Print-Ready Finish

  • Use the Clarity Recovery foundation with Macro and Print-Ready for architecture with deep directional shadows.
  • Apply the Clarity Recovery, for Macro, and Print-Ready Finish combination to backlit portraits.
  • Choose Print-Ready when preparing landscapes with a wide exposure range through the Clarity Recovery and Macro recipe.

Clarity Recovery · for Macro · Print-Ready Finish questions

How does the Clarity Recovery · for Macro · Print-Ready Finish recipe work?
Clarity Recovery provides the starting structure, for Macro supplies the middle treatment, and Print-Ready Finish determines the final rendering character. Intensity blends all three stages together against the source photo.
When should I use Clarity Recovery with for Macro and Print-Ready Finish?
Use the Clarity Recovery, for Macro, and Print-Ready Finish combination for architecture with deep directional shadows, backlit portraits, or landscapes with a wide exposure range. Reduce its intensity when the source contains heavily clipped highlights, crushed source files, or flat illustrations that contain little recoverable tonal information.

More Light & HDR effects

See the featured effects in motion

The strongest effect picks lead this belt before the rest of the catalog.