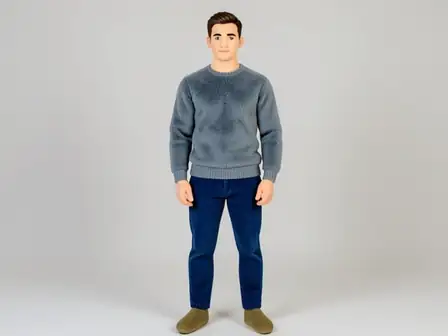
How it works
The renderer first applies Engraving, then introduces Sepia Ink, and finally uses Glowing Lines. Each stage has a distinct role in the line-and-print recipe, while the intensity control blends the completed recipe against the source.


Start with Engraving, shape it with Sepia Ink, and close with Glowing Lines in one adjustable line-and-print recipe.
Review the available effect capabilities before you begin.
The renderer first applies Engraving, then introduces Sepia Ink, and finally uses Glowing Lines. Each stage has a distinct role in the line-and-print recipe, while the intensity control blends the completed recipe against the source.
Upload a photo, adjust the Engraving · Sepia Ink · Glowing Lines intensity, compare its processed preview with the source, and download the finished result.
Use the intensity control to balance the Engraving · Sepia Ink · Glowing Lines treatment with the detail and character of your original photo.
A reduced Engraving · Sepia Ink · Glowing Lines preview keeps adjustments responsive. Free downloads are clean and web-size; Premium or a credit unlocks the original resolution.
Engraving · Sepia Ink · Glowing Lines uploads are processed on secure servers and automatically removed under the normal Pixoate retention policy.
The renderer first applies Engraving, then introduces Sepia Ink, and finally uses Glowing Lines. Each stage has a distinct role in the line-and-print recipe, while the intensity control blends the completed recipe against the source.
Engraving · Sepia Ink · Glowing Lines runs as a classic image effect and does not use an AI action.
The exact Engraving, Sepia Ink, and Glowing Lines recipe works best for product illustrations with a clear silhouette, architectural sketches, and coloring-page references.
Less suited to: Engraving, Sepia Ink, and Glowing Lines needs extra care with very noisy photos, low-resolution faces, or scenes whose subject and background have almost no edge contrast.
Tools for common next steps after Photo Effects.
Creative & Design
Turn a photo into classic, storybook, sticker, watercolor, or custom cartoon artwork with editable AI directions.
Try it nowCreative & Design
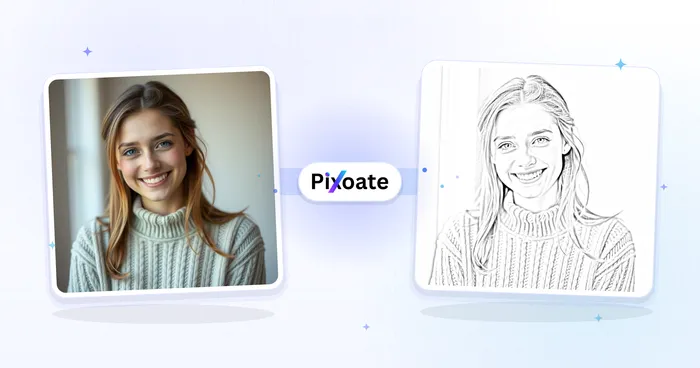
Convert a photo into a pencil-sketch style image and adjust the shadow depth before download.
Try it nowPhoto Editing & Utilities
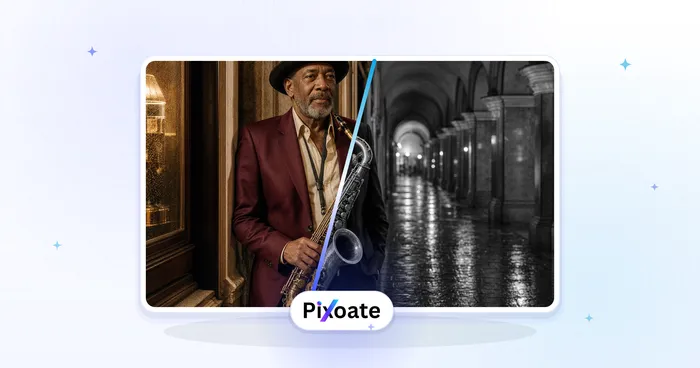
Convert an image to black and white. Adjust the intensity and preview the result.
Try it nowThe strongest effect picks lead this belt before the rest of the catalog.