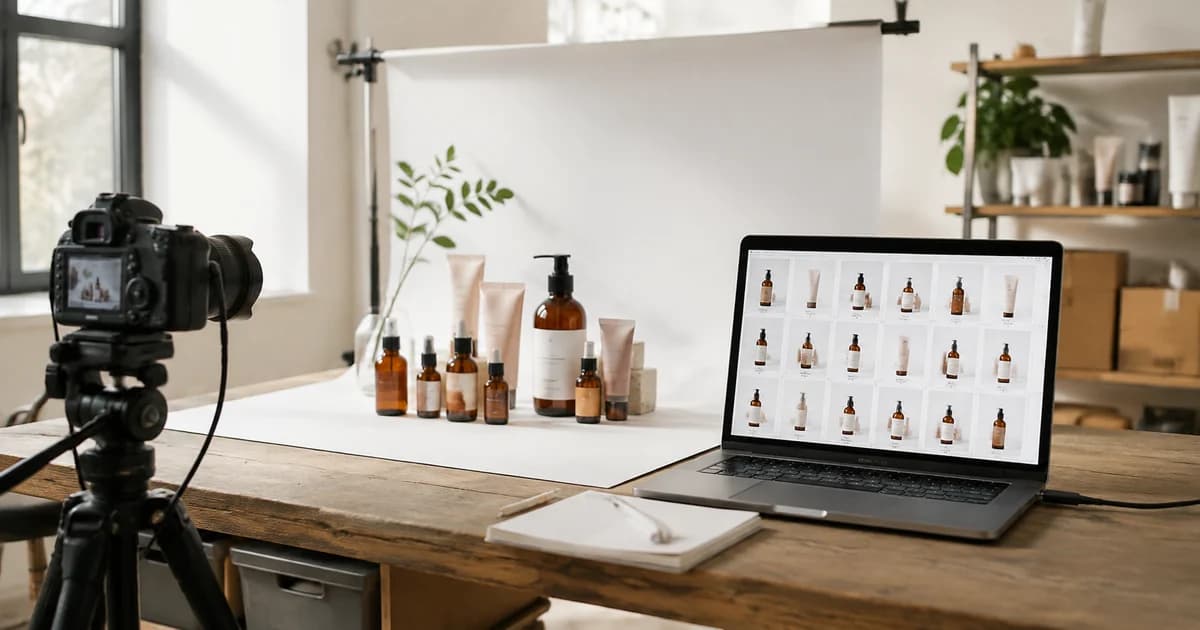
How to Get a Professional Headshot from a Casual Photo: What to Check
Turn a casual photo into a professional headshot: which photos work as a source, what AI changes, how to check likeness and details, and what to disclose.
Written by the Pixoate team. We check how each tool behaves before we describe it, and we date any prices or portal rules we quote.
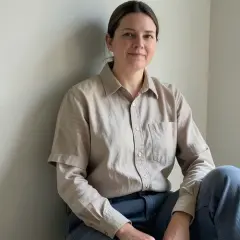
You have a photo that is nearly right: a good smile, a sharp face, the wrong wall behind you. Or a crop from a wedding or a team lunch. You need a professional headshot for a profile or a job application, and a studio session is not happening this month.
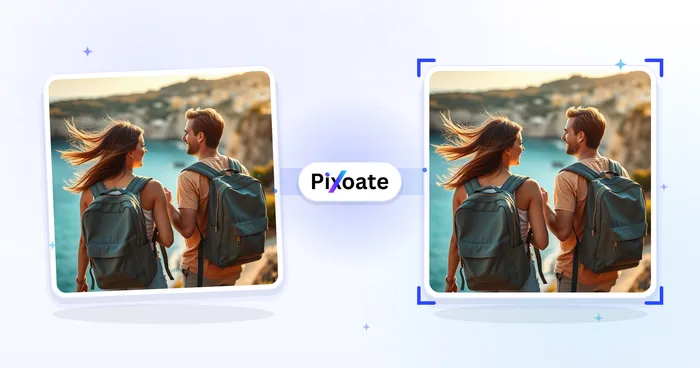
An AI headshot tool such as the LinkedIn headshot generator can turn that photo into a polished portrait with a cleaner backdrop, professional clothing and even light. Whether the result is usable depends on the photo you start from and the checks you run after. This guide covers both, and when a plain edit is safer.
A professional headshot in short: choose, upload, compare
Choose the photo before you choose the tool.
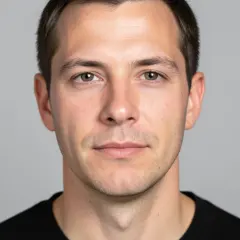
- Pick a recent photo where your face is in focus, well lit, facing the camera and alone in the frame.
- Crop it so your head and shoulders sit where you want them, with space left above your head.
- Upload it and pick a look under Styles: Neutral studio, Modern office or Warm editorial.
- Use Custom instructions (optional) just to name clothing, backdrop or light, then select Generate Professional headshot.
- Set the result beside your original at actual size and keep it only if it still looks like you.
Which casual photos work as a starting point
The generator is asked to keep your face, so the photo must already hold what it needs. Judge candidates at actual size.
| Look for | Why it matters | Skip the photo when |
|---|---|---|
| Soft, even light | Window light or open shade shows the whole face | One side is in deep shadow, or flash glare sits on skin or lenses |
| A face with enough pixels | Eyes, teeth and hairline stay crisp when you zoom in | The face is small in a wide shot, or looks blocky enlarged |
| A relaxed, front-facing expression | The portrait is built from it, so pick one you would wear to a meeting | Eyes closed, mid-laugh or head tilted far |
| Glasses | Frames and eyes should stay as photographed | Glare hides the eyes, or a hat brim shades them |
| One person | The portrait is built around a single face | Others are in frame and cannot be cropped out |
| A recent, unfiltered photo | The portrait is meant to look like you as photographed | A beauty filter was applied, or the photo is years old |
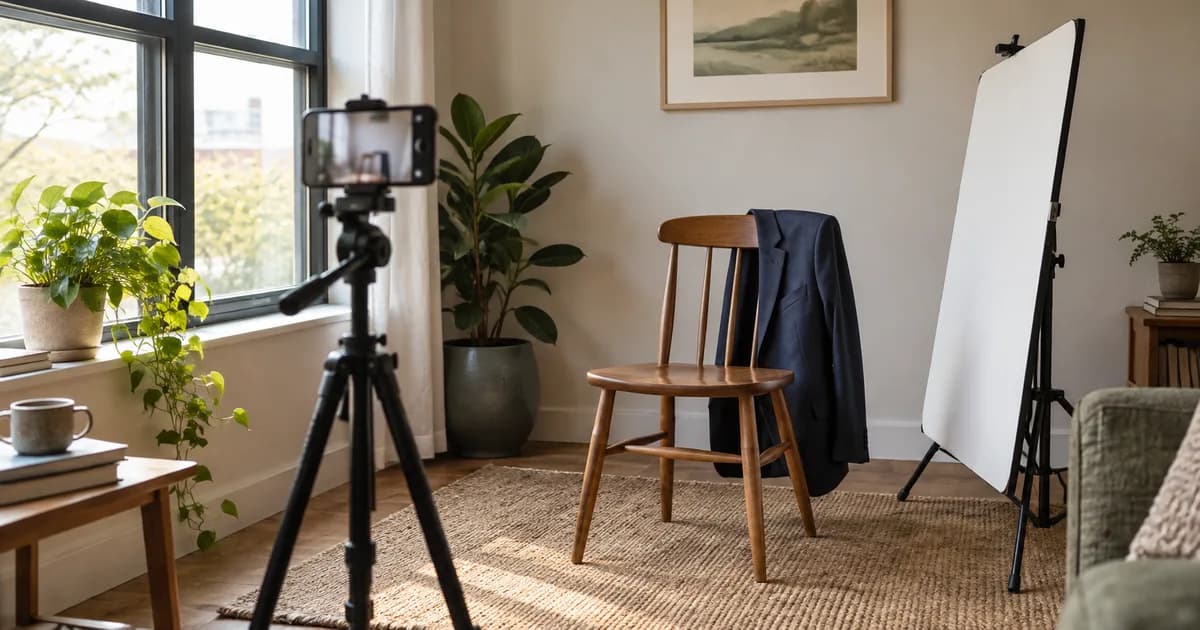
A phone photo in JPG, PNG, WebP or HEIC format uploads as it is. The weak spot is a screenshot or a recompressed copy, which has already lost detail that no setting brings back. Taking a new photo? Face a window, hold the phone level with your eyes and use the timer.
What the generator changes, and what has to stay you
The generator redraws the whole portrait from your photo, asked to keep the same person, so changes and risks sit side by side.
| Meant to change | Meant to stay |
|---|---|
| Clothing and collar | Face shape, eyes, nose, mouth and jaw |
| Background and its color | Skin tone, hair color and hairline |
| Light and shadow | Age and distinctive features such as freckles or glasses |
Framing stays your job: crop before you upload. There is no retouch slider and no brush to protect an area, and the page itself says it cannot promise exact facial preservation, so the checks below matter. Your own words also carry weight. If you ask for another hairstyle or to look younger, the generator can follow, and the portrait stops being a likeness of you. Describe what you wear, what is behind you and how it is lit, and leave your face out of it. If your real jacket matters, say so in Custom instructions.
For a professional headshot background, a quiet, plain color keeps attention on your face. Name one color in Custom instructions and compare what comes back with your brand swatch, because an exact match is not promised.
Check the result like a reviewer
Open the result beside your original at actual size, then shrink it to the size it will be shown, usually a small circle:
| Check | What to look for |
|---|---|
| Face and age | Eye shape and spacing, nose, jaw, skin tone, apparent age. Ask someone who knows you |
| Eyes and glasses | Matching eyes, natural highlights, symmetrical frames and temples |
| Teeth and mouth | A natural number of teeth, none merged or doubled, believable lips |
| Hair and ears | Your real hairline, no strands melting into the background, matching ears |
| Neck, collar and shoulders | A collar that lies flat, seams and buttons that line up, plausible shoulders |
| Jewelry | Matching earrings, chains and pendants that do not merge into skin or fabric |
| Text, logos and background | Lettering, badges or logos that were not there, lines that bend, objects that make no sense |
| Hands and cuffs | If a hand shows: five fingers, natural joints, cuffs that join the arm |
If a detail is wrong, generate again, shorten the instruction or try another look. After a few runs, return to the original: a near miss is worse than a plain photo that is exactly you.
A worked example, and what to do when the results drift
Here is an invented example. Priya is applying for a project manager role and has one good photo: a candid shot from a colleague's leaving party, taken near a window, with a crowded bookshelf behind her. She crops it to head and shoulders so no one else is in frame, leaves space above her hair, and picks Neutral studio. In Custom instructions she writes only "navy blazer, plain light grey background, soft window light".
The first result has the right clothing and backdrop, but the earrings do not match and the left collar folds oddly. She generates again with the same short instruction and the second result is clean. She then shrinks it to the size of a profile circle, asks a friend who knows her whether it looks like her, and puts it beside the original. The friend says the smile is slightly broader than the real one. Priya keeps the file for the profile and uses the original, unedited photo for the application form, which asks for a candid image.
Nothing in that story is unusual. Generated portraits often need two or three runs, and the faults tend to sit in small places such as jewelry, collars and teeth.
If results keep drifting, work through this list before you give up:
- Shorten the instruction. Long lists of wishes give the generator more room to change things you did not ask about.
- Try a different starting photo. A sharper face with softer light usually helps more than any wording.
- Switch the look. Modern office and Neutral studio treat the backdrop differently, so one can suit your photo better.
- Stop after a few runs. If the face still feels off, a plain edit of the original is the honest choice.
Consent, disclosure and honest use
Use a photo you own or have permission to use. If the portrait shows a colleague, client or relative, get their approval of the result before it goes public: it is their likeness and their decision.
Keep the portrait an honest representation. Do not add a uniform, badge, logo or setting that suggests a role, employer or qualification you do not have. A generated portrait is not an identity document and not proof of any role.
Policies differ by employer, platform and country. If a destination's policy requires disclosure of AI-assisted images, follow it. For a resume or CV, check first that a photo is normal and lawful where you are applying. This is general guidance, not legal advice.
When a plain retouch or a background change is the better choice
The generator redraws the whole picture, so use it when clothing, backdrop and light all need to change. If only one thing is wrong, a plain edit leaves your face as photographed.
| What is wrong | Better choice |
|---|---|
| Only the background is wrong, or you need an exact brand color | Remove the background and place yourself on a Color, Blur, Photo or Design backdrop, with the color of your choice. It cuts you out of your own photo and does not redraw your face. Check hair edges |
| A dim, grainy or slightly soft photo | The photo enhancer. Its own tip is that Subtle strength looks most natural on portraits |
| Uneven skin in harsh light | The face beautifier, with Smoothing strength kept low |
| A passport, visa, ID or casting photo | Use a real, unedited photo. Official requirements decide acceptance |
Before you publish: a short checklist
- The face matches your original at actual size, and someone who knows you agrees.
- Teeth, ears, glasses, collar and jewelry look natural up close, and no invented text, logo, badge or uniform appears.
- Anyone else in the portrait has approved it, and the destination's policy on AI-assisted images is checked.
- The original photo and the generated file are saved together, named so you can tell them apart.
Related guides
If you are also refreshing other pictures for work, taking professional social media photos with your phone covers light and framing before you edit anything.
Frequently asked questions
Is an AI headshot acceptable on a LinkedIn profile or a job application?
Use it only if it looks like you and the details are natural, then check the rules where you post it. Whether a resume photo is expected depends on the country and the employer, so check the posting first.
Is one photo enough, or should I upload a set?
One is enough. The generator works from a single photo per run. Pick the clearest recent one, and run it again with another look for options.
Is a generated headshot acceptable for a passport or visa?
No. Passport, visa and ID photos must meet the issuing authority's rules, which decide acceptance, and a restyled portrait is built for profiles, not documents.
Can I try it before paying?
Yes. You can start without creating an account and preview a web-size result. A download without a paid plan is a web-size copy, and Premium unlocks the original-resolution file.
Pick your sharpest recent photo, crop it to just you, and make your headshot with the AI headshot generator, then run the checklist before it goes public.