How to Convert iPhone Product Photos from HEIC to JPG in Bulk
Convert iPhone product photos from HEIC to JPG in bulk with Pixoate. Prepare compatible marketplace images while reviewing orientation and file size.
The product shoot is finished on an iPhone, but the images arrive at the office as HEIC files that do not fit the next upload workflow. Converting the set is straightforward; keeping each output attached to the correct product needs equal attention.
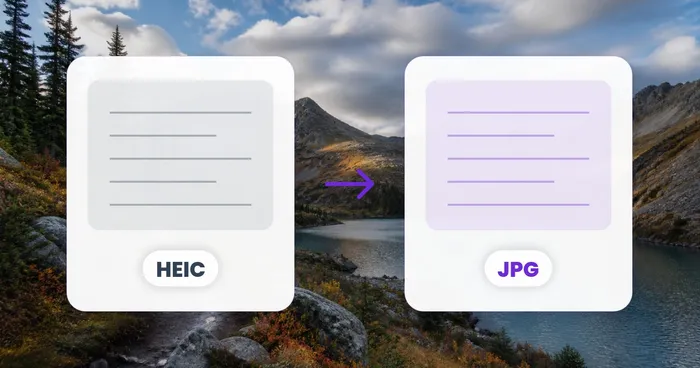
Pixoate HEIC to JPG creates JPEG copies of supported iPhone images. Use the available batch workflow for similar files, retain the originals and review the outputs before updating a catalogue.
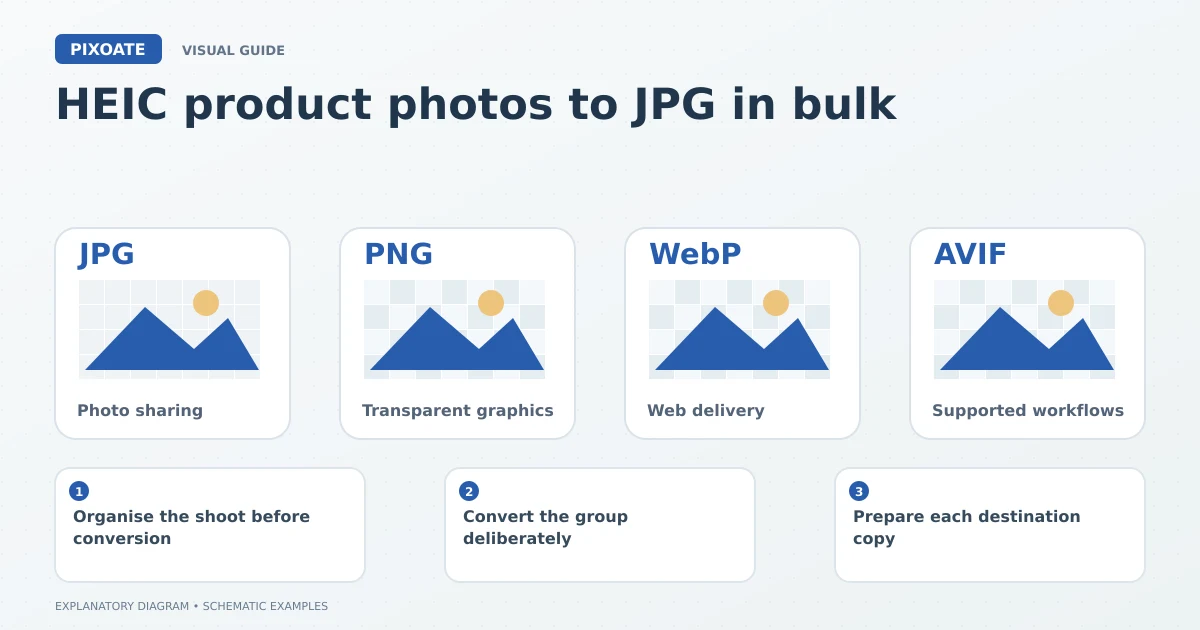
Original explanatory graphic. The scenes and sample records are schematic illustrations, not screenshots or measured tool results.
Organise the shoot before conversion
Group images by product and variant. Keep an identifier or a working record that distinguishes nearly identical items. A conversion that succeeds technically can still create a listing mistake if the wrong colour image is assigned afterward.
Check that the source files are the photographs you intend to publish. Remove accidental duplicates from the working selection without deleting the source archive you need.
Convert the group deliberately
Upload the HEIC files, select the available output settings and run the conversion. Batch access and limits depend on the tool and account. Download the resulting files and inspect them as JPEGs.
Review orientation, framing, colour and small product details. A JPEG output is a still image; do not assume it preserves every capture feature or metadata characteristic of the original iPhone asset.
Prepare each destination copy
Use Resize Image for required dimensions while preserving proportions. Use Compress Image when the output exceeds a practical file-size requirement.
Keep those decisions separate. Resizing changes pixel dimensions, compression changes the encoding trade-off, and format conversion changes file compatibility. One operation should not be assumed to solve all three problems.
| Review stage | What to confirm |
|---|---|
| Before conversion | Correct product and variant sources |
| After conversion | Readable, complete JPEG files |
| Before upload | Correct dimensions and supported file size |
| After upload | Correct listing assignment and crop |
Match the source count to the exported set
For a test group, include a portrait, a landscape image, a rotated capture and two similar variants. Record the source filename beside the exported filename. Compare the number of files selected with the successful outputs and inspect any failure before starting the full shoot.
| Source check | Export check |
|---|---|
| Variant and angle identified | Same variant and angle in the JPG |
| Upright product in the original | Correct orientation in the receiving app |
| Tiny label readable in the original | Label still readable after conversion |
| Original capture date retained in your index | Export date not mistaken for the capture date |
Metadata and file size can change during conversion. Keep dates and product associations in your own index instead of depending on the JPG to retain every original field. If a file fails, confirm that the HEIC transfer completed and try that file separately.
Use the Windows HEIC workflow when a converted sample needs to work in a colleague’s receiving application. Confirm that application accepts the actual JPG before processing the remaining sources.
Keep a repeatable catalogue workflow
Save the original HEIC files separately from the approved JPEG exports. Record the chosen output approach for the relevant product group, and inspect exceptions individually.
Can I just rename HEIC files to JPG?
No. A receiving system may detect the actual encoded format. Use a converter to create real JPEG output.
Does this upload the photos to my store?
It prepares downloadable files. Store uploads, variant assignment and listing approval remain separate tasks.
Start with a representative HEIC product photo in Pixoate, confirm the result and then process the remaining compatible group.