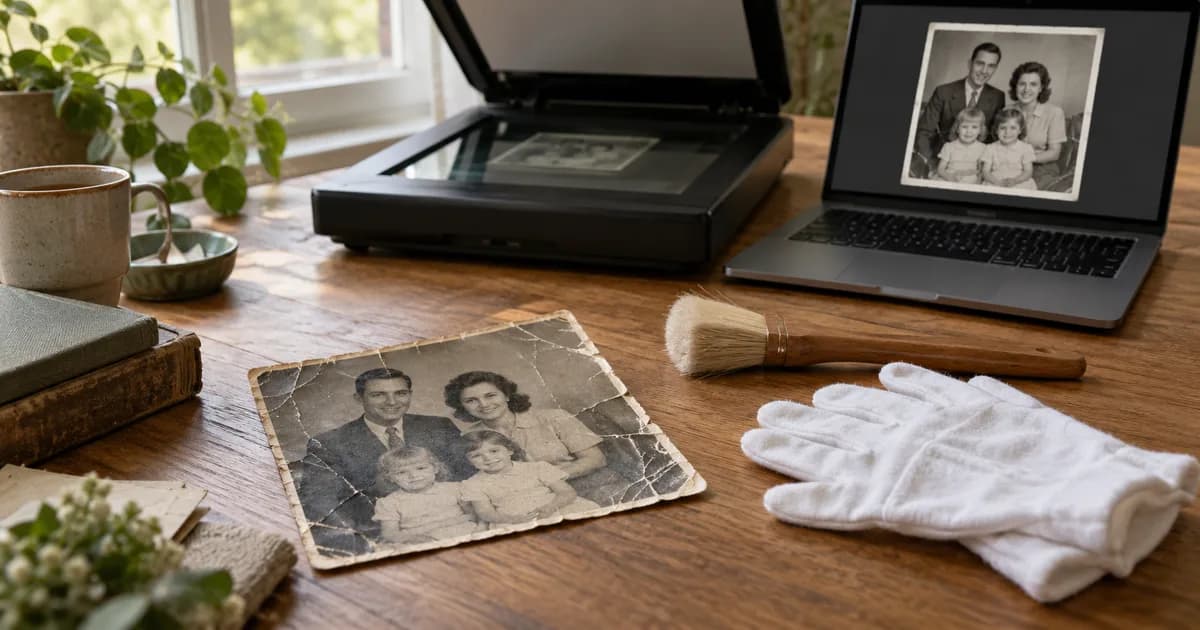
How to Restore an Old Photo: Scratches, Fading and Color
Restore an old photo in a sensible order: capture the print, repair scratches and tears, fix fading, add color, and check faces before you keep it.
Written by the Pixoate team. We check how each tool behaves before we describe it, and we date any prices or portal rules we quote.
A print from the shoebox has a crease across the sky, a torn corner and colors that have faded to a haze. Those are three different problems, and the order you fix them in matters more than which tool you open first.
This guide gives a practical order of work for restoring an old photo, shows what to do for three typical prints, and says plainly what these tools cannot rebuild.
How to restore an old photo: the order of work in five steps
- Capture the print. Scan it flat, or photograph it straight on in even light with no glare.
- Repair physical damage. Paint over cracks, creases, tears and stains in Repair Photo Damage, and download the PNG.
- Restore color or clarity. Upload the repaired file to Restore Old Photo, which reads the photo and chooses Add color or Improve clarity for you.
- Enlarge if the scan is small. Do it last, so the added detail is built on a clean picture.
- Check against the scan. Compare faces and writing with the original, and save the result under a new name.
Skip step 2 when the print has no physical damage.
Sort the damage before you choose a tool
| What you see | What it is | Where it is fixed |
|---|---|---|
| Thin white lines, cracks, creases | Surface scratches | Repair Photo Damage, Scratches |
| Missing corner, torn edge, small hole | Lost paper and image | Repair Photo Damage, Torn area |
| Stains, water marks, ink spots | Marks on the surface | Repair Photo Damage, Stain |
| Dull, low-contrast or color-shifted print | Fading | Restore Old Photo, Improve clarity |
| No color, or one brown tone | Black-and-white or sepia print | Restore Old Photo, Add color |
| Soft or grainy scan | Low detail | Restore Old Photo, Improve clarity |
Grain, dust specks and softness belong to the restoration step. Cracks, tears and missing corners are physical loss, which restoration does not reliably rebuild, so repair them first. The repair tool works only on the areas you paint and keeps every pixel outside them as it was.
Three prints, three routes
A black-and-white portrait with a crease across the sky. Scan it, choose the Scratches preset and paint along the crease with a narrow brush, including its pale edges. Generate, then download the PNG. Upload that to Restore Old Photo, accept Add color and set Restoration strength. Compare the face with the scan before you keep it.
A faded color print from the 1980s with no damage. Skip the repair step. Restore Old Photo reads a real spread of colors and chooses Improve clarity, which reduces noise, sharpens detail and rebalances light and color. Do not switch it to Add color, because that can repaint tones that were already correct.
A sepia studio portrait. A single faded tone is read as a single-tone print and gets Add color by default. If you would rather keep the sepia look, switch to Improve clarity and set Restoration strength toward Gentle.
Repairing first, and why
Repair physical damage before you change color or sharpness. Contrast and sharpening make a crack easier to see, and a clean base leaves the later steps less to get wrong. If you already restored a photo and marks remain, run the repair on the result instead.
To repair, choose Scratches for thin cracks and creases, Torn area for a small missing section, or Stain for a mark. Zoom in, lower the Selection brush size and paint each damaged line. Run one kind of damage at a time, because each option works from its own instruction. Treat the result as a reconstruction, not a recovery: a repaired area is filled from nearby detail, and across a face the missing content is estimated.
When something looks wrong
| What you see | What to do |
|---|---|
| Colors look wrong, such as unnatural skin | Added color is an estimate. Lower Restoration strength, or try the photo colorizer, which has vividness and engine choices |
| A repaired patch still shows | Paint narrower, include the pale edges of the damage and repair again |
| A face looks different from the scan | Use a lighter strength, or skip that step and keep the less altered version |
| The result is still soft | Improve clarity sharpens detail that is there. Rescan at a higher resolution setting |
| The scan is small for the print you want | Enlarge it afterward with the image upscaler, where 2x is free to preview and 3x and 4x need Premium |
Capture the print so the tools have more to work with
Software can only use what the capture holds, so a few habits pay off in every later step:
- On a flatbed scanner, choose a high resolution setting, so there is room to enlarge later.
- With a phone, shoot straight down at the print rather than at an angle, so the edges are not skewed.
- Fill the frame with the print instead of the album page around it.
- If a print is stuck to album plastic, do not pull it off the page. Capture it where it sits and fix the image digitally.
Check the result against the scan
Judge a restoration against the scan, not against how striking it looks.
- Put both at full size side by side and look at the eyes, mouth and hands first.
- Inspect every repaired area for textures that repeat, edges that look smudged and grain that no longer matches the photo around it.
- Check any writing in the picture, such as a date or a sign. If damage crossed it, letters that appear in the repair are a guess.
- Save the restored file under a new name, so the scan stays available for a second attempt with different settings.
What these tools will not fix
A large missing area, especially across a face, can be filled plausibly, but the result is a guess at the person. Heavy blur stays soft, and damage that covers most of the surface, such as heavy mold or flaking emulsion, cannot be painted out a patch at a time.
For a recent digital photo that is merely soft or dark, rather than an old print, the AI photo enhancer is the closer fit. For an irreplaceable print with serious damage, a professional photo conservator or retoucher can work from the physical original, and that original is worth protecting either way.
Here is an invented example
Imagine a wedding portrait from the 1960s, scanned flat, with a pale crease through the veil and a brown water mark in the corner. Do the crease first: paint it with Scratches, narrow brush, and include the lighter fringe on each side. Then run Stain on its own for the corner mark. Download the PNG, upload it to restoration and look at the veil, because lace is where invented texture shows. If the lace pattern now repeats unnaturally, compare it with the scan. A slightly imperfect repair that matches the original is better than a clean one that looks made up.
Honest limits for family photos
Restoration suits clarity and cleanup better than identity. If a relative's face is mostly damaged, any fill is a plausible guess, so label the file as restored and keep the scan alongside it for the family archive. Do the same when you share it, so nobody later mistakes a repaired face for a record of how that person looked.
Related guides
If the picture is a recent digital photo that is merely soft, try fixing a blurry photo. To make the finished scan larger before printing, read what increasing resolution can do.
Frequently asked questions
Should I repair scratches before adding color?
Yes, as a rule. Color and sharpening changes make cracks and stains more visible, so repair them first and let the restoration step work from a clean file. If marks remain afterward, repair them on the restored result.
Do I need the repair step if my print has no damage?
No. Skip it and go straight to Restore Old Photo. The repair tool is for specific marks you paint, and it needs painted areas before it will run.
Can I run Add color on a photo that already has color?
It is better not to. Add color is meant for black-and-white or single-tone prints, and on a color photo it can repaint tones that were already right. Use Improve clarity for faded color prints.
Scan one print flat, then restore the old photo and compare the result with the scan before you decide to keep it.