How to Fix Shadows, Tilted Pages and Dark Photos Before Creating a PDF
Prepare dark, shadowed or tilted document photos for PDF conversion. Use Pixoate to improve page presentation and spot when a new photo is needed.
A document photo can be technically sharp and still be difficult to read. A desk lamp casts a shadow, the paper sits at an angle, or the camera brightens the white page so much that pencil notes fade away.
Pixoate Scan to PDF includes page-edge cropping, straightening and document cleanup controls. Use them to improve readable source material while preserving the information that makes the page useful.
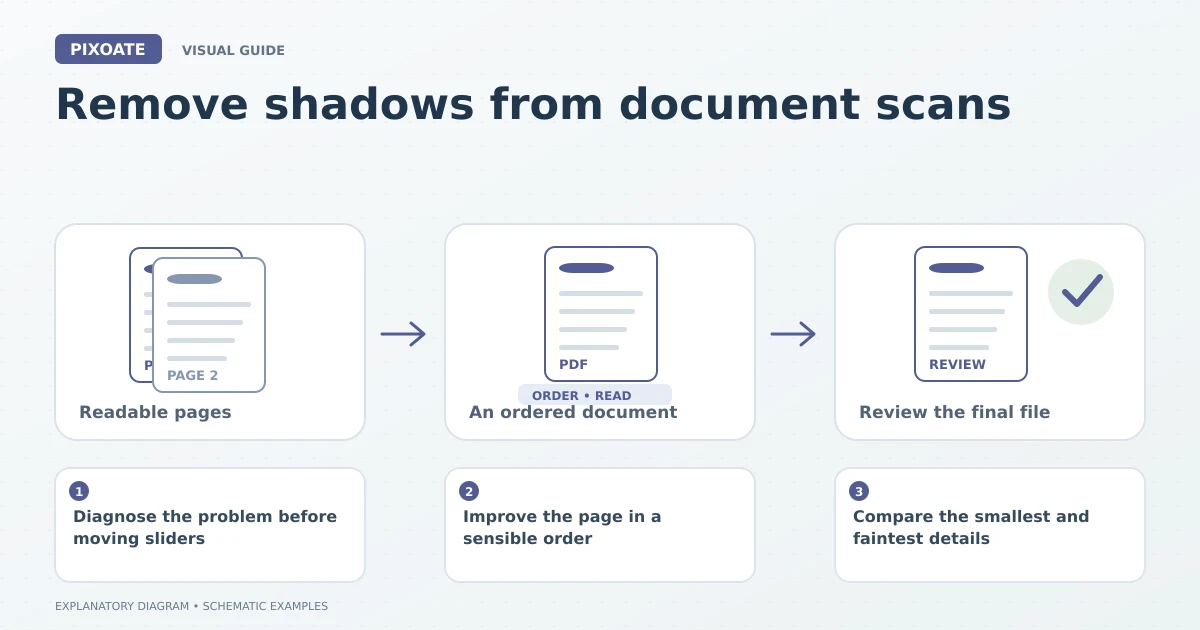
Original explanatory graphic. The scenes and sample records are schematic illustrations, not screenshots or measured tool results.
Diagnose the problem before moving sliders
Rotation, skew, perspective and poor lighting are related but different problems. A sideways page needs rotation. Slightly sloping text lines may benefit from straightening. Strong perspective distortion is often best addressed by taking another photograph with the camera parallel to the paper.
If glare has turned part of the page into a featureless white patch, the missing wording cannot be verified from that patch. Retake the image with different lighting.
Improve the page in a sensible order
Start by checking the page boundary. Automatic cropping should retain all the content, including stamps and notes near the edge. If it cuts too closely, adjust your source or keep the full frame and crop the document image deliberately.
Next, straighten or rotate the page. Then choose the scan appearance and adjust shadows, brightness and contrast. Work gradually: the aim is readable ink and recognisable markings, not the whitest possible paper.
| Symptom | Useful first action |
|---|---|
| Desk or carpet around the sheet | Review page-edge cropping. |
| Slightly sloping text | Try straightening and inspect the result. |
| Dark band across the paper | Adjust shadow removal, watching shaded content. |
| Faint pencil or coloured stamp | Reduce aggressive cleanup or retain colour. |
| Sideways page in an existing PDF | Use PDF Rotate. |
Compare the smallest and faintest details
Inspect decimal points, checkbox marks, handwritten initials and thin table lines. These are easy to overlook when the heading has become much clearer.
A black-and-white treatment can improve ordinary printed text while losing useful distinctions in a diagram. Grayscale or Original may be better for that page. Different documents do not need identical cleanup settings merely because they belong in the same folder.
Generate the PDF and inspect the download at a readable zoom. If the document will be printed, also check page size and margins.
Can sharpening recover an unreadable reference number?
It may make existing edges easier to see, but it cannot establish the correct digits when the source lacks enough information. Obtain a better capture or verify the number elsewhere.
Why did a mark disappear after cleanup?
The setting may have treated faint ink as background or shadow. Compare with the original, reduce the effect and preserve the version that retains the information.
Use document-photo cleanup in Pixoate as a controlled adjustment. Keep the original and let legibility, completeness and accurate marks determine the final settings.