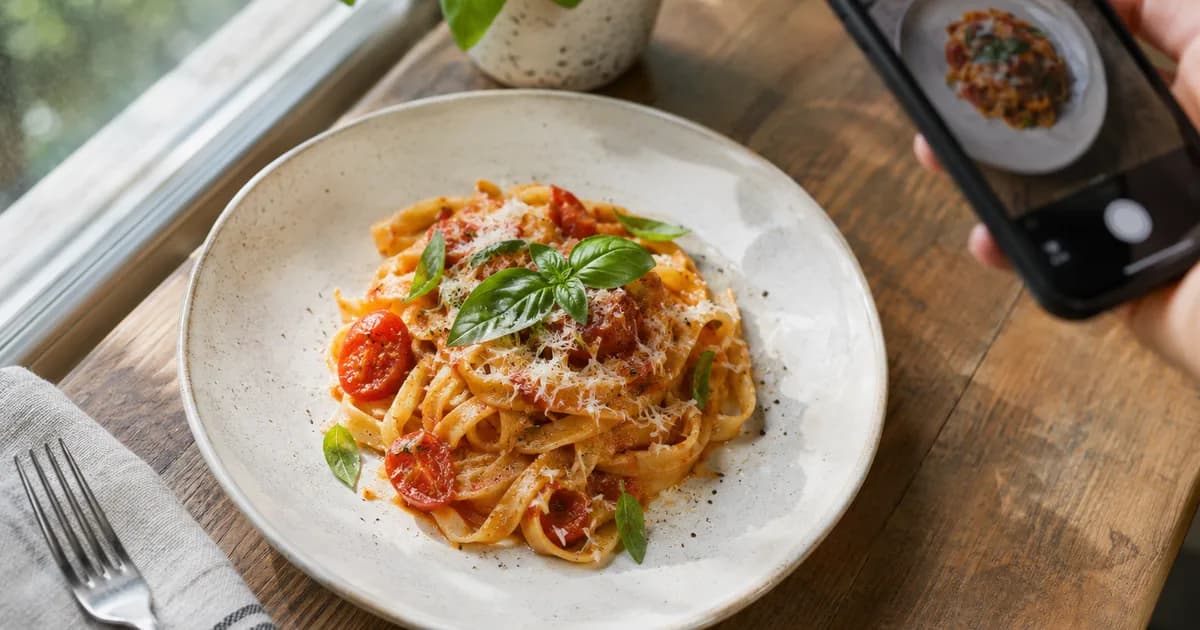
How to Improve Restaurant Food Photos for Menus and Delivery Apps
Light, plate and shoot dishes for menus and delivery apps, then polish the photo without changing what the customer receives.
Written by the Pixoate team. We check how each tool behaves before we describe it, and we date any prices or portal rules we quote.
People order with their eyes. On a menu, a delivery app or a social feed, a dull, dim or messy photo of a good dish can send a hungry customer to the next restaurant. You do not need a food photographer to fix that. Most improvements come from light, framing and a few careful edits.
This guide shows how to photograph dishes with a phone, how to polish the picture, and where to stop so the food in the photo is the food that arrives at the table.
If you are short on time
- Shoot beside a window in daylight, not under overhead lights.
- Plate carefully and wipe rims and edges before every shot.
- Take the photo from the angle that suits the dish.
- Fix light, background and sharpness without changing the dish.
- Compare the final image with the plate you serve.
Light is most of the work
Overhead kitchen lights create yellow tints and hard shadows. A window with soft daylight gives food a natural look.
- Place the dish on a table beside a window.
- Put the light to the side or slightly behind the dish, so texture and steam show.
- Use a white card or napkin on the opposite side to soften shadows.
- Turn off other room lights, which mix color temperatures.
- Avoid the phone flash, which flattens everything.
Plate for the camera
- Wipe drips, smears and fingerprints from the plate.
- Keep portions tidy, with the main item facing the camera.
- Add fresh garnish just before shooting.
- Use a plain plate and surface so the food stands out.
- Photograph quickly, because sauces dry and salads wilt.
Choose the angle
- Overhead. Good for pizzas, bowls, spreads and flat lays.
- Forty-five degrees. Suits most plated meals, such as pasta, mains and desserts.
- Straight on. Shows height in burgers, layered desserts and drinks.
- Close detail. Use for texture, such as melting cheese or a crisp crust.
Take several shots from each angle and pick the best.
Why food looks wrong in photos
Food is one of the hardest subjects to photograph because small things change how appetizing it looks. Warm indoor lights turn whites yellow and make meat look grey. Flash flattens texture so a crisp crust looks like cardboard. A phone held too close distorts the plate, so the front of the dish looks huge and the back small. And food changes in minutes: sauces dull, lettuce wilts, and cheese sets.
The fixes follow from the causes. Use window light and turn off the room lights so color is honest. Keep a little distance and zoom slightly instead of holding the phone close. Plate the dish just before shooting, with a light brush of oil or a spoon of fresh sauce to bring back shine. Work quickly, and keep a spare plate so you can reshoot a better version while the first one is still looking good.
Polish the picture
- Dim or grainy photo. Use the Photo Enhancer to lift light and reduce noise. Stop before colors look unreal, because food that looks fake does not look appetizing.
- Distracting background. The Restaurant Photo Editor, which runs on the AI product scene generator, polishes the real dish presentation for a menu without changing its identity, and the Food Background Generator creates a coherent backdrop around the unchanged dish.
- Delivery-app images. The Menu Photo Generator prepares a clean menu-ready presentation around the unchanged dish.
Use these edits to improve presentation, not to change what the dish is.
A shoot-day routine for a busy kitchen
Photographing the whole menu does not need a day. Pick a quiet hour, set up one window-side table and work through the dishes in order, from the lightest to the heaviest, so steam and sauces do not affect the next plate. For each dish, take three frames: overhead, forty-five degrees and a close detail. Delete the weak ones straight away, name the keepers by dish, and move to the next plate. Cold items such as desserts and salads can be done first, and hot dishes right when they leave the pass.
Drinks, desserts and different dishes
Different kinds of food need slightly different handling. Drinks catch light beautifully but show fingerprints and condensation, so wipe the glass and shoot quickly, perhaps with a little backlight to make liquids glow. Desserts are often the most photogenic items on a menu, but ice cream melts and cream collapses, so prepare everything else first and plate the dessert last. Soups and stews look flat from the side, so shoot from above with a garnish, a swirl of cream or a piece of bread to give them shape.
Burgers and sandwiches rely on height, so shoot from straight on or at a low angle, and keep ingredients tidy at the edge. Salads need freshness, so keep dressings aside until the last moment. Fried food loses its crispness quickly, so photograph it straight from the fryer. Learning these small habits is faster than learning editing, and they help every dish you serve look the way it tastes.
Keep the photo honest
A customer who receives something far from the picture feels misled. Keep a simple checklist:
- The portion in the photo is the portion you serve.
- Ingredients, sauces and garnish are what the dish includes.
- Colors are close to the real dish under normal light.
- No props are implied as part of the order, such as extra sides or drinks.
- You follow the current photo rules of each delivery platform or directory you use.
A short example for a small cafe
Imagine a cafe with twelve dishes on its delivery menu. Half the photos were taken at different times by different people, so some are dark, some are bright, and some show the dish on a patterned tablecloth. The result looks messy even though each dish is good.
One quiet morning, the owner sets up a single table by the window with a plain wooden top and shoots all twelve dishes the same way: a forty-five degree shot and one close-up each. They then brighten each image slightly and keep the framing identical. The menu now looks like one business, the dishes are easy to compare, and customers can see what they are ordering. Nothing about the food changed. Only the consistency did, which is exactly the kind of improvement that costs very little.
Be consistent across the menu
Use the same surface, light direction and framing across the menu, so the whole set looks like one restaurant. Keep a folder of originals, and name finished images by dish so you can swap them quickly when the menu changes.
Use the same photos in more places
A good dish photo can serve your menu, your delivery listing, your social pages and your online profiles, so one clear set can cover all of them. The window-light setup is the same one used for products, as described in how to take better Etsy product photos, and how to fix a blurry photo helps rescue a dish you cannot reshoot.
Photos for delivery apps and online menus
Customers browsing a delivery app see small images in a long list, so each photo has to read quickly. A clear, bright image of the whole dish, with a simple background and the main ingredient visible, works better than an artistic crop where the food is hard to identify. Keep a consistent style across the menu, so customers can compare dishes easily, and make sure each photo matches what is actually served, including portion size and garnish.
Check the rules of each platform you use, since they may specify image shape, quality and what can appear in a picture. Update photos when a recipe or presentation changes. An outdated photo causes the same disappointment as a misleading one, and a customer who receives something noticeably different from the picture is unlikely to order again.
Frequently asked questions
Can I take good food photos with a phone?
Yes. Soft window light, a clean plate and a steady phone give a clear result for most dishes.
Should I use filters on food photos?
Use light adjustments. Heavy filters change colors and make food look unnatural, and may mislead customers about what they will receive.
Can AI edits change the dish itself?
They can if you ask for it. Keep the dish unchanged, review each result against the real plate, and reject anything that alters ingredients or portion.
What if the photo is too dark to use?
Try the Photo Enhancer to lift the light, and reshoot beside a window if you can.
Appetizing photography is mostly light, timing and honest plating. For the final polish, the Restaurant Photo Editor works on the real dish without changing what it is.