How to Reduce Shopify Image File Sizes While Keeping Product Details Clear
Reduce Shopify image file sizes with Pixoate while checking labels, texture and edges. Compare resizing, compression and suitable export formats.
An image can look excellent in a folder and be unnecessarily heavy for its place in a store. A small collection card rarely needs the same source dimensions as a detailed downloadable product sheet.
To reduce Shopify image file sizes, review dimensions, format and compression together. Pixoate's image compressor for product photos helps you compare smaller files while checking the details that customers need.
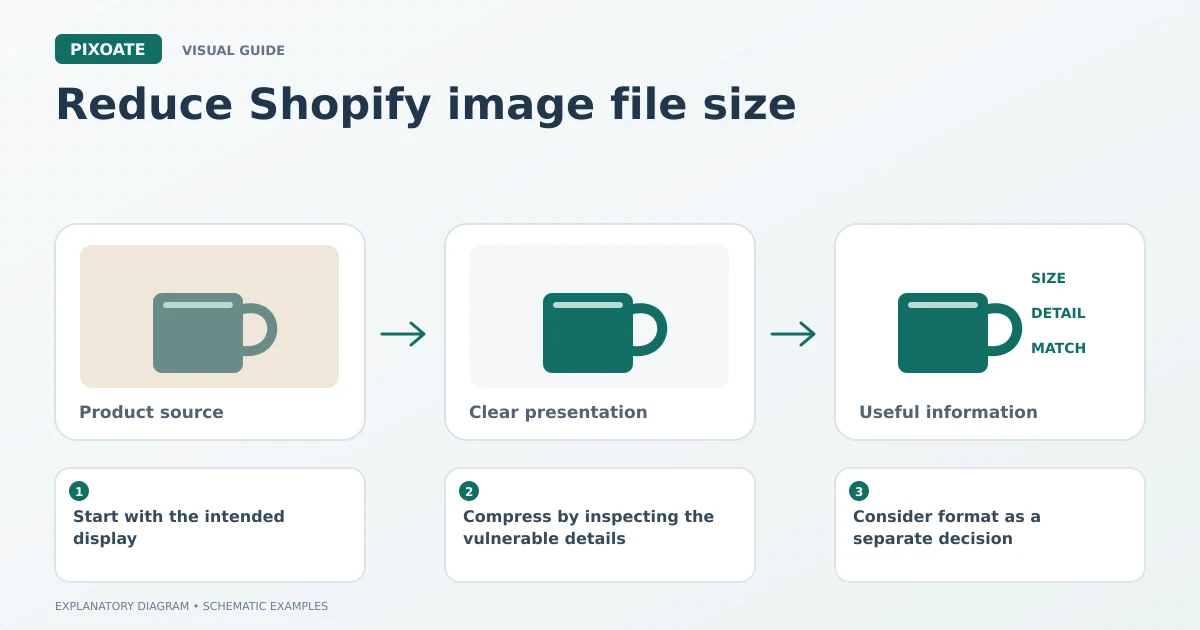
Original explanatory graphic. The scenes and sample records are schematic illustrations, not screenshots or measured tool results.
Start with the intended display
Identify where the image will appear: collection card, product gallery, banner or supporting information graphic. Keep a high-quality original, then prepare an output appropriate to that placement.
Use resize product images to chosen dimensions when the source contains substantially more pixels than the task needs. Avoid repeatedly resizing and saving an already compressed copy; work from the best available original.
Compress by inspecting the vulnerable details
Upload the prepared image to Compress Image and adjust the available quality or target-size settings. Compare the result at a useful display size and at a closer zoom where customers inspect products.
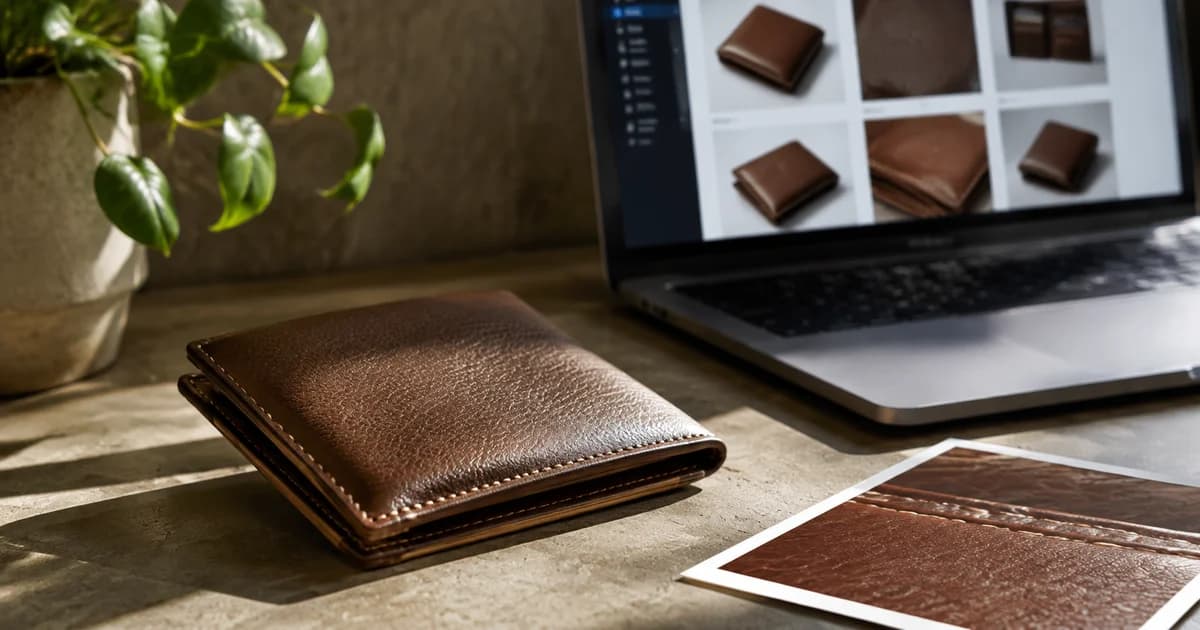
Look at small packaging text, fine fabric, jewellery edges and smooth backgrounds. A setting that works for a simple ceramic bowl may damage the visible detail in a patterned textile.
Treat a target such as 100 KB as a project requirement or an experiment, not a universal ecommerce rule. The right compromise depends on the content and destination.
Consider format as a separate decision
Convert JPG product photos to WebP when that output fits your workflow and is accepted by the destination. For transparent graphics, choose a format that retains the required transparency rather than flattening it accidentally.
The uploaded file is only one part of what a visitor receives. Your store's image delivery and theme behaviour also matter. Inspect the actual page after upload instead of assuming a local reduction produces an identical change in delivered bytes or load time.
Compress white-background product photos without grey edges
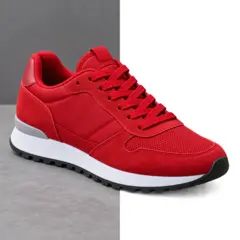
First decide whether the background is white pixels or transparency. JPEG cannot retain transparency. If your PNG has a transparent canvas, choose a white background for the JPEG export and check that the area around the product looks white in the downloaded file. A checkerboard preview is a display aid, not an exported background colour.
Inspect the edge at full size on both a white and a darker surrounding page. A grey rim may already exist in the source cutout, or compression may make an existing edge more noticeable. Increasing JPEG quality will not reconstruct missing product pixels. Return to the cutout if part of a handle or chain has disappeared; compare compression settings only after that edge is sound.
Keep one higher-quality export and one smaller candidate from the same source. Check the same four spots in both: a fine edge, a flat white area, a material texture and any readable label. Record bytes separately from pixels. A 2048-pixel image can have many different file sizes, and a smaller download alone does not establish a better result.
For the complete preparation sequence, use the Shopify image-size workflow. Check a blurry mobile image against the actual theme preview before blaming the source file.
A local white-background export check
On 9 September 2026, we passed a synthetic 512 × 512 transparent PNG through Pixoate’s local image-compression service with JPEG quality 80 and a white background. The source was 9,299 bytes; the JPEG was 6,093 bytes, with the same dimensions. The checked corner pixel was RGB 255, 255, 255 and the JPEG had no alpha channel.
Compare the transparent source fixture, white-background JPEG and recorded file properties. This controlled shape checks transparency handling. It is not a real product photograph, a jewellery-edge benchmark or an expected savings rate for your store. Use the real product checks above to decide whether your own output is acceptable.
Keep an image review record
| Record | Why keep it? |
|---|---|
| Original dimensions and file size | Establish the starting point. |
| Export dimensions, format and quality | Make the treatment repeatable. |
| Details checked | Show what mattered for that product type. |
| Uploaded page result | Confirm the image remains useful in context. |
For a batch, group similar images and review every finished file. Use a different setting for the exceptions instead of forcing them through the same compression target.
Will image compression fix every slow product page?
No. Scripts, theme behaviour, network conditions and other resources can also affect performance. Image optimization addresses the image part of the problem.
Can I keep lowering quality until the file is tiny?
You can reduce detail beyond what the listing needs to communicate. Stop when the file is suitably sized and the relevant product information remains clear.
Use Pixoate Compress Image to make a deliberate trade-off, then review the result in the store where customers will actually see it.