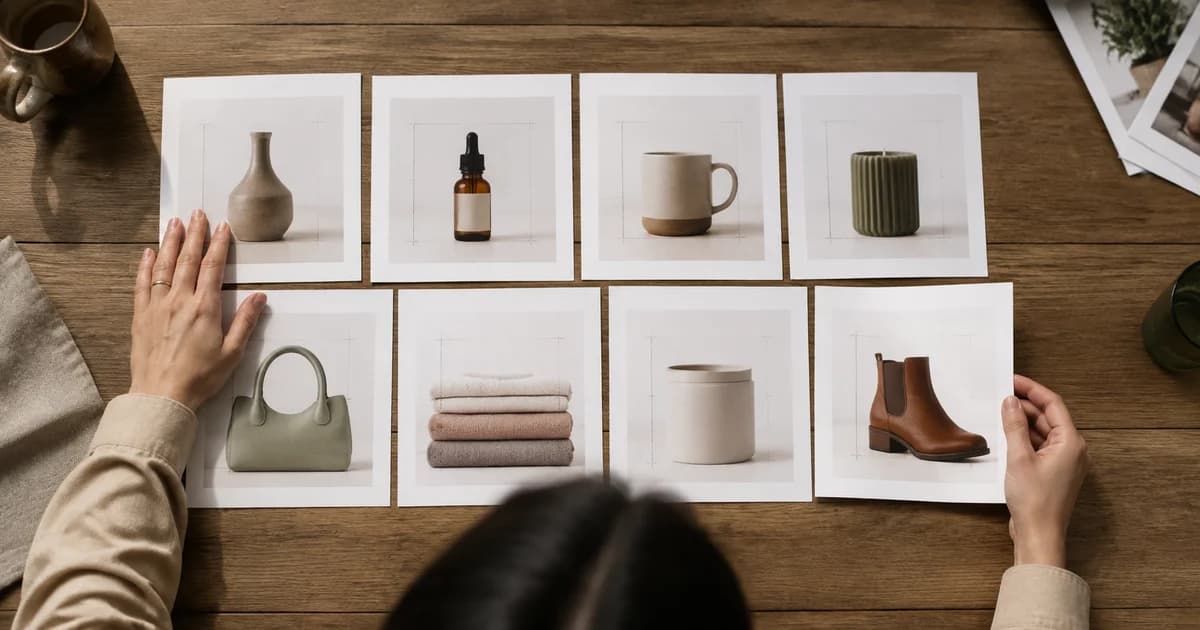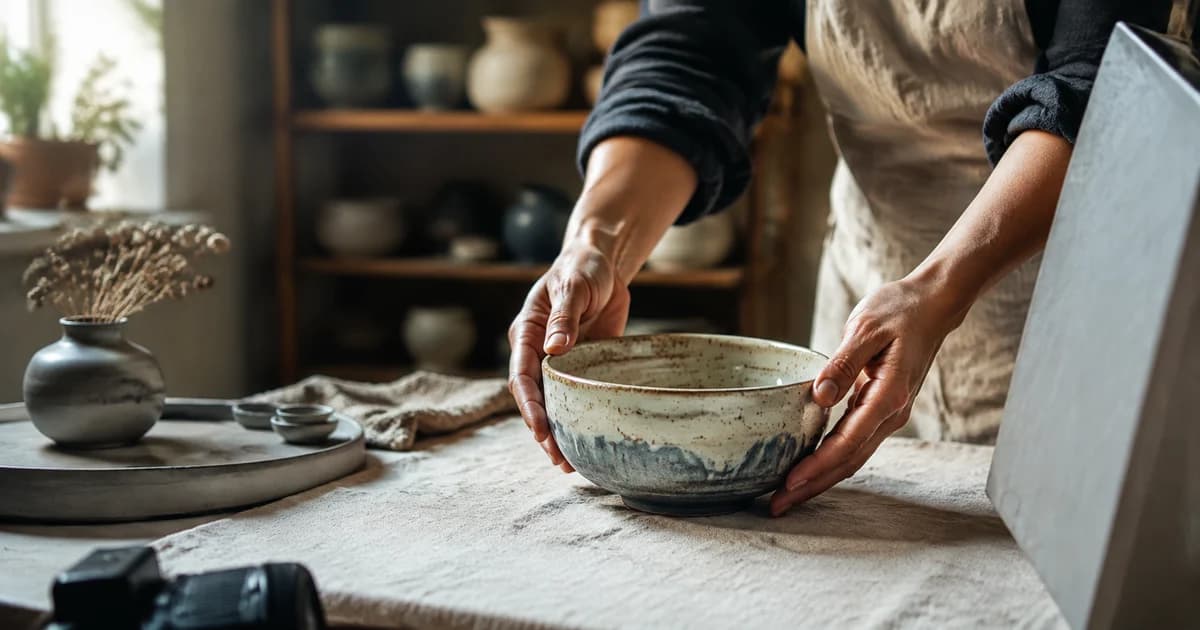
How to Improve Etsy Product Photos for Handmade and Custom Items
Improve Etsy photos of handmade and custom products with Pixoate. Show texture, finishing and personalisation clearly without changing the real item.
The detail that makes a handmade item special can disappear in a poorly lit photograph. A stitched seam becomes a dark line, a glaze looks flat and a small engraving is impossible to read on a phone.
Pixoate can help enhance handmade product photos and prepare clear supporting images. Begin with the real craft details you want the buyer to understand rather than applying a dramatic style to every picture.
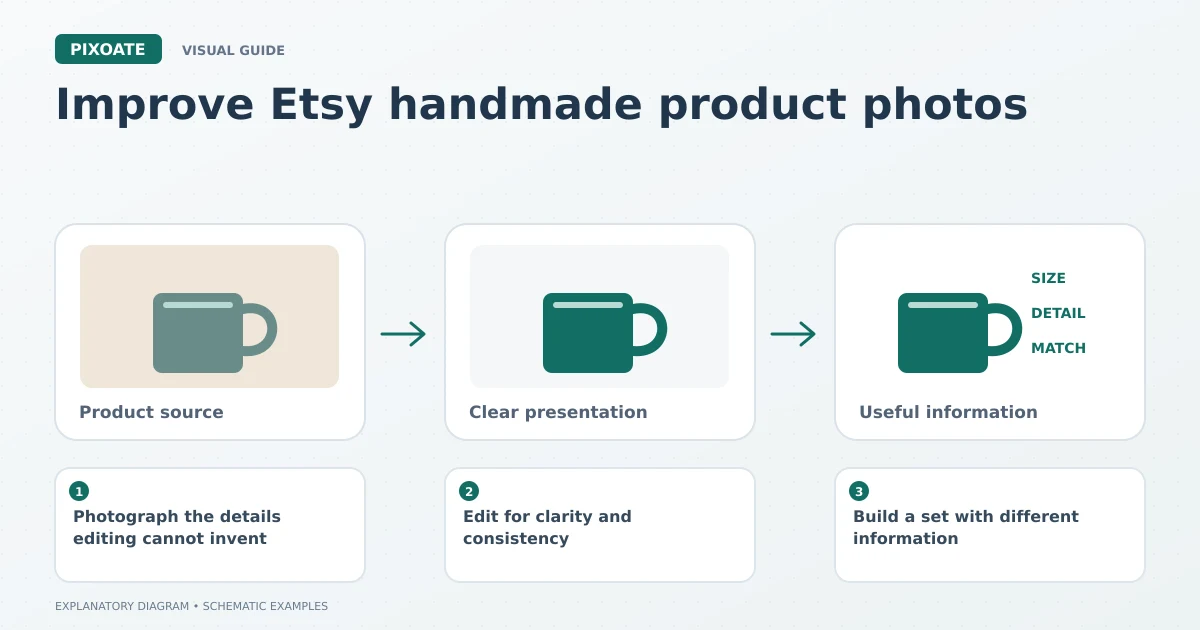
Original explanatory graphic. The scenes and sample records are schematic illustrations, not screenshots or measured tool results.
Photograph the details editing cannot invent
Capture the actual item, its useful angles and any variation a customer should expect. For custom pieces, show a representative example and describe how the ordered version will differ.
Use even light and a stable camera. Reflective metal, transparent glass and textured fabric may need different capture arrangements. If a material is not visible in the source, aggressive enhancement can produce a misleading impression rather than reliable detail.
Etsy's product-photography handbook [1] covers different photo types and the challenges of photographing handmade items. Use the current listing guidance to choose the appropriate first image and supporting views.
Edit for clarity and consistency
Use Photo Enhancer to review light, colour, noise and sharpness. Compare the result with the original item under sensible lighting. Keep the actual material and finish recognisable.
Use remove a distracting product background where a clean cutout helps. Inspect thread, fringe, handles and transparent edges; these small details often need more attention than the centre of the image.
Open Photo Editor to arrange permitted supporting graphics or adjust individual crops. Keep the main listing photograph focused on the finished item according to the destination's current rules.
Build a set with different information
Include an overall view, a useful detail view and an accurate indication of size. Add relevant views of fastenings, the reverse side or packaging where they answer a buyer question.
Do not make a unique handmade surface look mechanically identical across all items. If natural variation is part of the product, explain it and show it honestly.
Should handmade photos always use white backgrounds?
Choose a background that makes the item clear and suits the placement. A neutral setting can be useful, but the product should remain the focus in any composition.
Can editing remove a genuine imperfection?
If the mark is part of the item being sold, concealing it can misrepresent the condition. Improve lighting and framing while keeping meaningful product details visible.
Begin with a close, representative photo in Pixoate. Make the craftsmanship easier to inspect, then judge the result in the actual listing view.
Sources
- product-photography handbook:
https://www.etsy.com/seller-handbook/article/the-ultimate-guide-to-product/143986679284