Product Photography at Home: White Backgrounds, Lifestyle Scenes and Marketplaces
A single starting point for product photos made at home: backgrounds, lifestyle scenes, marketplaces, clothing, food and cars, with a guide for each.
Written by the Pixoate team. We check how each tool behaves before we describe it, and we date any prices or portal rules we quote.
Good product photos do quiet work. They answer questions a shopper cannot ask: how big is it, what color is it really, how does it look in use. When the pictures are clear and consistent, buyers hesitate less and returns tend to fall, because the product matches what they expected.
You do not need a studio for any of this. This page brings together our guides on making product photos at home, from the first white-background shot to lifestyle scenes and marketplace-specific advice.
Start with a clean, consistent main image
Most marketplaces and stores begin with a plain, well-lit main image, so this is the place to start.
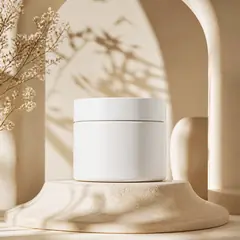
- How to create white background product photos covers shooting on a white surface at home, removing the background from a photo you already have and the checks that stop a cut-out looking fake.
- How to remove the background from a picture goes deeper on cut-outs, including hair, transparent items and soft edges.
- The AI product background generator places an unchanged product on a clean or styled surface.
Show the product in use
A white background shows what the product is. A scene shows what it is for.
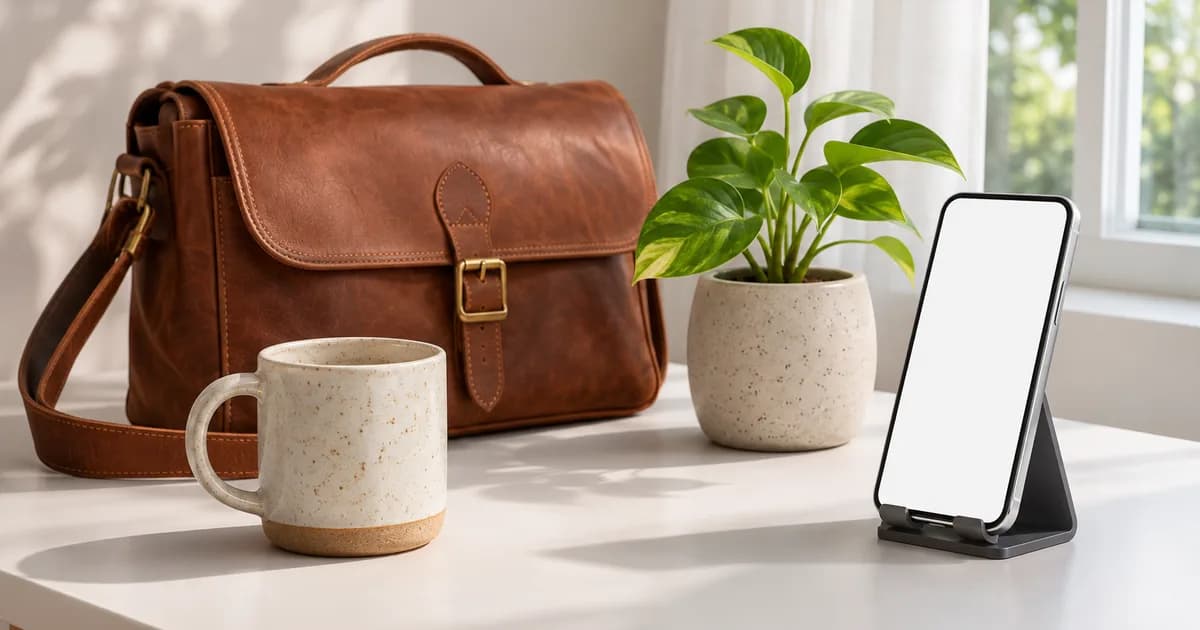
- How to create lifestyle product photos without a photoshoot explains how to place a product in a believable scene and what to check so it still matches the real item.
- The AI product scene generator is the tool for building those scenes from your own product photo.
Guides for specific marketplaces and stores
Each channel has its own audience and its own image rules, which change over time, so read the current requirements before you upload.
- How to take professional Amazon product photos at home for sellers whose main image has to meet marketplace rules.
- How to take better Etsy product photos for handmade sellers, where texture, scale and story carry the sale.
- How to improve Shopify product photos for better sales and fewer returns for store owners who control the whole page.
Products that need their own approach
- How to take clothing product photos at home deals with fit, fabric color and how to show the garment without a model.
- How to improve restaurant food photos covers menus and delivery apps, where honest portions matter.
- How to sell a used car faster with better photos is about showing true condition clearly, which builds more trust than a flattering angle.
Photos for the rest of your business
Product pictures are only part of the story. How to create professional social media photos for your business with a phone covers the everyday posts that bring people to the shop, and the Photo Enhancer helps with the light and sharpness of a photo you have already taken.
The principles that hold across all of them
Four habits appear in nearly every guide.
- Keep the product true. Color, size and finish should match the real item. A beautiful picture that disappoints on delivery costs more than it earns.
- Be consistent. The same framing, shadow and background across a catalog makes a store look established.
- Fix the light first. Soft side light from a window beats any filter, and it is free.
- Check the rules. Marketplace requirements for main images, text and logos change, so read the current version before you upload.
Edits that improve presentation are fine. Edits that change what the product is, how large it is or what condition it is in are not, and they lead to returns and complaints.
A simple plan for a new catalog
- Photograph each product on a plain surface in window light, and keep the originals.
- Clean up the background and fix the exposure.
- Add one or two lifestyle scenes for the products that need context.
- Check each image against the marketplace rules where you sell.
- Review the finished set on a phone, where most shoppers will see it.
Frequently asked questions
Do I need a studio to take product photos?
No. A window, a white card and a phone on a stack of books go a long way, as the white background guide shows.
Should I use a white background or a lifestyle scene?
Usually both: a plain main image for clarity and one or two scenes for context. Check which your marketplace allows as the main image.
Can AI-edited product photos cause returns?
They can if the product looks different from the real item. Compare every edited image with the real product and keep color and detail faithful.
Which guide should I read first?
If you sell on a marketplace, start with the matching marketplace guide. If you are new to all of this, start with the white background guide.
Pick one product, shoot it in window light and try the AI Product Photos tool on the result to see how a single product looks across a plain background and a scene.