How it works
The renderer first applies Instant Print, then introduces Rich Portrait, and finally uses Halation. Each stage has a distinct role in the analog-camera recipe, while the intensity control blends the completed recipe against the source.


Start with Instant Print, shape it with Rich Portrait, and close with Halation in one adjustable analog-camera recipe.
Review the available effect capabilities before you begin.
The renderer first applies Instant Print, then introduces Rich Portrait, and finally uses Halation. Each stage has a distinct role in the analog-camera recipe, while the intensity control blends the completed recipe against the source.
Upload a photo, adjust the Instant Print · Rich Portrait · Halation intensity, compare its processed preview with the source, and download the finished result.
Use the intensity control to balance the Instant Print · Rich Portrait · Halation treatment with the detail and character of your original photo.
A reduced Instant Print · Rich Portrait · Halation preview keeps adjustments responsive. Free downloads are clean and web-size; Premium or a credit unlocks the original resolution.
Instant Print · Rich Portrait · Halation uploads are processed on secure servers and automatically removed under the normal Pixoate retention policy.
The renderer first applies Instant Print, then introduces Rich Portrait, and finally uses Halation. Each stage has a distinct role in the analog-camera recipe, while the intensity control blends the completed recipe against the source.
Instant Print · Rich Portrait · Halation runs as a classic image effect and does not use an AI action.
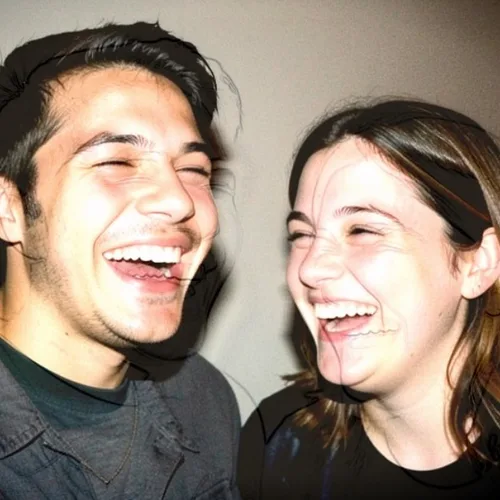
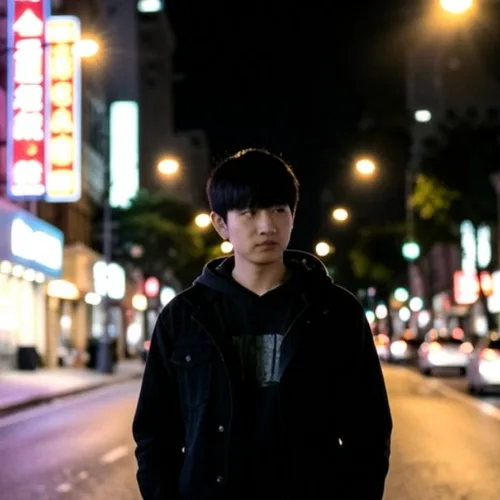
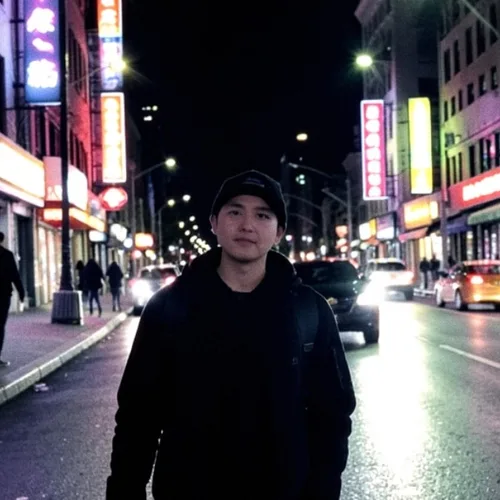
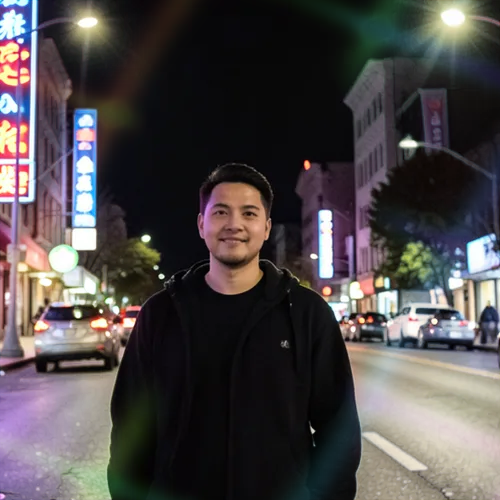
The exact Instant Print, Rich Portrait, and Halation recipe works best for family photographs styled as physical prints, street and travel photography, and nightlife and direct-flash images.
Less suited to: Instant Print, Rich Portrait, and Halation needs extra care with technical records, already damaged scans, or tiny compressed files where added grain and optical texture can hide essential detail.
Recreate the punchy frontal light and hard shadow of a disposable camera
Add authentic red-orange bloom around the brightest highlights
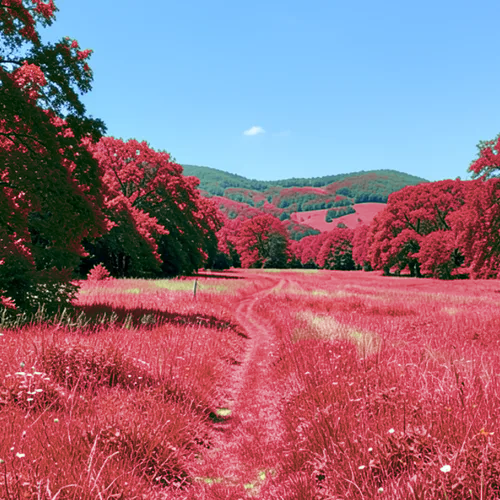
Transform vegetation into vivid infrared reds while protecting other subjects
Stretch real light sources into cinematic horizontal spectral flares
Create a silver-rich film finish with restrained color and hard contrast
Reproduce experimental slide film developed in the wrong chemistry
Build a moody night-film look with cyan shadows and warm halation
Turn a portrait into a handmade nineteenth-century glass-plate photograph
Recreate early color photography through a luminous starch-grain screen
Add soft instant-film dyes, chemical edge bloom, and imperfect development
Keep the subject crisp while the background curls into optical swirls
Cast source-aligned rainbow light and glass caustic bands around a clear composition core
Tools for common next steps after Photo Effects.
Creative & Design
Turn a photo into classic, storybook, sticker, watercolor, or custom cartoon artwork with editable AI directions.
Try it nowCreative & Design
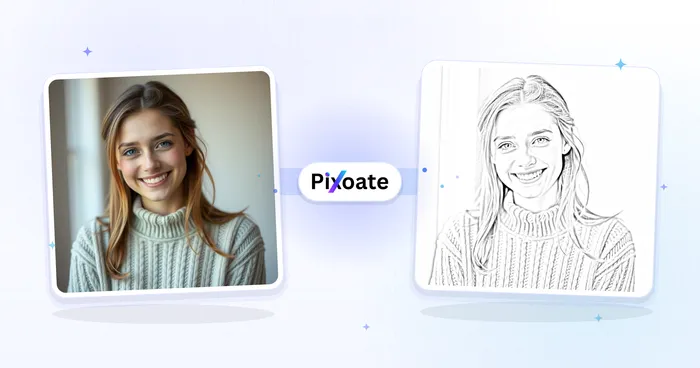
Convert a photo into a pencil-sketch style image and adjust the shadow depth before download.
Try it nowPhoto Editing & Utilities
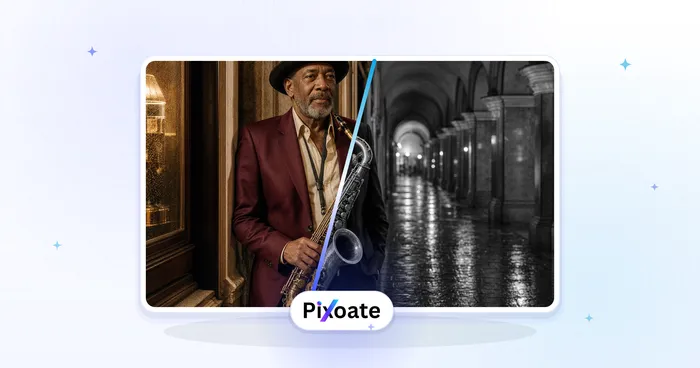
Convert an image to black and white. Adjust the intensity and preview the result.
Try it nowThe strongest effect picks lead this belt before the rest of the catalog.