
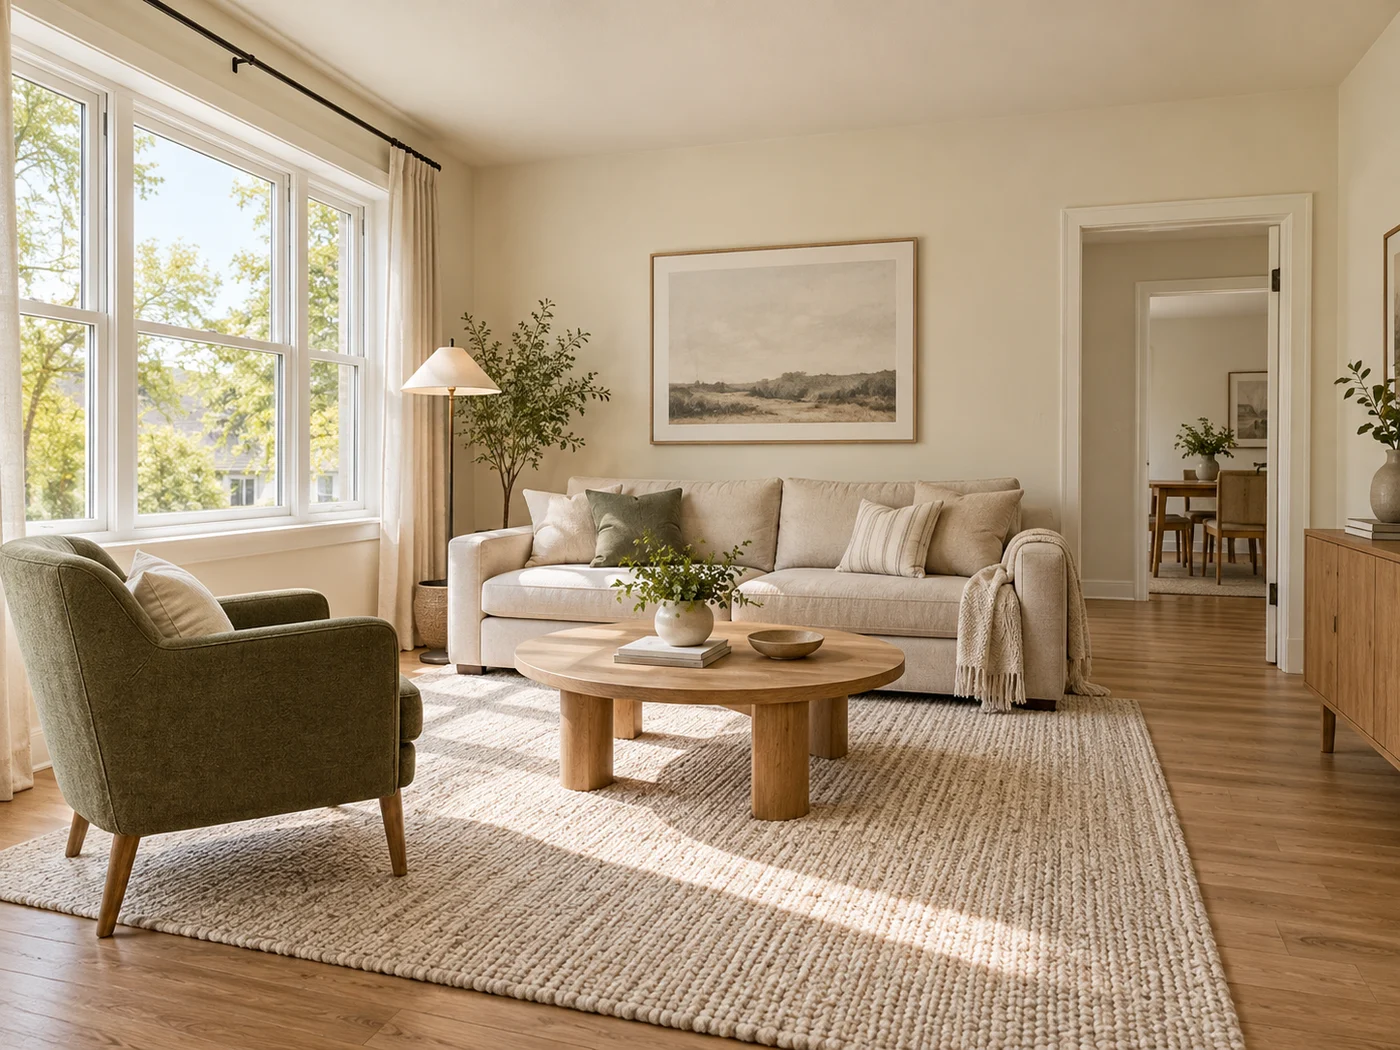
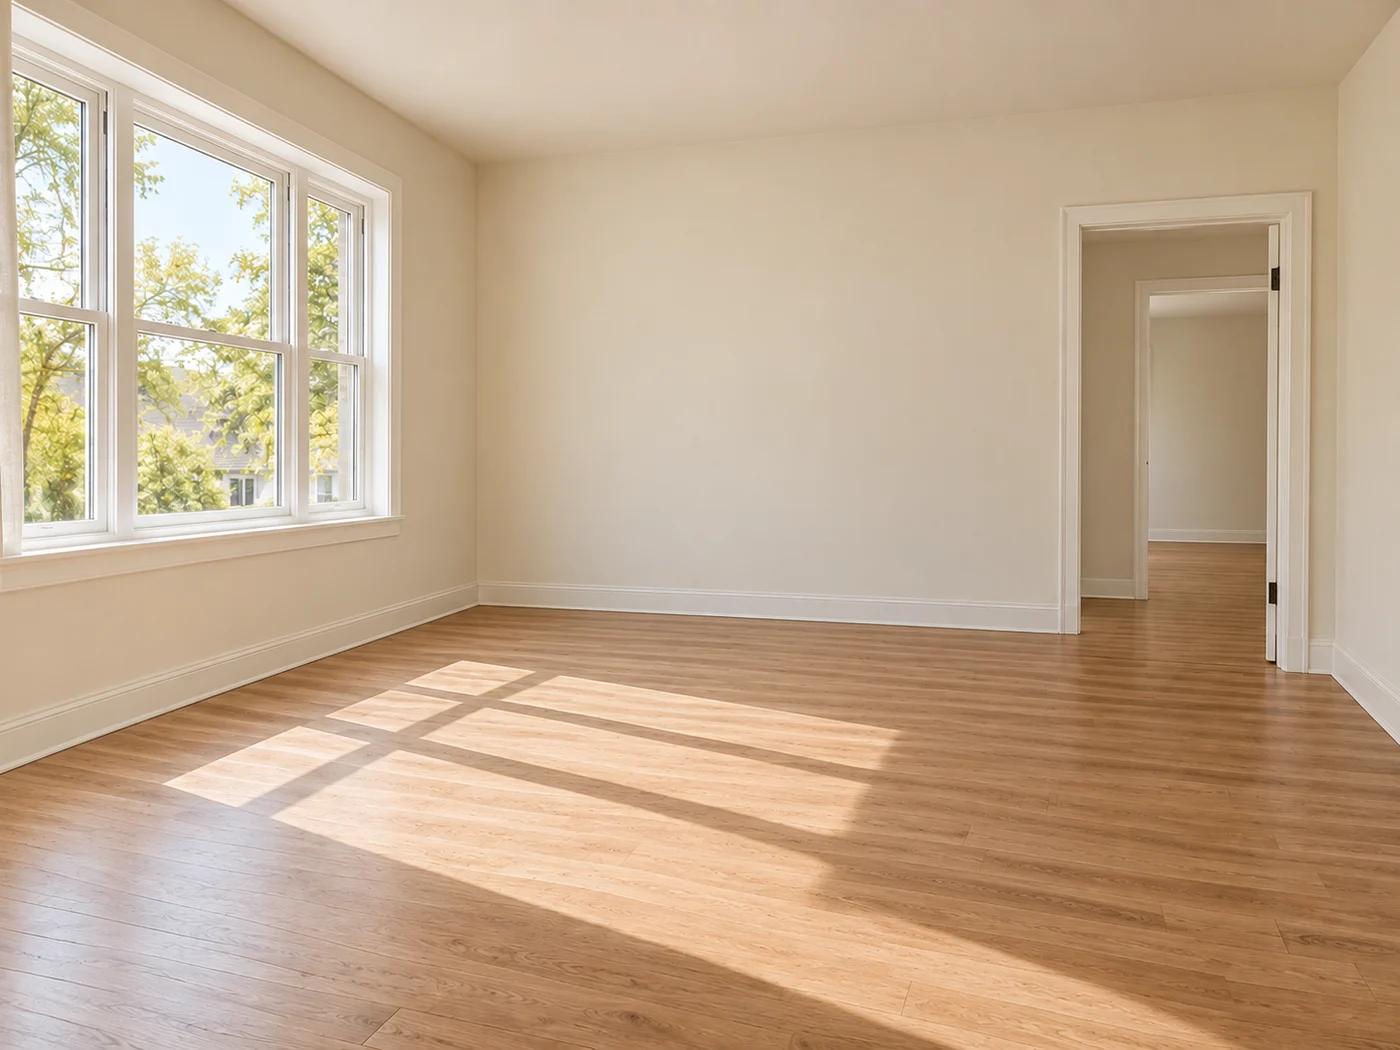
Illustrative preview
AI Room Staging — Furnish and Restyle Interior Photos
AI concept: check furniture legs, contact shadows, scale, and room geometry. Regenerate flawed results and disclose virtual staging.
Choose a room style and automatically furnish the full scene. The staging prompt protects fixed architecture, room geometry, and camera perspective while planning realistic furniture placement.
- No painting required for complete-room staging
- Architecture and perspective preservation instructions
- Premium batch processing for property sets
AI concept: check furniture legs, contact shadows, scale, and room geometry. Regenerate flawed results and disclose virtual staging.
Choose an empty or furnished room photo
JPG, PNG, WebP, HEIC, and other supported formats. Free up to 20 MB; Premium and higher up to 50 MB for this tool.
How to furnish or restyle a room photo with AI room staging
AI room staging takes a photo of a room and generates a furnished version in the style you choose, such as a modern living room, a bedroom, a home office or a dining room. It accepts empty and furnished rooms, so you can try a new interior style, see what an empty room could become or prepare a concept for a client. The tool plans furniture across the whole room, and you review the layout before you use it.
Furnish a room from one photo in a few steps
Choose a photo taken at eye level that shows the floor, the walls and the windows. The AI plans furniture across the entire room, and its instructions protect walls, floors, windows, doors and the camera perspective, so you do not need to paint furniture zones yourself. The result keeps the proportions of your photo.
- Upload an empty or furnished room photo.
- Open Styles and pick one of the 6 room styles.
- Add Custom instructions for materials, colors or pieces to keep.
- Select the Generate button and wait for the staged room.
- Compare the staged room with your original before saving the PNG.
Pick a style: living room, bedroom, home office or dining room
Styles lists Modern living room, Scandinavian, Luxury interior, Home office, Bedroom and Dining room. Modern living room asks for a sofa, coffee table, rug and warm neutral decor. Scandinavian uses pale oak and natural textiles. Luxury interior calls for premium furniture and layered lighting. Home office plans a desk, chair and storage, Bedroom a bed with side tables and lamps, and Dining room a table, chairs and a pendant light.
Restyle a room that already has furniture
Because furnished photos are accepted, you can ask for a different style in a room you already live in. Say in Custom instructions what must stay, for example keep the gray sofa and change the rug and lamps. If old pieces are in the way, remove them first by describing them, then stage the cleared photo. To swap one item only, replace a single piece of furniture.
Paint the area to furnish when the layout looks wrong
Choose Refine area manually to brush the part of the floor where furniture should go. Cover each piece's full height and its shadow, and keep walls, windows, doors and the ceiling outside the painted area. A mark that covers almost the whole photo, or is too small for the furniture, is refused with a message that names the fix. Use Undo or Clear to start over.
Stage several rooms in one style
One project often has several rooms. Batch images, a Premium option, applies a single style to every room photo you queue and returns a ZIP of PNGs, so run one room first to confirm the direction. The page note asks you to inspect furniture legs, contact shadows, scale and room geometry, and to disclose virtual staging. For an empty room that is going into a listing, stage it with listing-style presets, and for a TV, wall color or sky, use the property photo editor.
Before you upload a room
- Photograph the room straight on, from a corner or doorway, with the floor in view.
- Turn on the lights and open the curtains so walls and floor are evenly lit.
- Keep people and pets out of the frame, so the room is the only subject.
- Save the photo as a regular JPG or PNG without transparent areas.
- Keep the original photo so you can show the change honestly.
Preparing a staged room for a listing
Leftover boxes and cables can be removed by describing them before you restyle; an empty room is set up by choosing a room purpose and style for virtual staging.
For the exterior shot, replace a dull sky with blue sky or twilight.
What you can do with AI Room Staging
Review the main capabilities before you begin.
- Plan complete-room furniture placement automatically
- Restyle living rooms, bedrooms, offices, and dining rooms
- Preserve fixed architecture and camera perspective
- Process property sets in Premium batch mode
Settings reference
5 settings
Available controls for AI Room Staging.
Workflow
- Single image or Batch imagesPresets
- Process one image, or use Premium Batch images to apply the same automatic recipe to a set and download one ZIP.Options: Single imageBatch images
Styles
- One-tap presetsPresets
- Pick a ready-made direction with one tap; generation uses the selected preset automatically.Options: Modern living roomScandinavianLuxury interiorHome officeBedroomDining room
- Custom instructions (optional)Text input
- Describe the requested change, relevant materials, lighting, perspective, and details that must remain unchanged.
Selection
- Selection brush sizeSliderRange: 4–160px · Default: 32px
- Automatic selection is the default. Open Refine area manually and set this brush width only when the image needs a tighter edit boundary.
Output
- Ask AI to preserve subject identity and product detailsOn / Off
- Adds an explicit instruction to retain the main subject, shape, branding, labels, and readable text unless the request changes them.
Related tools for AI Room Staging
Tools for common next steps after AI Room Staging.
Virtual Staging & Property
Virtual Staging AI
Virtually stage empty rooms with AI furniture for real-estate listings. Create living room, bedroom, office, dining, and luxury concepts.
Try it now
Virtual Staging & Property
AI Real Estate Photo Editor
Edit real-estate photos with AI: add furniture or a TV, paint walls, remove clutter, replace skies, improve landscaping, and create twilight exteriors.
Try it now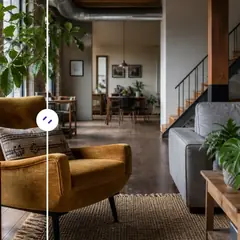
AI Image Studio
Add Object to Photo with AI
Add furniture, plants, people, products, and décor to photos with AI. Paint the placement area and preserve the prepared source outside it.
Try it nowFrequently Asked Questions
Guides for this tool
- How to Create Furnishing Proposals for Interior Design Clients with AICreate AI furnishing proposals for interior design clients with Pixoate. Compare room concepts and assemble clear presentation PDFs for discussion.
- Beautifully Staged, Believably Sized: Why Virtual Furniture Must Fit the RoomVirtual furniture needs believable proportions. Explore room-scale reviews and Pixoate comparisons that keep attractive staging concepts grounded in reality.
Watch each transformation land
Every photo crosses the slash untouched and comes out the other side finished.























