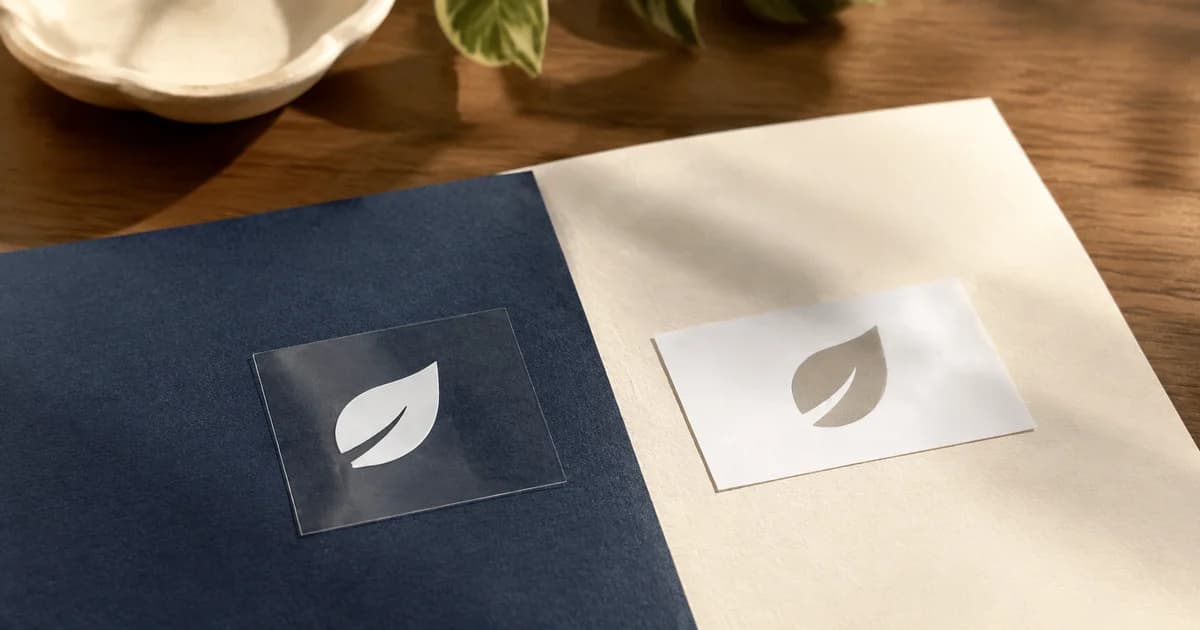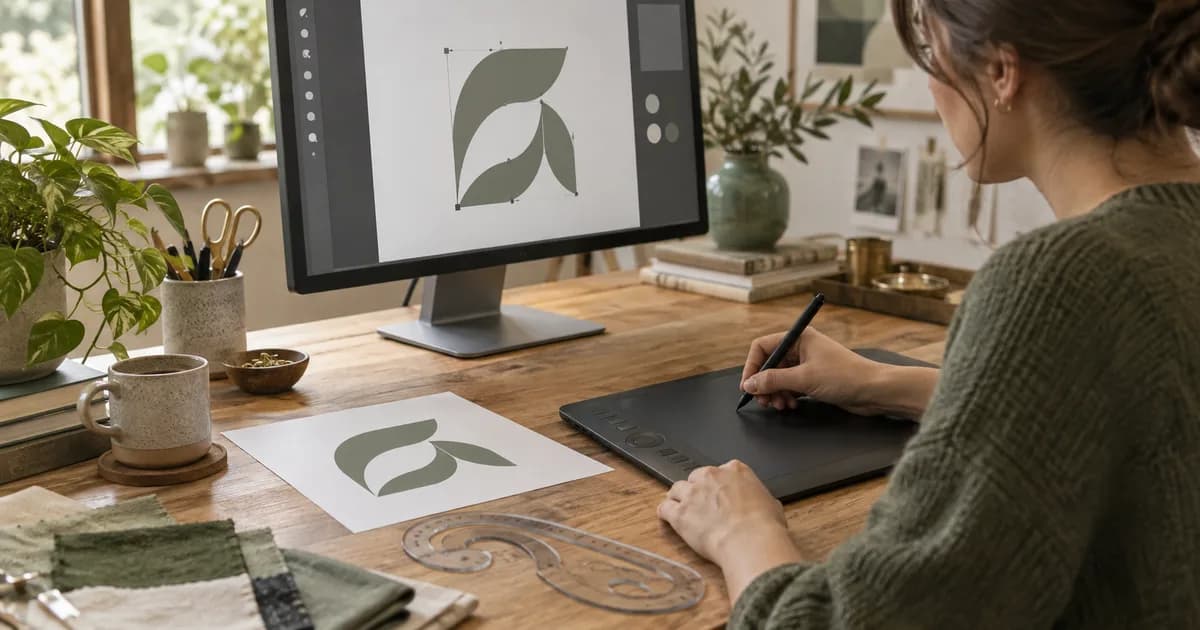
How to Convert PNG to SVG (and When Tracing Works)
Turn a PNG into an SVG by tracing it into shapes. See which images trace well, which do not, and how to check the result before you send it on.
Written by the Pixoate team. We check how each tool behaves before we describe it, and we date any prices or portal rules we quote.
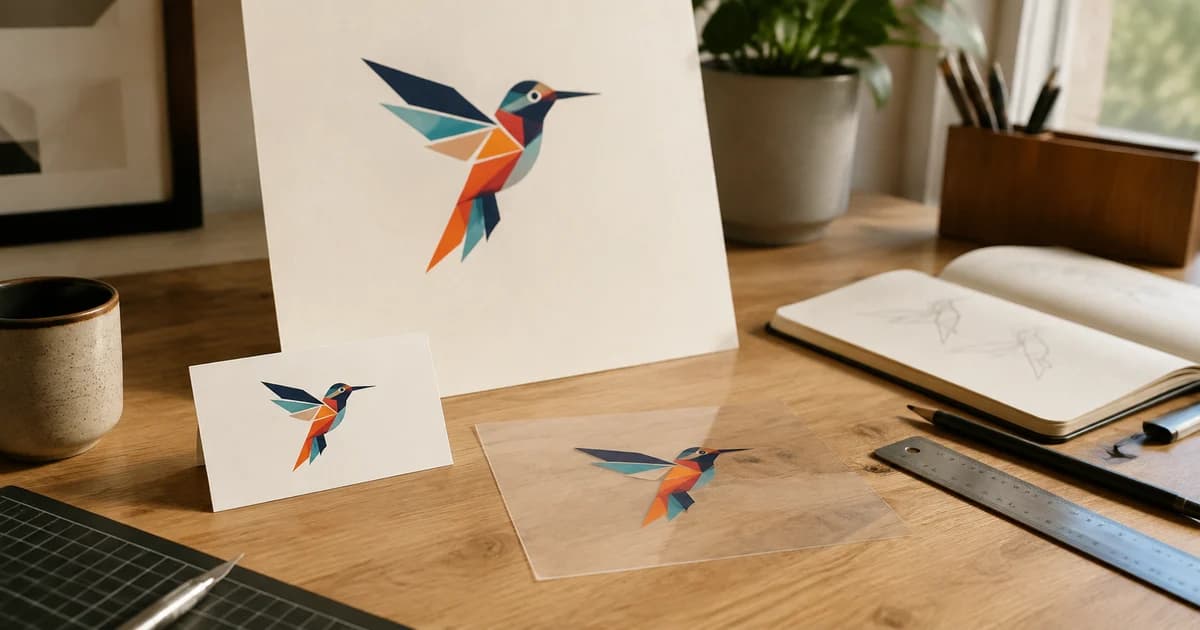
You have a logo or icon as a PNG, and someone needs it as an SVG: a designer, a cutting machine, a website that scales the image to any size. Renaming the file does not help, because a PNG stores a grid of colored pixels and an SVG stores shapes. People call the job converting a PNG to vector, changing a PNG to SVG or making vector art from a PNG, and all of them mean tracing: software finds the outlines in the pixels and redraws them as shapes.
Tracing works well on some images and badly on others. This guide shows how to turn a PNG into a vector, how to tell in advance whether your image will trace cleanly, and how to check the result before you send it anywhere.
How to turn a PNG into a vector (SVG) in five steps
- To convert a PNG to vector, open the free Image to Vector converter and drop your PNG on the page. JPG, WebP, GIF, BMP and AVIF files work the same way. HEIC and TIFF files cannot be opened here, so save those as JPG or PNG first.
- Set Colors to the number of flat colors you can count in the artwork. This is the control that gives you a PNG to SVG conversion with color: the menu offers 2, 3, 4, 6, 8, 12, 16 and 24, and each color becomes its own layer.
- Set Corners. Choose Straight lines for logos, lettering and anything with sharp edges. Curves suits organic artwork.
- Set Detail. Bold gives the fewest points and the cleanest shapes, and Exact follows the original pixel edges most closely.
- Check the preview, then select Download SVG, or Download DXF if the file is going to a laser cutter or CNC.
Every change traces the same file again straight away, so try a few combinations. The tracing runs in your browser tab, so the PNG is not uploaded.
What tracing does, and why the SVG is not a copy
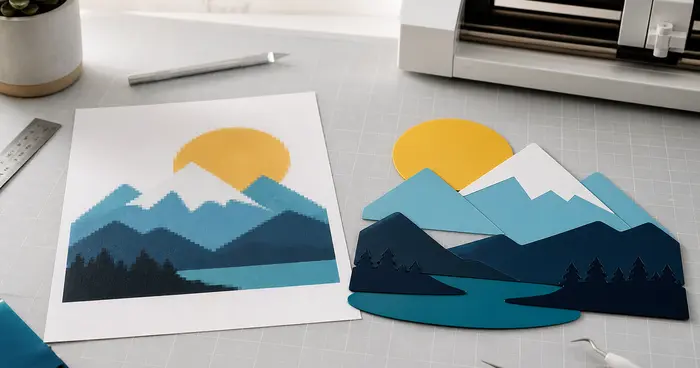
The tool reduces the picture to the number of colors you chose, outlines each color area as closed shapes and writes them as filled paths, one layer per color. That is why the SVG scales cleanly, and why it holds only what flat shapes can describe. There is no AI redrawing involved: the result follows your pixels.
Gradients become bands of solid color. Lettering becomes outlines, not text you can retype. A solid background counts as a color and becomes a layer of its own, while transparent pixels are left out.
Which images trace well
| Your PNG | What you get | What to do |
|---|---|---|
| Logo or icon with a few flat colors | Clean, scalable shapes | Set Colors to the colors you see and Corners to Straight lines |
| Line art, a signature or a stencil | Each stroke becomes a filled shape | Use 2 colors and Detailed or Exact, then check the thinnest strokes |
| Artwork with gradients or shadows | Bands of solid color | More colors give finer bands and a heavier file, or keep the PNG |
| A graphic with small text | Small letters can break into fragments | Use the original design file if you have it |
| A photograph | A high-contrast poster version that keeps the main shapes but not the detail or most of the color | Keep it as PNG or JPG |
Two settings decide most of the look. Corners controls how the traced points are joined: Straight lines joins them with straight segments, so a sharp corner stays sharp, while Curves runs a smooth curve through the same points, which softens corners. That makes Straight lines the right choice for a logo with square corners, such as a letter L or a triangle, and Curves a better fit for organic shapes. Small text is the other limit. Letters only a few pixels tall do not have enough pixels to trace cleanly and can break into fragments, so use the original design file for text-heavy artwork.
Check the result before you use it
- Compare at large size. Open the SVG in a browser or a vector editor such as Inkscape, Illustrator or Figma, zoom to 400 percent and put the original PNG beside it at the same size.
- Look at corners. Rounded corners where the original had sharp ones mean Corners should be Straight lines.
- Look at thin lines and small text. Lines that break up or vanish need a higher Detail setting, a crop or a different source.
- Read the layer count under Traced result. More layers than the colors you expected usually means stray shades, so lower Colors and trace again.
- Look for a background layer. A white or colored backdrop is traced as its own shape. Delete it in your editor, or cut the artwork out onto a transparent PNG first and trace that file.
- Place the SVG on the background it will really sit on, both light and dark.
Fix the usual problems
- A small accent color is missing. The palette keeps the most common colors, so a rare one can be absorbed into its neighbor. Raise Colors one step at a time until it appears. Asking for more colors than the image has simply returns fewer layers.
- The shapes look rounded or wobbly. Switch Corners to Straight lines.
- The file is heavy. Lower Colors, set Detail to Bold and use Straight lines. The path count shows how complex the result is.
- Thin lines look broken or heavy. Try a higher Detail setting and compare.
- Specks or noise appear. This is common with JPG sources, because compression adds faint noise. Use fewer colors and Bold detail.
- Lines disappear in a very large image. The tool traces a scaled-down copy of a very large image, resized without smoothing, so lines only a pixel or two wide can drop out. Crop to the part you need, or start from an export where the lines are a few pixels thick.
If the file is going to a cutting machine
Download DXF writes one layer per color as closed shapes, in millimeters, so an operator can give each color its own cut, score or engrave setting. The size comes from the image's pixel dimensions at a fixed screen resolution, so it will rarely match the real size you want. Scale it in your cutting software, review the paths and cut a test piece before you commit material.
Designers will usually ask for the SVG instead. Illustrator, Inkscape and Figma open it, and so does Cricut Design Space.
When not to trace
If you can get the original vector file from the designer, use that. A trace rebuilds shapes from pixels, so a brand mark that goes through it can pick up small changes in curves and spacing.
If you only need the PNG in another raster format, such as JPG or WebP, use the image converter to switch formats instead. If you need a PNG back from an SVG at a larger size, render the SVG as a PNG.
Here is an invented example
Say you have a bakery logo as a PNG: a brown wheat stalk, a cream circle and a thin outline. Counting flat colors gives three, so set Colors to 3 and Corners to Straight lines for the stalk. If the thin outline breaks in the preview, move Detail up a step. If a faint fourth shade appears around the circle, that is edge blur from the PNG, and lowering Colors again usually clears it. Open the SVG and zoom in on the outline against your original. If the trace is close but not perfect, ask the designer for the source file rather than retouching it by hand.
Related guides
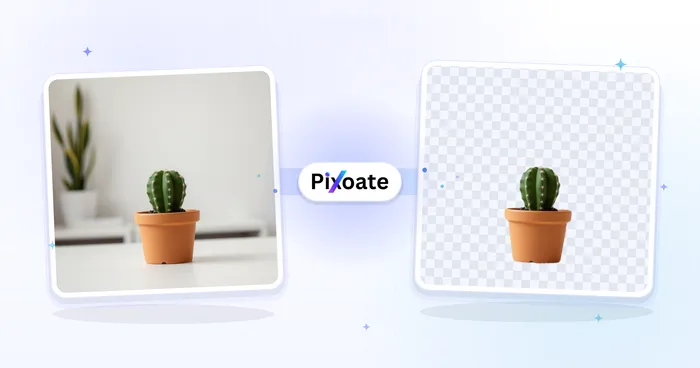
Before tracing a picture with a background, removing the background from a picture helps you start from a clean cutout. If you are unsure which raster format the original should be, see JPG vs PNG.
Frequently asked questions
How do I count the colors in my logo?
Zoom in and count the flat colors, ignoring soft edges. Set Colors to that number, then read the layer count under Traced result. More layers than you counted usually means stray shades, so lower Colors and trace again.
Should I trace a logo if the designer has the original file?
No. Ask for the original vector file. A trace rebuilds shapes from pixels, so a brand mark can pick up small changes in curves and spacing that the original never had.
Can I edit the SVG after tracing?
Yes. It opens in Inkscape, Illustrator and Figma, and each color is its own layer, so you can recolor a layer or delete one, such as a background. Letters are traced as shapes, so retype any text in your editor with a matching font.
Is my PNG uploaded anywhere?
No. The tracing runs in your browser tab, and the file is not sent to a server, which also means you can try settings as fast as you change them.
Open your logo, set Colors and Corners, and trace the PNG into an SVG.