How to Turn a Photo into a Line Drawing: Pick the Look, Then Prepare It
Turn a photo into a line drawing for a coloring page, a reference, a cut file or a gift: line drawing, sketch or outline, and how to prepare the photo.
Written by the Pixoate team. We check how each tool behaves before we describe it, and we date any prices or portal rules we quote.
Ask for a photo turned into a line drawing and you can get three different things: a shaded pencil sketch, a light sketch that is mostly lines, or clean black outlines on white. They suit different jobs, and the same photo behaves differently in each. The usual disappointment is not a bad tool but a look that does not match the use.
This guide helps you choose the look for what you are making, whether that is a coloring page, a reference for an artist, a cutting file or a drawn gift, and then prepare the photo so the result needs fewer retries.
In short: four steps
- Name the use: a page to color in, a reference for someone else to work from, a file for a cutting machine, or a drawn look to share.
- Pick the look from the table below.
- Prepare the photo: crop to the subject, simplify the background and check the contrast.
- Create it, view it at full size and print a small test before you commit paper or material.
Three looks that all get called a line drawing
| Look | What it is | Tool | Best for |
|---|---|---|---|
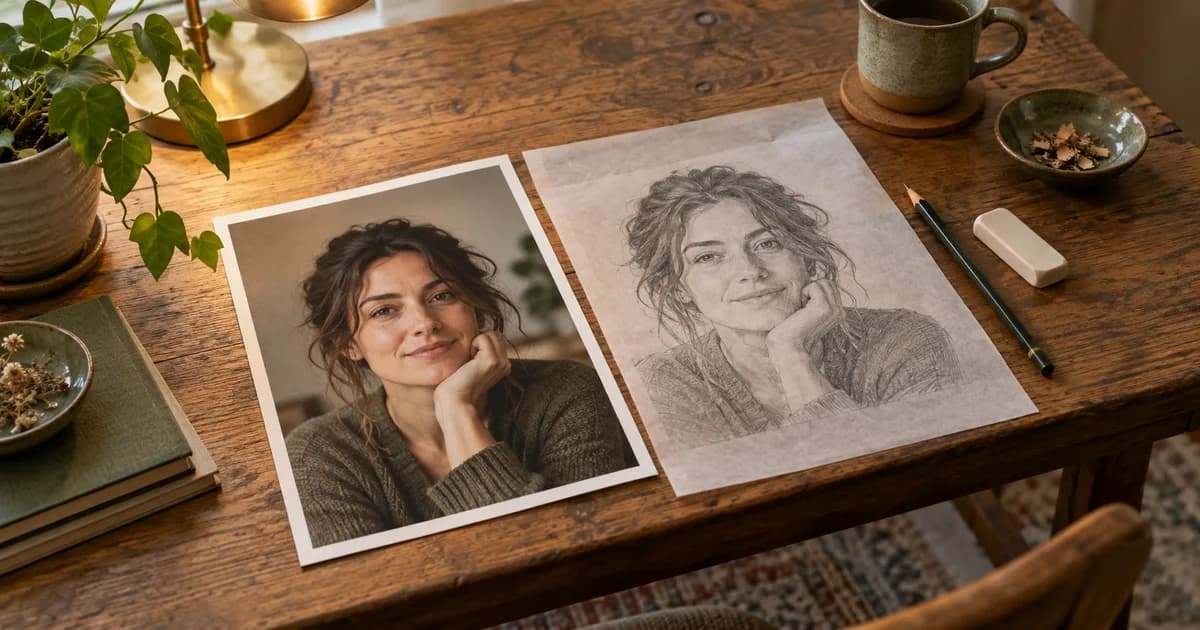
| Shaded sketch | Strokes and tone built from light and dark areas | Pencil Sketch with Graphite or Charcoal | Gifts, portraits, wall art |
| Light, line-forward sketch | The same tool with Detail toward Fine and Shadow Intensity toward Light | Pencil Sketch | A drawn look that is mostly lines but still has shading |
| Clean outline | Black outlines on white with no shading | Coloring Page Generator | Coloring pages, tracing references |
| Vector outline | The outline turned into shapes you can scale and cut | Image to Vector | Cutting machines, logos, signs |
Pencil Sketch has no outline mode. It draws with tone, so even its most line-like setting is a shaded drawing, not a trace. For outlines and nothing else, the coloring page generator is the closer fit.
Match the use to the look
| Use | Look to try | Notes |
|---|---|---|
| A coloring page for a young child | Coloring Page Generator, Kids line style | Thick, simple outlines. Start from one large subject on a plain background |
| A coloring page for an adult | Coloring Page Generator, Detailed, Line Detail toward More lines | Start from a large, sharp photo so the fine lines have detail to follow |
| A reference for a tattoo artist or an embroidery digitizer | Standard outline or a Graphite sketch | The result is an image to discuss, not a finished design. The artist redraws it for the body or digitizes it into stitches |
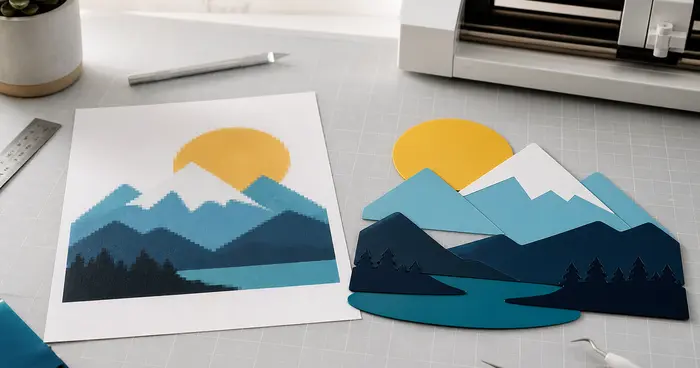
| A vinyl or laser cutter | Outline, then trace with Image to Vector | Export SVG or DXF. Cut a test piece before real material |
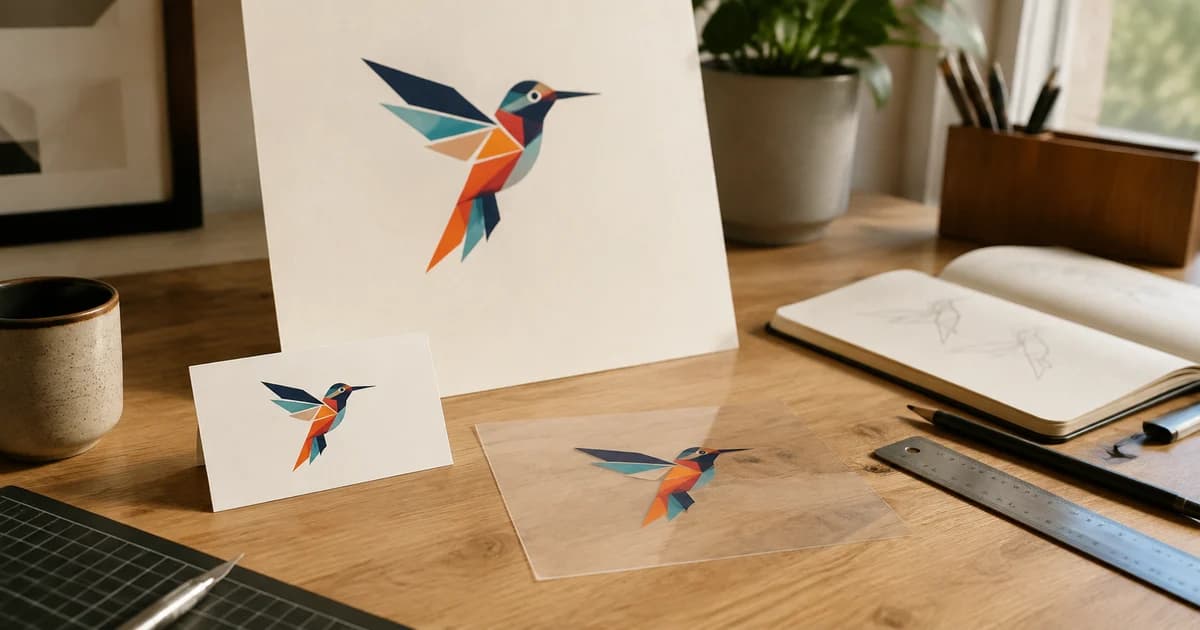
| A logo-style outline of a subject | Outline, then trace with Image to Vector | Few colors and Straight lines keep corners sharp |
| A drawn gift or profile picture | Pencil Sketch, Graphite or Charcoal | Check faces at full size |
Prepare the photo before you create anything
Every look is built from the edges and light and dark areas in your photo, so preparation matters more than any slider.
- Crop to the subject. Cut away the table, the street or a neighbor, because every extra object gets lines of its own.
- Simplify the background. Lines come from a busy background more than from the subject. Putting the subject on a plain white background first, with the White Background Maker, removes many of the stray lines in an outline.
- Check the contrast. Open the black and white converter and look at its preview with Intensity at Strong. If the subject still separates from the background in gray, there is something to draw. Nothing is created until you select See result.
- Brighten a very dark photo. Dark areas turn into heavy shading in a sketch.
- Use the largest, sharpest copy. A sketch or outline cannot follow detail the photo never held, and it cannot create detail for a large print.
Make the sketch or the outline
For the sketch, upload the photo and choose Graphite. For the light, line-forward version, move Detail toward Fine and Shadow Intensity toward Light. Detail starts at 50% and Shadow Intensity at 70%, and Shadow Intensity can go down to 20%. Select Create sketch, then compare. Every change clears the result, so adjust one slider at a time.
For the outline, upload the photo, choose Kids, Standard or Detailed, and select Create coloring page. Line Detail fine-tunes the choice from Fewer lines to More lines, and any change clears the page, so create it again. Creating the page uses your AI allowance, which the usage meter on the page shows.
A worked example
You want a coloring page of a dog lying on a patterned couch. The couch pattern would draw as dense lines that bury the dog. So crop to the dog, put it on a plain white background, choose Kids and create the page. If the outline looks right but there are still too many small lines, move Line Detail toward Fewer lines. If the dog's face looks flat, switch to Standard and create it again. Print one copy on plain paper before you print twenty.
Check the result for its use
- View it at full size and follow the main lines with your eye. Gaps in a face are easier to see there than in a small preview.
- Print a small test. Thin, light lines can nearly vanish on a home printer.
- For a large print, start from a large photo. Without Premium the result is web size, and Premium unlocks the original-resolution file. A print-ready PDF of a coloring page, for A4 or US Letter paper, also needs Premium.
- For a cutter, trace the outline and check closed shapes in your cutting software.
- Keep the original photo next to the drawing so you can try other settings later.
When it goes wrong
- The outline is full of tiny scribbles. The background or a textured surface is drawing its own lines. Crop closer, simplify the background and try Fewer lines.
- Faces look flat or missing features. The photo may be small or low in contrast. Start from a larger, sharper copy, or switch from an outline to a sketch.
- The sketch is nearly black. The original was dark. Brighten it first.
- The lines print too faint. Thin lines can vanish on a home printer, so run a test page and consider a bolder style such as Kids.
None of these looks is a trace of the photograph, and each makes choices about what to keep. Expect to try two or three versions, and compare them before you pick one.
Related guides
If you only need a gray version of a photo, see how to turn a photo black and white. When you need a clean cutout of the subject before drawing, removing the background from a picture explains how.
Frequently asked questions
Should I use Pencil Sketch or the coloring page generator for a coloring page?
Use the coloring page generator. It gives black outlines on white with no shading, which is what a child needs to color inside. A pencil sketch fills areas with tone, so there is less empty space to color.
Can I use the result as a tattoo stencil or an embroidery pattern?
Treat it as a reference. The tools make an image, not a stencil fitted to a body or a file of stitches. An artist or a digitizer takes the picture and adapts it, so show it as an idea.
Will the lines stay sharp if I print the drawing large?
The sketch and the outline are pictures made of pixels, so a large print needs a large source photo. For a cutter or a sign that must scale, trace the outline to SVG with Image to Vector.
Is there a thickness setting for the outline?
Not as a separate control. The Kids line style uses thick, simple outlines, and Line Detail changes how many lines appear. Try Kids first when you want a bolder, simpler page.
Pick the look for your use, prepare the photo, then turn it into a pencil sketch or an outline.