Living Room Paint Color Visualizer
Generative output can vary; review the full result before publishing
The living room is where a wrong color hurts most: it is the biggest wall space you look at every evening, and it has to sit well with a sofa you are not replacing. This page repaints a photo of your own living room so you can judge a color against the furniture, floor and window light you actually have, then compare a second and third option on the same photo before you commit to the tins.
- Prepared Living Room direction
- Editable prompt
- Full-result review required
Choose a source image for Living Room
JPG, PNG, WebP, HEIC, and other supported formats. Free up to 20 MB; Premium and higher up to 50 MB for this tool.
Painting around a sofa and a floor you are keeping
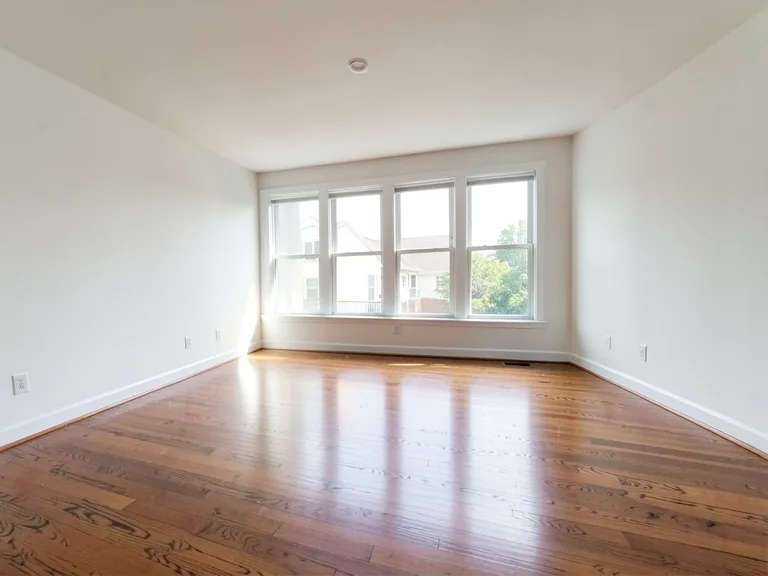
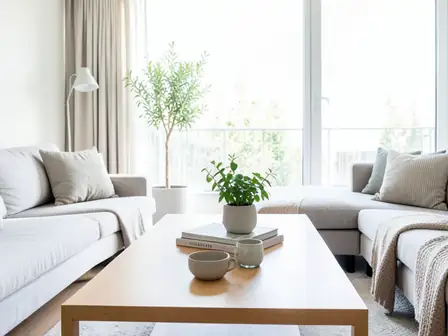
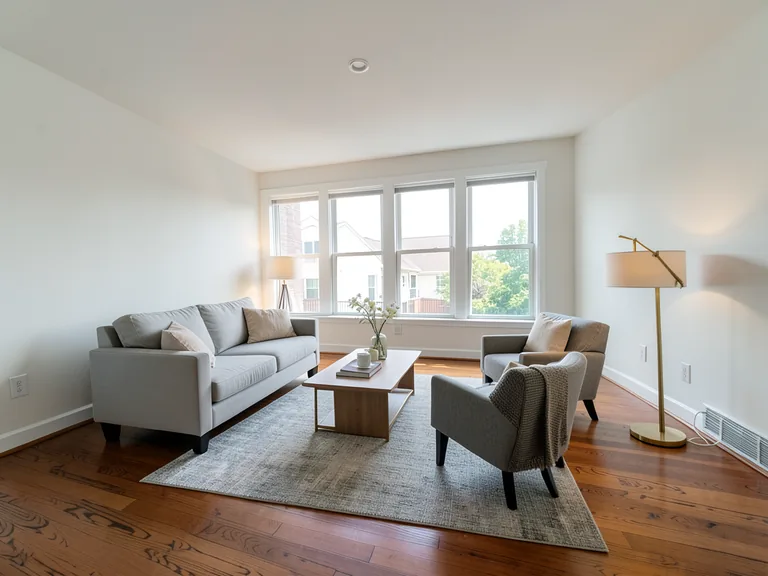
The living room is judged against things that do not change: the sofa, the rug, the floor and the TV wall. Photograph it with those in clear view, then try two or three colors and look at where each one meets the furniture. A color that makes the sofa look tired shows up at once.
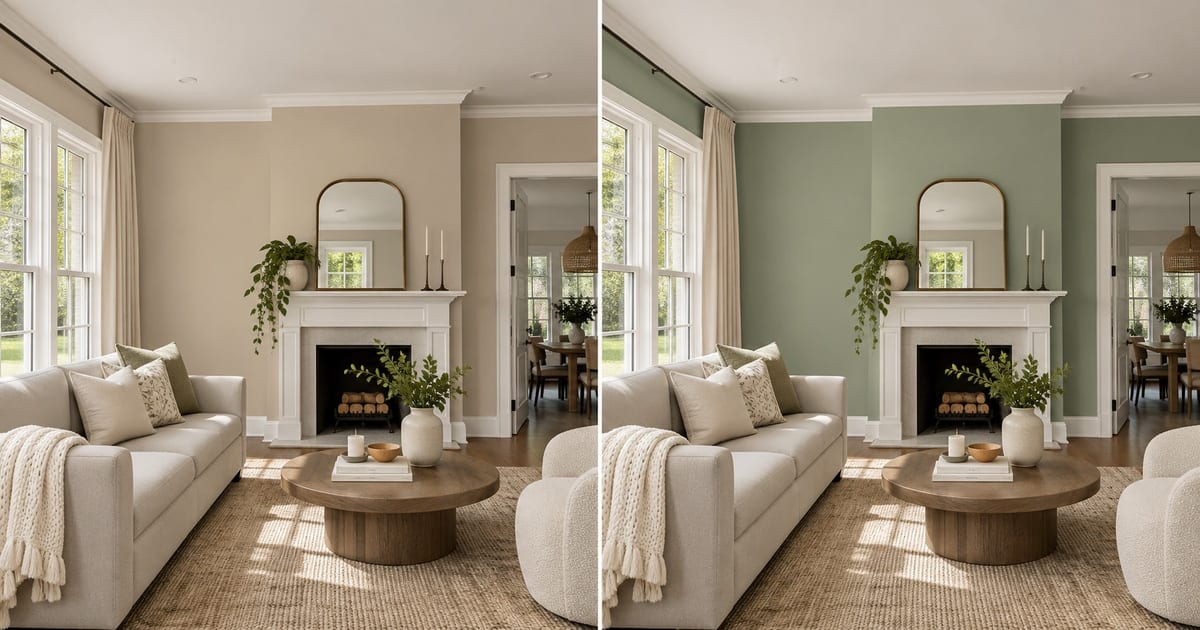
Use the accent wall item to test the wall behind the TV or the fireplace with the other walls kept lighter, and add white trim to see the crisper version. For the evening look, try the same color with warm lamps on, then check it in daylight too. For the bigger picture, restyle the room or try new flooring.
Photograph from the doorway where you usually sit, so the picture matches the view you live with. Keep curtains open, and note any wall you plan to leave unpainted, such as a brick fireplace, in the custom instructions box.
Set up for Living Room Paint Color Visualizer
Prepared settings
- Starting point
- Upload one source image
- The page opens on the correct edit workflow; upload is the only required setup step.
- Prepared workflow
- Prepared Living Room room
- Living Room Paint Color Visualizer opens with the Living Room direction preselected, so there is no need to find the operation manually.
- Output shape
- Same as your upload
- The result keeps the shape of the image you upload.
- Review rule
- Review the complete generated result before use
- Generated imagery can vary; the final result stays under the user's approval before download.
Best-fit uses
- Match a new wall color to a sofa you are keeping
- Compare warm and cool neutrals on the same photo
- Try a feature wall behind the TV or fireplace
Frequently asked questions
- How do I choose a living room color that works with my sofa?
- Photograph the room as it is, then try two or three colors on the same photo and look at how each one sits next to the sofa and rug. A color that makes your furniture look dull or fights its undertone shows up quickly in a side-by-side comparison.
- Can I try a darker color on just one wall?
- Yes. Tap the accent wall item and it is added to the color you chose, so you can see one deep wall behind the main furniture with the rest kept lighter. Add a note in the custom instructions box to name which wall.
- What should I review in a Living Room result?
- Inspect faces, hands, object geometry, small details, perspective, readable marks, and any claim implied by the scene. Regenerate or reduce the requested change when something is inaccurate.
- What rights checks apply to a Living Room client project?
- Use only source material and references you have rights to, follow the destination platform rules, and obtain any required person or property permissions. Generated output still needs a human accuracy and rights review.
What you can do with AI Real Estate Photo Editor
Review the main capabilities before you begin.
- Stage complete rooms automatically for disclosed concepts
- Add selected TVs, wall colors, or landscaping precisely
- Remove described cables, bins, signs, and distracting clutter
- Replace skies and create realistic twilight exteriors
- Refine automatic edit areas manually when needed
Settings reference
5 settings
Available controls for AI Real Estate Photo Editor.
Tasks
- Edit typeDropdown
- Choose the edit to perform; prompts, selection tools and output controls follow the selected edit type.Options: Text-based editGenerative fillMagic eraserSky replacementRoom staging
- One-tap presetsPresets
- Pick a ready-made direction with one tap; generation uses the selected preset automatically.Options: Add furnitureAdd TVPaint walls warm whiteTwilight skyReplace skyRemove clutterRefresh landscaping
- Custom instructions (optional)Text input
- Describe the requested change, relevant materials, lighting, perspective, and details that must remain unchanged.
Selection
- Selection brush sizeSliderRange: 4–160px · Default: 32px
- Set the brush width used to mark the exact add, fill, or replacement area required before generation.
Output
- Ask AI to preserve subject identity and product detailsOn / Off
- Adds an explicit instruction to retain the main subject, shape, branding, labels, and readable text unless the request changes them.
Related tools for Living Room Paint Color Visualizer
Tools for common next steps after Living Room Paint Color Visualizer.
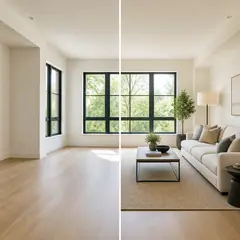
Virtual Staging & Property
Virtual Staging AI
Virtually stage empty rooms with AI furniture for real-estate listings. Create living room, bedroom, office, dining, and luxury concepts.
Try it now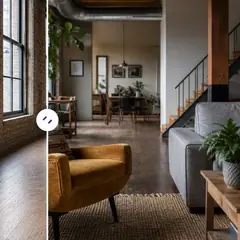
Virtual Staging & Property
AI Room Staging
Stage empty or dated rooms with AI furniture and décor. Create living rooms, bedrooms, offices, dining rooms, and interior style concepts.
Try it now
Photo Enhancement
AI Photo Enhancer
Adjust noise, sharpness, color and scale in one enhancement workflow, then compare the result with the original.
Try it nowGuides for this tool
- How to Prepare Real Estate Listing Photos in Bulk for an AgencyOrganize bulk real estate photo editing with Pixoate. Keep properties, room sequences and concept images clear across an agency's listing workflow.
- How to Remove Temporary Clutter from Real Estate Photos with AIRemove temporary clutter from real estate photos with Pixoate. Review cables and stray objects while preserving the property's actual condition.
Watch each transformation land
Every photo crosses the slash untouched and comes out the other side finished.