How it works
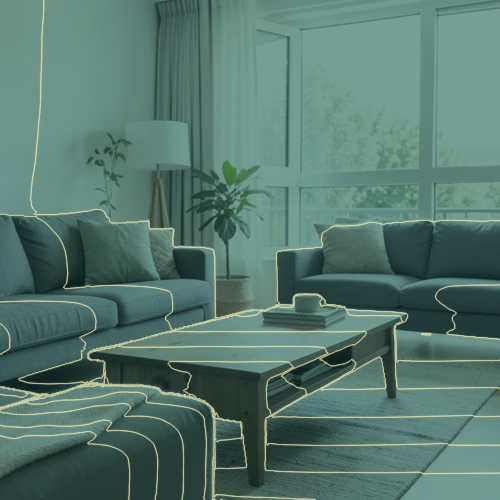
The renderer first applies Body Aura, then introduces Pet, and finally uses Paper Material. Each stage has a distinct role in the dimensional-imaging recipe, while the intensity control blends the completed recipe against the source.


Start with Body Aura, shape it with Pet, and close with Paper in one adjustable dimensional-imaging recipe.
Review the available effect capabilities before you begin.
The renderer first applies Body Aura, then introduces Pet, and finally uses Paper Material. Each stage has a distinct role in the dimensional-imaging recipe, while the intensity control blends the completed recipe against the source.
Upload a photo, adjust the Body Aura · Pet · Paper Material intensity, compare its processed preview with the source, and download the finished result.
Use the intensity control to balance the Body Aura · Pet · Paper Material treatment with the detail and character of your original photo.
A reduced Body Aura · Pet · Paper Material preview keeps adjustments responsive. Free downloads are clean and web-size; Premium or a credit unlocks the original resolution.
Body Aura · Pet · Paper Material uploads are processed on secure servers and automatically removed under the normal Pixoate retention policy.
The renderer first applies Body Aura, then introduces Pet, and finally uses Paper Material. Each stage has a distinct role in the dimensional-imaging recipe, while the intensity control blends the completed recipe against the source.
Body Aura · Pet · Paper Material uses an AI action. Any separate allowance is shown before this effect starts processing.
The exact Body Aura, Pet, and Paper Material recipe works best for portraits with clear subject separation, product and food hero images, and pet photographs with a clean silhouette.
Less suited to: Body Aura, Pet, and Paper Material needs extra care with flat low-contrast scenes, overlapping transparent objects, cropped subjects, or images with too little information to infer stable depth.
Keep one automatically detected main subject sharp with clean depth-aware background blur
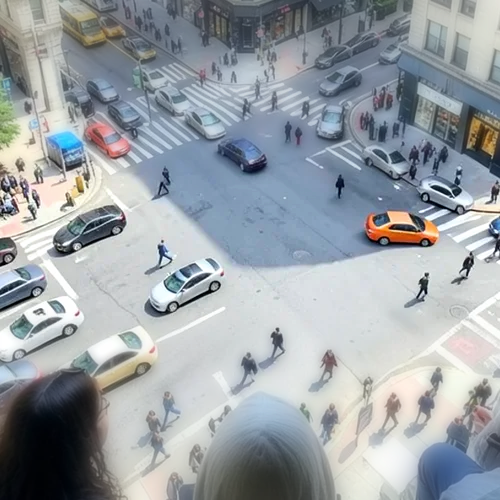
Turn elevated streets and landscapes into miniature scenes with a clean depth-assisted focus band
Create a clean eight-frame depth loop with visibility-resolved parallax motion
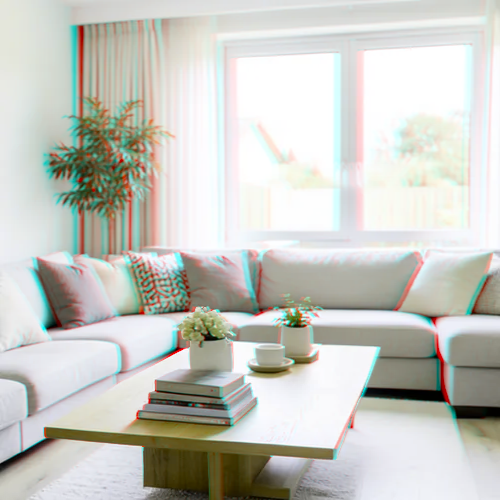
Create a comfort-capped red-cyan 3D view with depth-scaled bilinear reprojection
Refract only the model-cleared background through bounded crystal facets while keeping the detected subject fixed
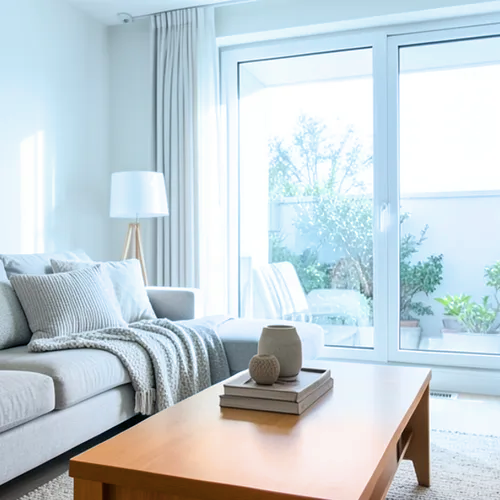
Build five broad source-aligned paper planes without duplicating people or objects
Trace 18 clean source-aligned depth bands without moving people or objects
Style the frame as up to seven source-aligned paper layers without duplicating people or objects
Add source-aligned linear-light haze from model-estimated relative depth
Apply source-aligned cool-far and warm-near color grading from model-estimated depth
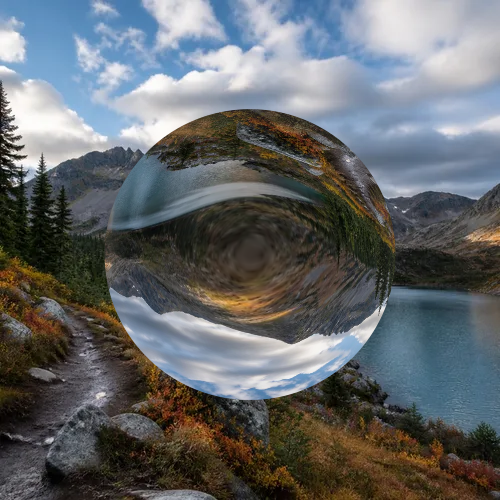
Compress and invert the scene inside one bounded glass sphere while keeping every outside pixel fixed
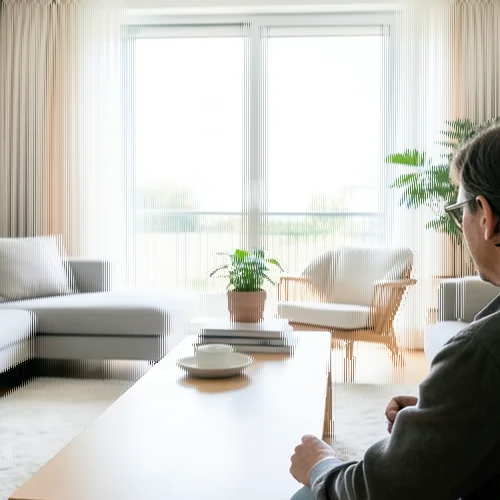
Interlace depth-shifted strips only across model-cleared background while keeping the detected subject fixed
Tools for common next steps after Photo Effects.
Creative & Design
Turn a photo into classic, storybook, sticker, watercolor, or custom cartoon artwork with editable AI directions.
Try it nowCreative & Design
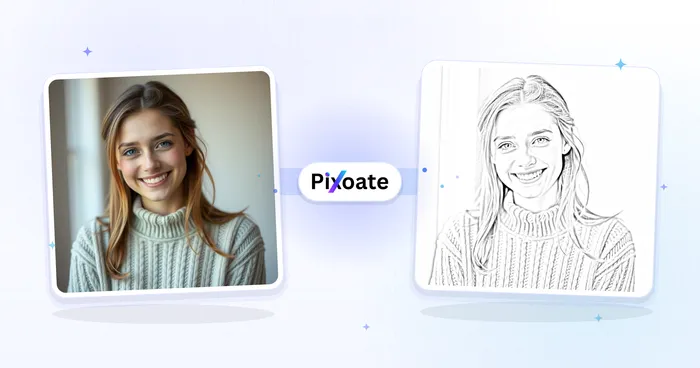
Convert a photo into a pencil-sketch style image and adjust the shadow depth before download.
Try it nowPhoto Editing & Utilities
Convert an image to black and white. Adjust the intensity and preview the result.
Try it nowThe strongest effect picks lead this belt before the rest of the catalog.